Heightfield
Overview

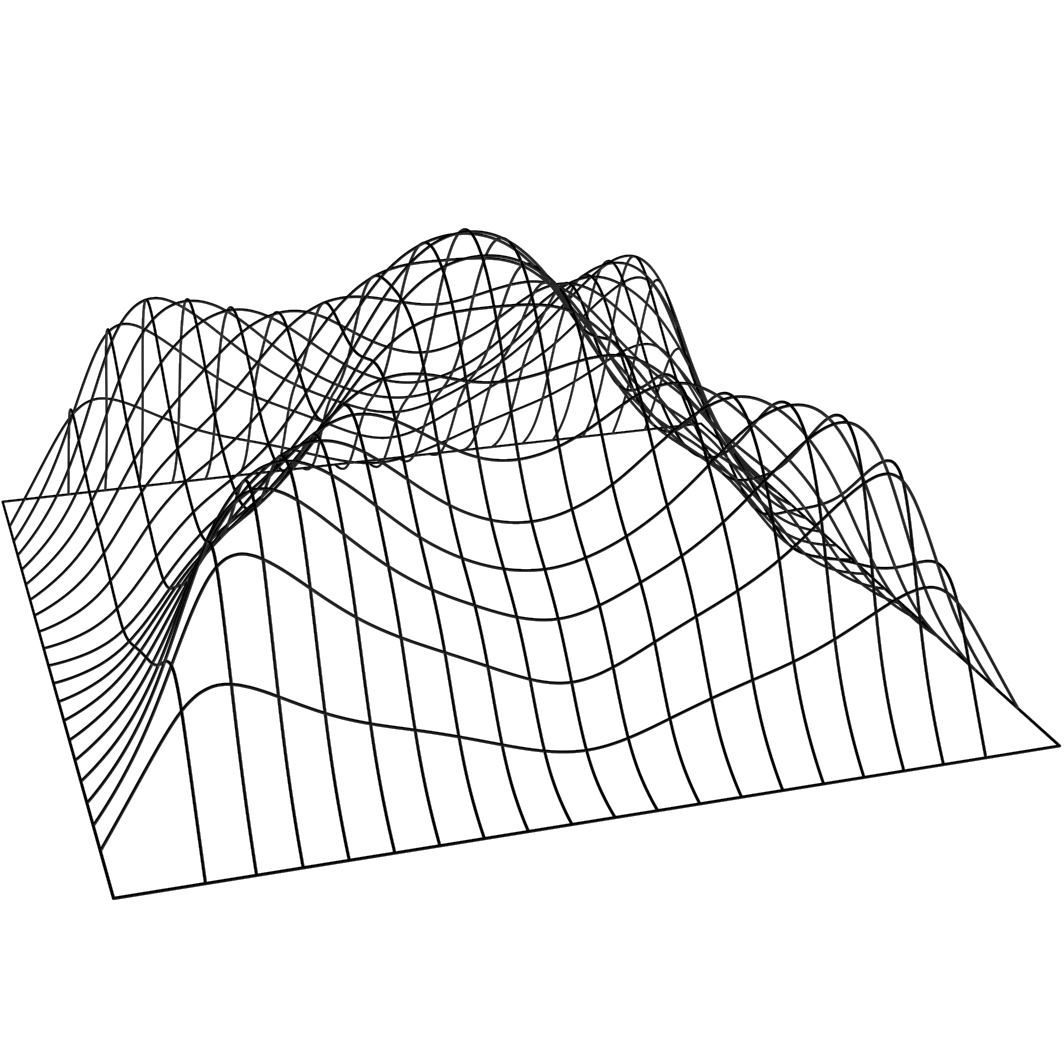
In this tutorial you will learn how to build a geometry based on a picture. Every pixel of it gives an information that might be translated into the height of a corresponding point. All of the heights then make a surface which character may be set and parametrically changed by a mathematical rule. This surface might be connected with another piece of geometry making a facade that can be easily prepared for further stylization or manufacturing, e.g. for a vacuum press.

A heightfiled or heightmap is a black and white picture that interprets as a height array. It can be used to make a geometry-based 3D model or to tell a render engine the position and strength of texture shadows. Although there are special kinds of images for those purposes, basically, any grayscale picture can be used.

Pixel colors represent gradients from minimum height (black) to maximum (white).

Instructions
Fredrik Skåtar, Aleksandra Sviridova

Duration
60 min

Level
Intermediate

→ DOWNLOAD PDF


Making basic geometry and a surface from points

Create a Rectangle component and set it’s X and Y parameters according to your picture sizes. In this case it’s 200. Subdivide Surface to get the points or you can just make a grid instead of all these steps. The 2nd Slider component sets the density of this grid. We will have to add 1 to the number of spans set by it, because you always need one more point to generate a certain amount of spans. Double-click the Expression component and type “X + 1” in the Expression field.

Double click the Expression component to open the Expression Designer window. Simply write the formula needed in the Expression window.

Right-click the Image Sampler component to pick an image and connect the UV output parameter of a Divide Surface component to the input to filter the data though it. The Move component then moves every point to the distance set by a pixel color in a direction set by the Unit Z component. The Surface From Points generates a surface based on that input.

Setting the surface character and making a smooth connection

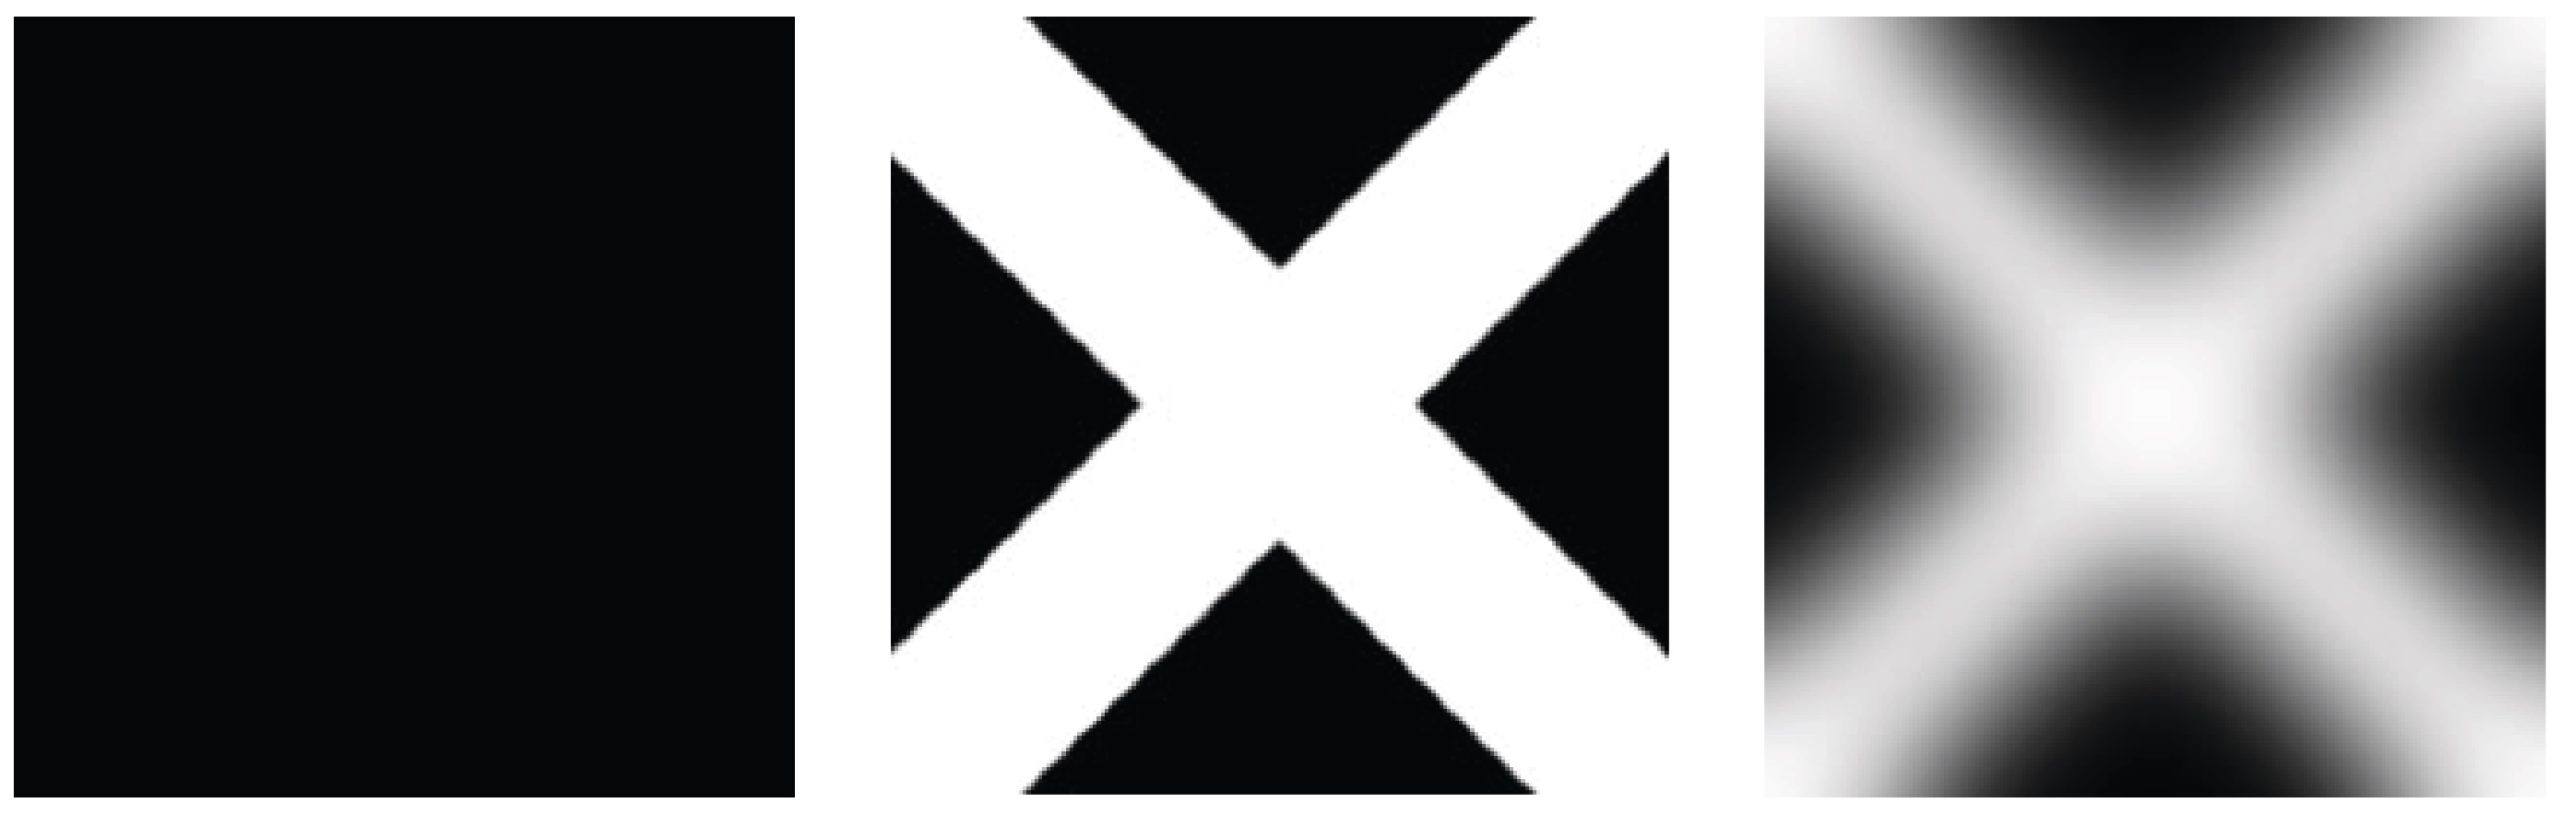
In Photoshop create a new 200×200 px file, fill it with black, draw a cross and use Gaussian Blur to fuzz the shape.

Since the lowest and the highest numbers  of a heightfield are set by the image, we need to remap the numbers into a new numeric domain using the Remap Numbers component. It means that we will replace the old domain (the Bound component, don’t forget to Flatten it) with a new one set by number slider. The values will be defined by a Graph Mapper component, meaning that they will be set visually, but the proportion will always remain the same.

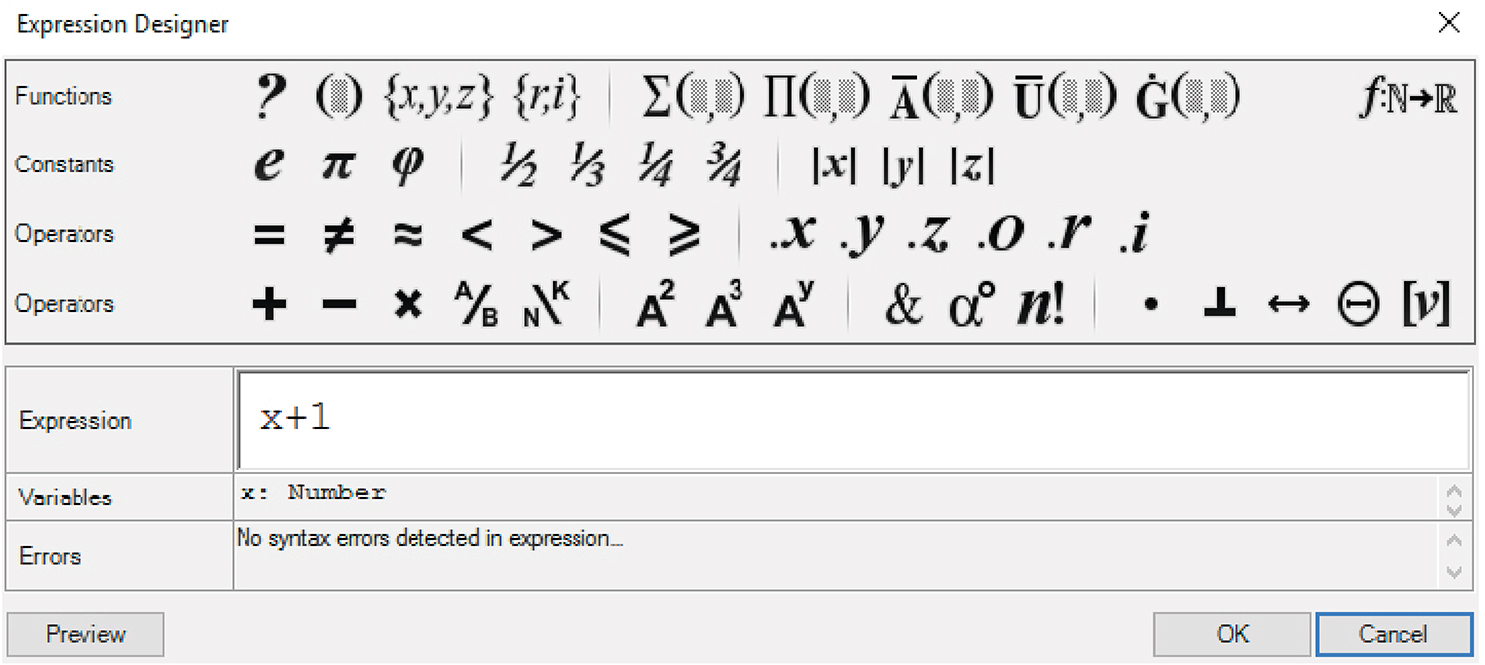
Double click the Image Sampler component to open the Image Sampler Settings. Set X and Y Domains exactly the same resolution as the picture you’ve created to not to apply your geometry only to a part of it. Don’t forget to change the image Channel to Grayscale, otherwise Graph Mapper won’t properly work.

To make the edge points nicely connect to the initial rectangle, make a Curve Closest Point component. The Graph Mapper component filters all the distances, thus values that are close to the edge can be turned to zero. It also defines a character of this transition. 

Complete Grasshopper script.

Instructions
Fredrik Skåtar, Aleksandra Sviridova

Duration
60 min

Level
Medium


Privacy Settings
We use cookies to enhance your experience while using our website. If you are using our Services via a browser you can restrict, block or remove cookies through your web browser settings. We also use content and scripts from third parties that may use tracking technologies. You can selectively provide your consent below to allow such third party embeds. For complete information about the cookies we use, data we collect and how we process them, please check our Privacy Policy
Youtube
Consent to display content from - Youtube
Vimeo
Consent to display content from - Vimeo
Google Maps
Consent to display content from - Google

info(at)materiability.com