Overview
In this tutorial, you will learn how to use a top view image and a side view image of an object to model it. You will also be exploring new tools that will help you create organic shapes.
Preparation
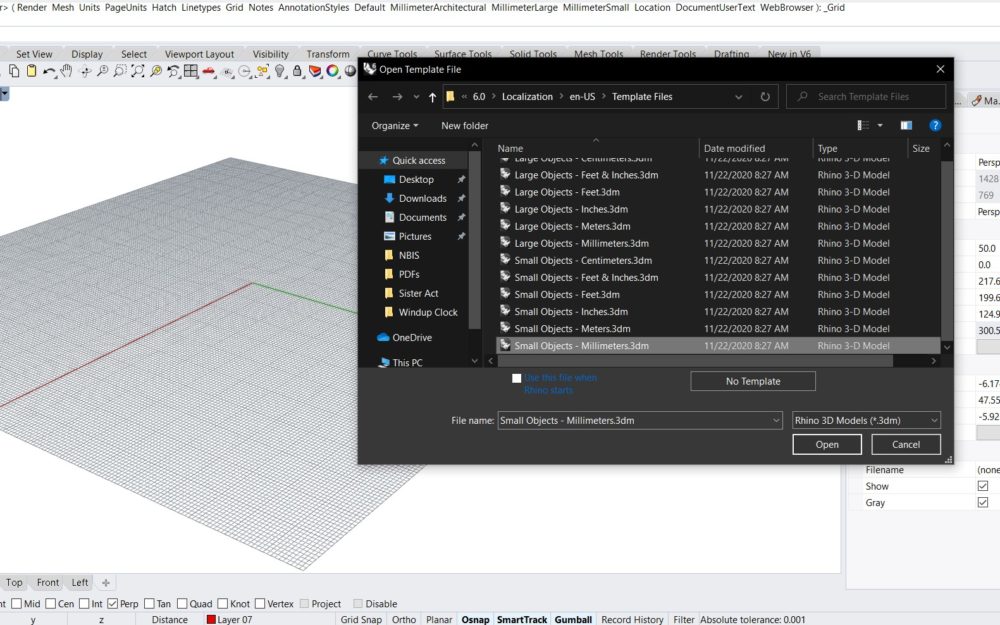
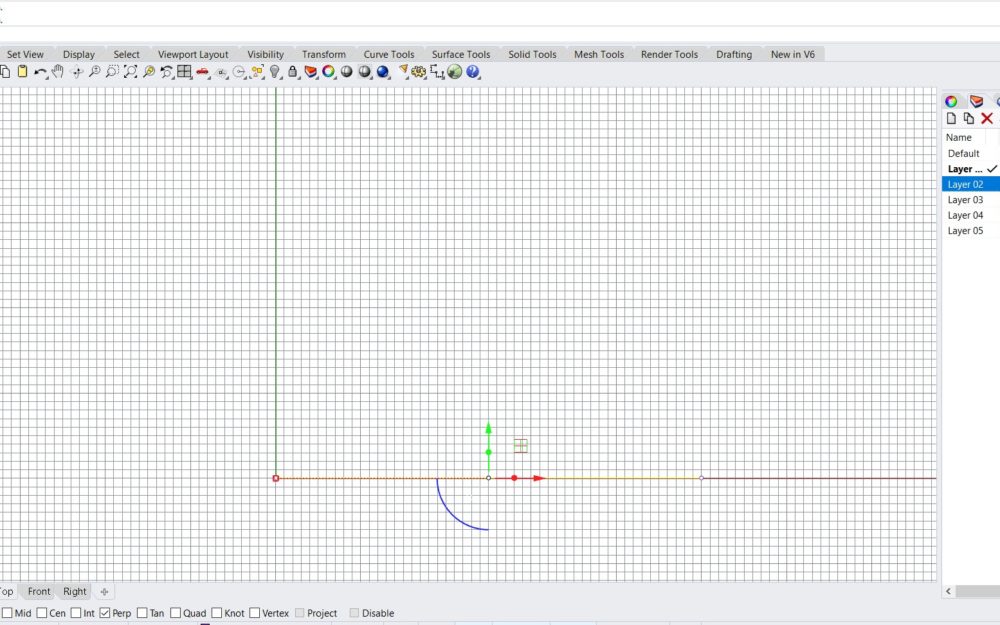
To start with, begin a new model. In the Template File dialog box, select Small Objects – Millimeters. In the Top viewport, use the Line command to draw a reference line 50 millimetres long starting at 0,0,0.
Part One
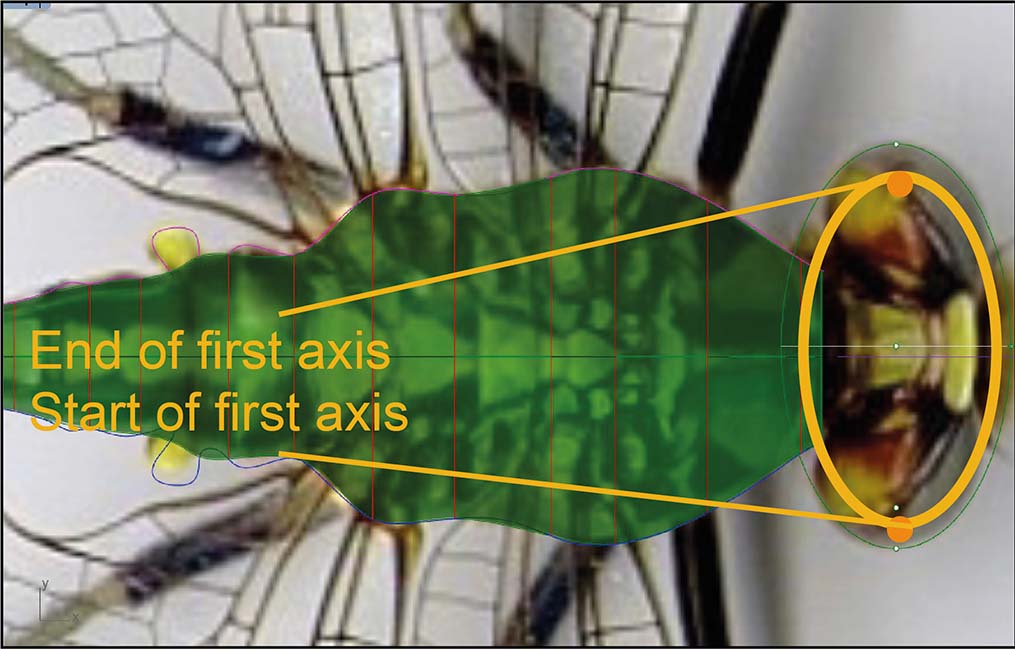
Start the PictureFrame command (Surface toolbar>Planes flyout>PictureFrame, or type PictureFrame and Enter.) Find the image file DragonflyTop.jpg, and place the image in the Top viewport. Use the reference line to set the length of the picture frame image.
Start the PictureFrame command. Find the image file DragonflySide.jpg and place the image in the Front viewport. Use the reference line to set the length of the picture frame image.
Hide the side view picture frame.
Hint: Placing different objects on different layers makes it easier to control them. You can also lock the layer so the picture doesn’t move.

In the Front viewport, use the Curve command to trace the body outline using two curves, one above the reference line and one below the reference line. Maximize the viewport and zoom in. Pick as many points as you need to create the curves. Use more points when rounding a corner and fewer points for a straight section.
Hide the picture frame objects and the reference line.
Use the CSec command to create cross-section profile curves through the top, bottom, and side curves.
Draw as many cross-section curves (in front view) as you need to maintain the detail. You will be able to see whether you have enough curves when you loft the surface in the next step. You have to select the curves in the right order. Select them in clock wise order. It should look like this when you’re done.
Select all the cross-section curves you just created. Use the Loft command to create a surface through the cross-section profiles. Don’t forget to click on “Natural” so that your loft doesn’t stray too much from your curves.
We now need to fill the gaps, so Copy the surface across, then Mirror the 5 copied surfaces to fill the gaps on the other side as well.
Part Two
Part Three
Part Four
Part Five
Part Six
You will have to use your imagination a little for this since the two pictures do not show the legs of the same insect.


