Overview
In this tutorial you will learn the difference between curves and surfaces. How to use Edge Curves, Extrude Curves, Loft Curves and Revolve Curves. How to use Sweep1 and Sweep 2 commands.
Surfaces
A common way of 3D modeling is to draw curves that represent edges, profiles, cross-sections, or contours, and then to use them to create surfaces. You can join these surfaces to create polysurfaces or solid objects.
Hint: Check out the different types of objects you can create with Rhino. Some of which include; curves, surfaces and solids.
In order for a 3D object to be producable, it needs to be “Water Tight”. This means that your object has to be 100% closed. To achieve this, you must ensure accuracy when modelling. Make sure you use your OSnaps to achieve this.
Instructions
Marek Runde, Nadia Elkady
Duration
60 min
Level
Basic
Category
Edge to surface
You can form a surface by drawing its edges. Meaning as soon as you have a minimum of three lines connecting as the outline, you can make a surface out of that. Draw some lines to create an outline that forms the edges of the surface you want to create. Then select what you have drawn. Use the command prompt and type in EdgeSrf. Click or hit enter to select it. Switch to the Perspective viewport and admire your work by using the shaded or ghosted preview.
Extrude curves
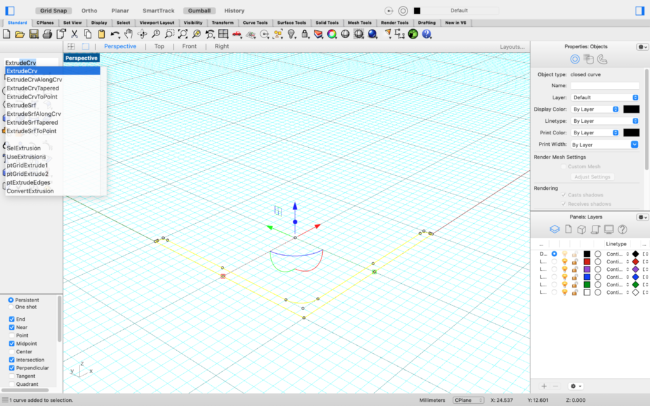
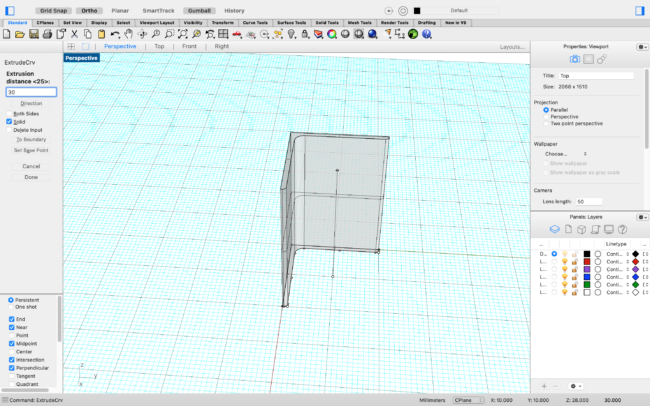
Extruding creates surfaces by extending the path of a curve along an axis. Start by drawing the shape you want to extrude using curves and lines. Use your End OSnap to make sure all the curves are connected, then join them. Select what you have drawn and use the command prompt to find the extrudecrv command. Use the command prompt to define how far you want to extrude and press enter or click your mouse to draw the solid. Hint: Selecting “solid” means you are not creating a “tube” but the extruded curve has caps on the end.
Loft curves
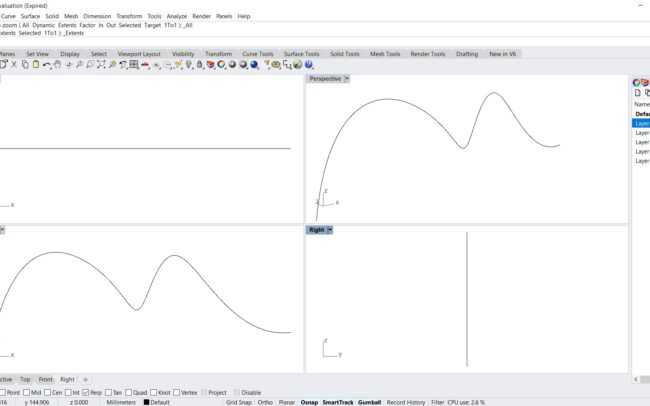
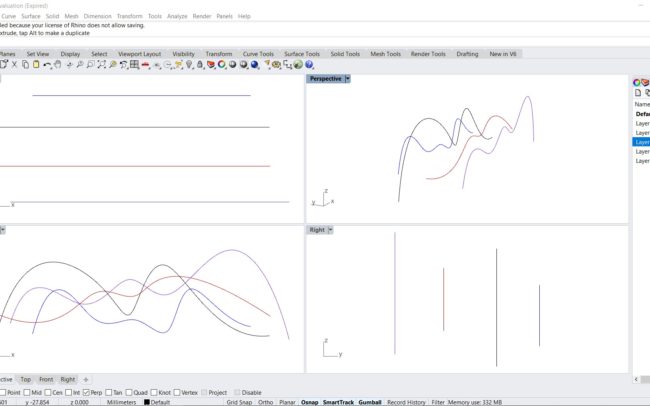
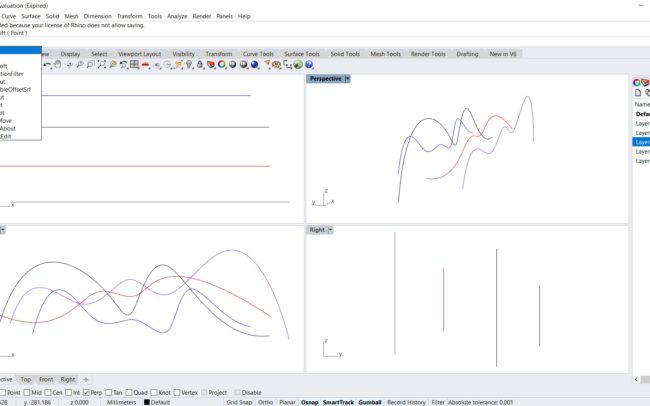
Using the Control Point Curve command, you will draw a curve in the front viewport. Using the Control Point Curve command, you will draw 3 more curves that are similar but not identical to the first one. Select a curve and using gumball, move it away from the others either from the top or right viewports. Repeat this until there is some distance between all 4 curves.
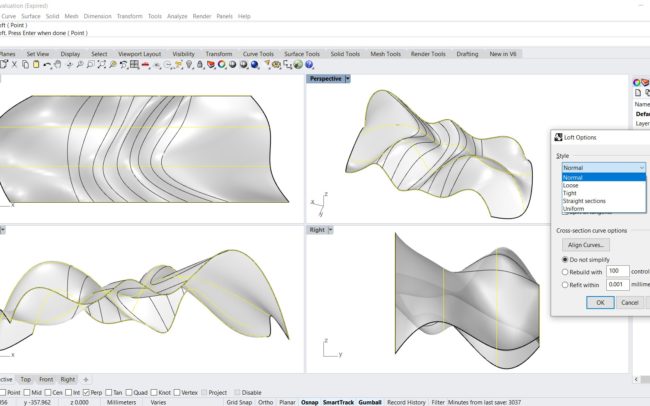
Use the command prompt to type in Loft. Select the curves you want to loft, then press enter. The Loft Options dialogue window will appear. Here you can choose your loft style. The most common Loft style is “normal”. After you have defined your setting, press enter or click OK. Switch to a Ghosted or Rendered display and assess the surface you just created.
Revolve curves
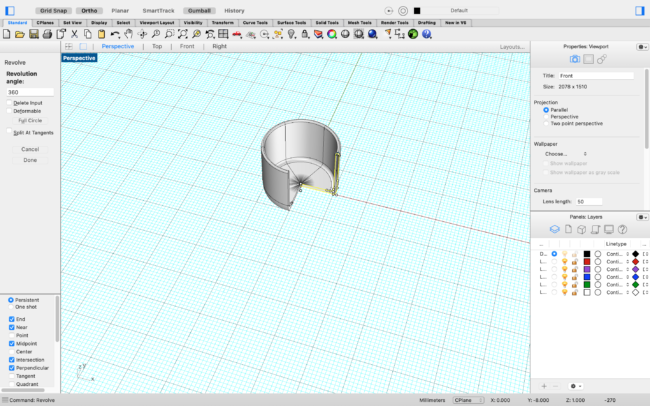
Revolving a curve creates a surface by revolving a profile curve around an axis. Start by drawing a profile out of curves, then make sure all the curves are joined. Select your profile and type in Revolve into the command prompt. Select/draw the line, that will act as axis for the object to revolve around. Ortho and Gridsnap will help you be precise and to draw in the symmetry axis. Choose how far you want to revolve the resulting solid and put in the number into the command window. Type in 360° to have a full circle revolution. Notice how the preview on the right changes accordingly. End your command by pressing Enter. Hint: Use Osnap to be able to work precisely. Notice how the profile used for the Revolve command is still visible.
Sweep along one rail curve
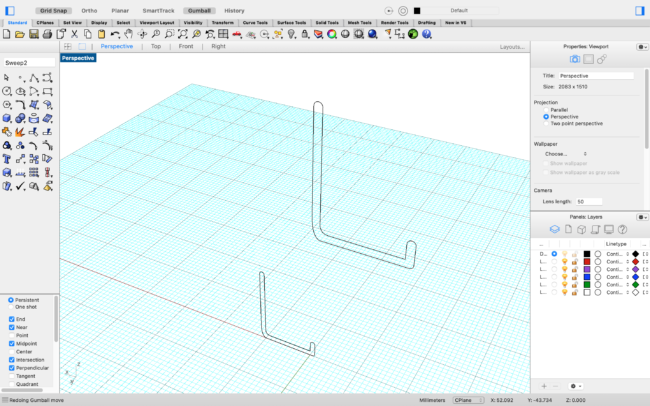
The sweep command creates a surface based on a predetermined cross-section and rail. The rail is the path that the cross-section will move along. First, draw or trace a profile that you would like to sweep. Now you need to create the rail that the cross section can sweep along. Use the command prompt to type in Sweep1. Pick one curve as the rail then press enter. Pick the profile as the cross section, then press enter.(Make sure your OSnap is activated!)
Use the default settings or play around with different adjustments, then click “Sweep” or press Enter to finish the command. Hint: Noticed that the ends of our sweep are open?Use “cap” to close them.
Sweep along two rail curves
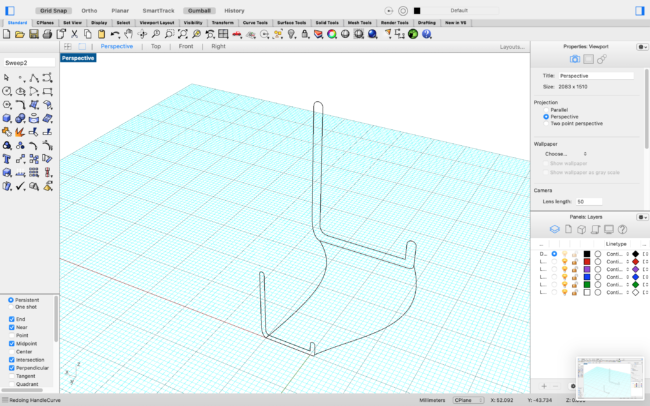
The Sweep2 command fits a surface through a series of profile curves that define the surface shape and two curves that define the surface edges. Use this command when you want to control the location of the edges of the surface. To sweep along two rails we can also use two shapes as basic profiles to build up the sweep. Now connect these two forms by a minimum of two curves. Draw or pick a shape as starting point of the Sweep and then draw or pick another shape. Use Osnap to make sure your curves are all connected. When you have your rails and cross-sections prepared, type in Sweep into the command prompt and pick “Sweep2” from the list. Press enter.
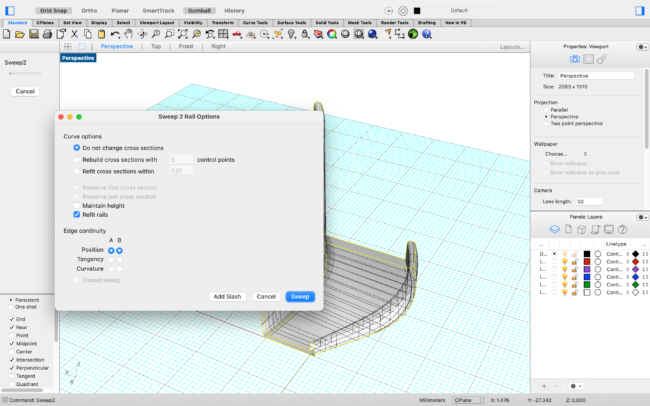
Now choose the two curves you created as rails for the sweep and hit enter. The two profiles will be used as cross sections. Therefore you have to select one after the other and confirm by pressing the enter key on your keyboard. The preview already shows you what the sweep would look like. If you are satisfied with the default settings press “Sweep” to complete the command. Feel free to try out the other settings and explore the tool. After the sweep is complete, you will find that the ends of the object are still open. Use the Cap command to close it.


