growing algae biomass as an alternative source of energy
This tutorial explains how to construct a DIY version of a photo-bioreactor which will use solar energy and artificial lighting with carbon dioxide to produce algae biomass. The aim of this is to create a model which harbours an ecosystem fit to help us escape a fossil fuel economy. The idea is trying to move away from a linear wasteful and polluting way of using resources to a system where all resources are kept in a closed loop cycle.
Materials and Tools
|
|
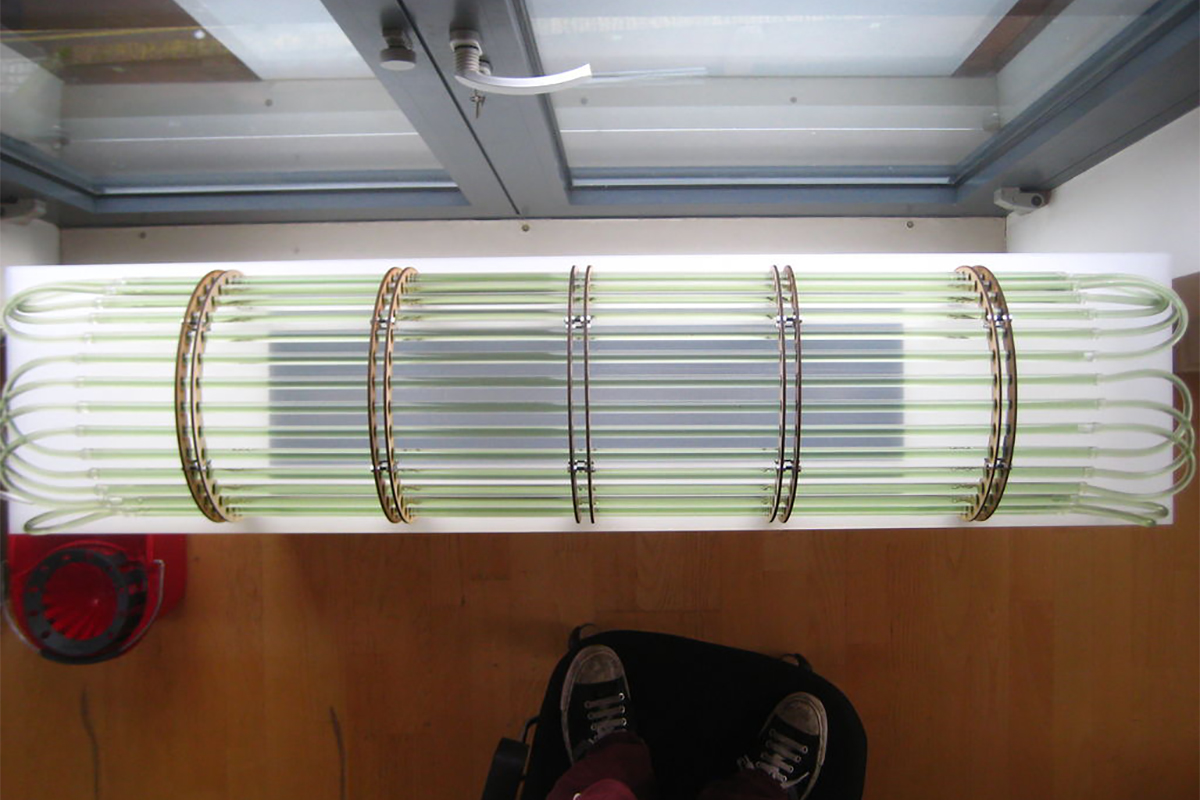
1. The ribs
The ribs are cut from 4mm plywood using a laser cutter. The pipes containing the algae are made of transparent acrylic plastic. Each rib consists of two pieces of wood in order to provide a stable ‘leg’ for each segment. The ribs are spaced apart 20mm which allowed them to be free standing. The M4 grub screws and M4 hexagon nuts are used to hold the ribs together. Together all 5 sets made a very sturdy model base.


2. The Tubes
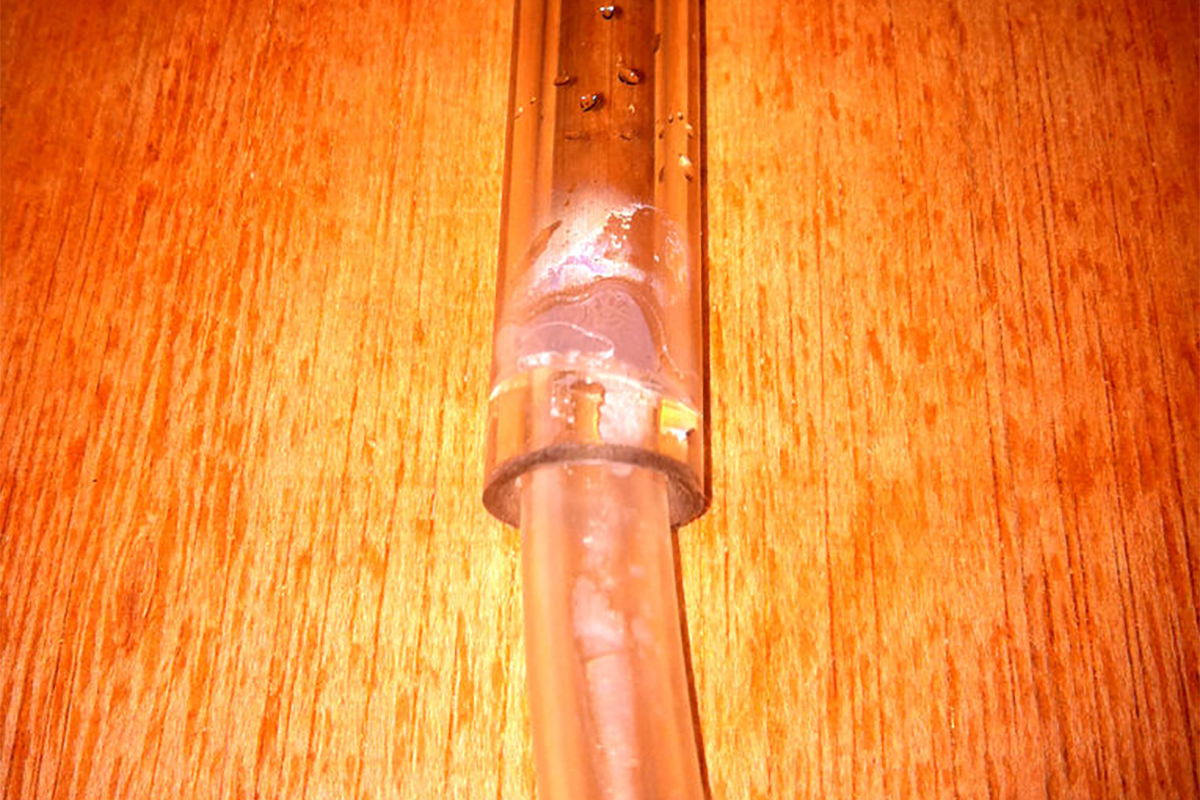
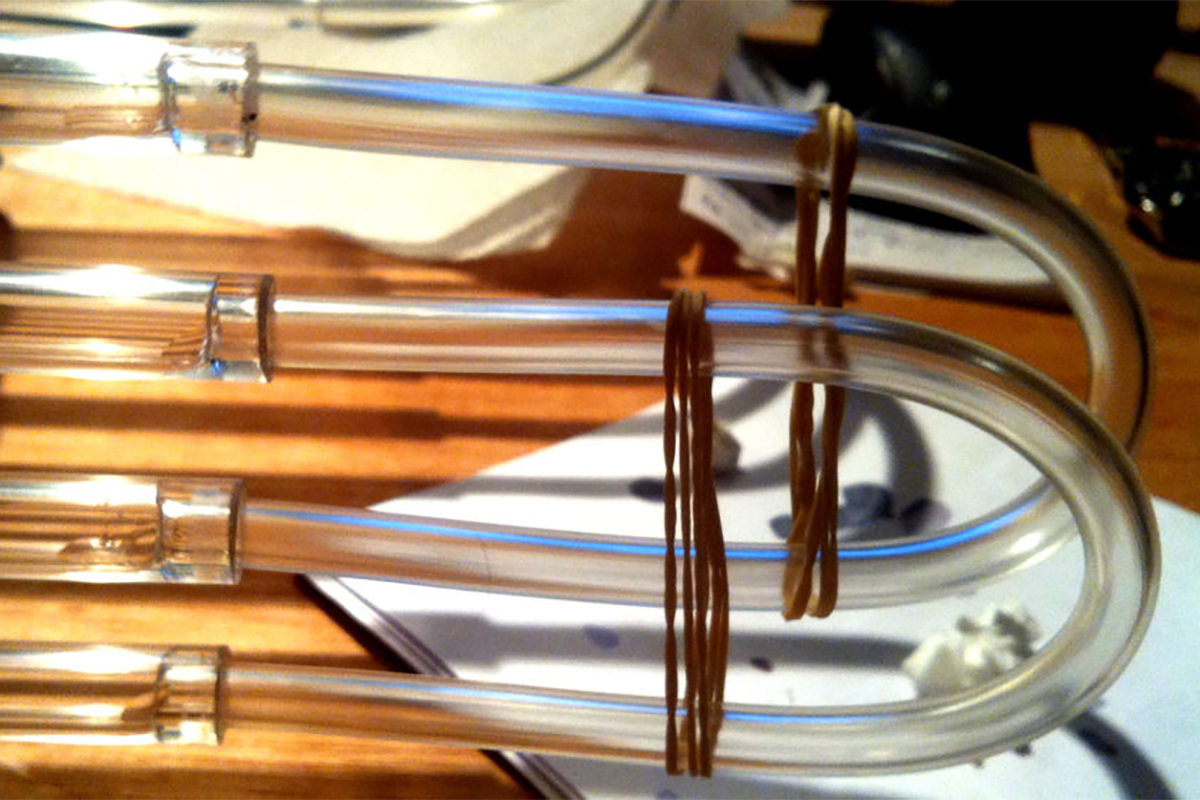
Using clear acrylic tubes was the best option to create a closed loop system where the algae could travel constantly and safely without getting contaminated. The outer diameter of the silicone tubes is 8mm, which fits perfectly into the acrylic pipes.


3. Putting it together
The acrylic pipes have an outer diameter of 12mm. 20 x 1m pieces are used to build the structure. They are inserted through the holes in the ribs. Their ends are then connected to each other via the 8mm silicone pipes. In order to avoid buckling every third is connected.
4. The plinth/base
The plinth houses all the mechanisms that operate the model. It is 1m tall, 1.3m long and 0.3m wide. Holes in the sides show the algae transformation process and technical details.
5. Sealing the bio-reactor
Super-instant glue was used to seal the tubes and the hoses shut to make a closed loop bio-reactor. It was extremely hard to get each tube inside the pipes at first. To solve the problem the tubes were countersunk so that they would slide in with ease.


6. Hose fitting
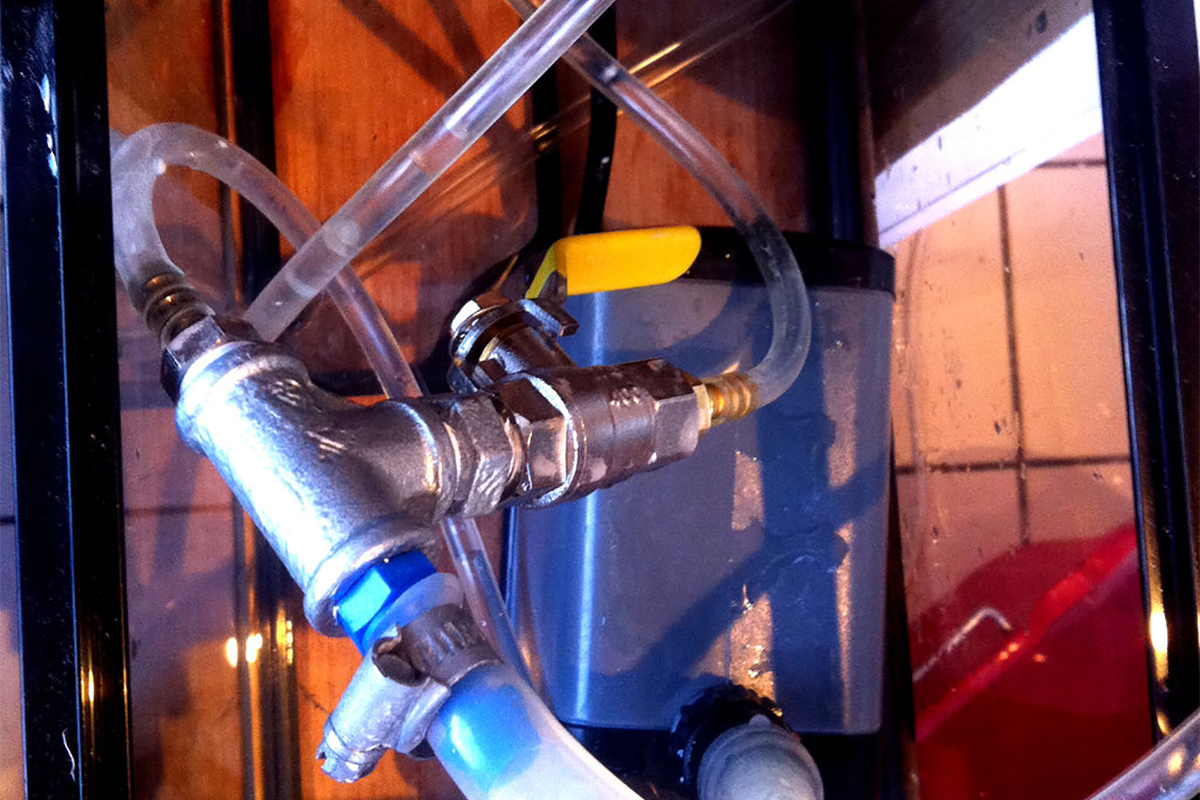
An adjustable handle at the pump allowed to regulate the speed at which the algae would travel around the model and effectively either accelerate or decelerate the growth when needed. Heavy duty clip-on clip-off fittings ensured to completely disconnect the bio-reactor without compromising any connection points, when moving the piece.
7. Test Runs
After letting the glue settle for 40 hours a 4 hours test run ensured that all fittings were tight.


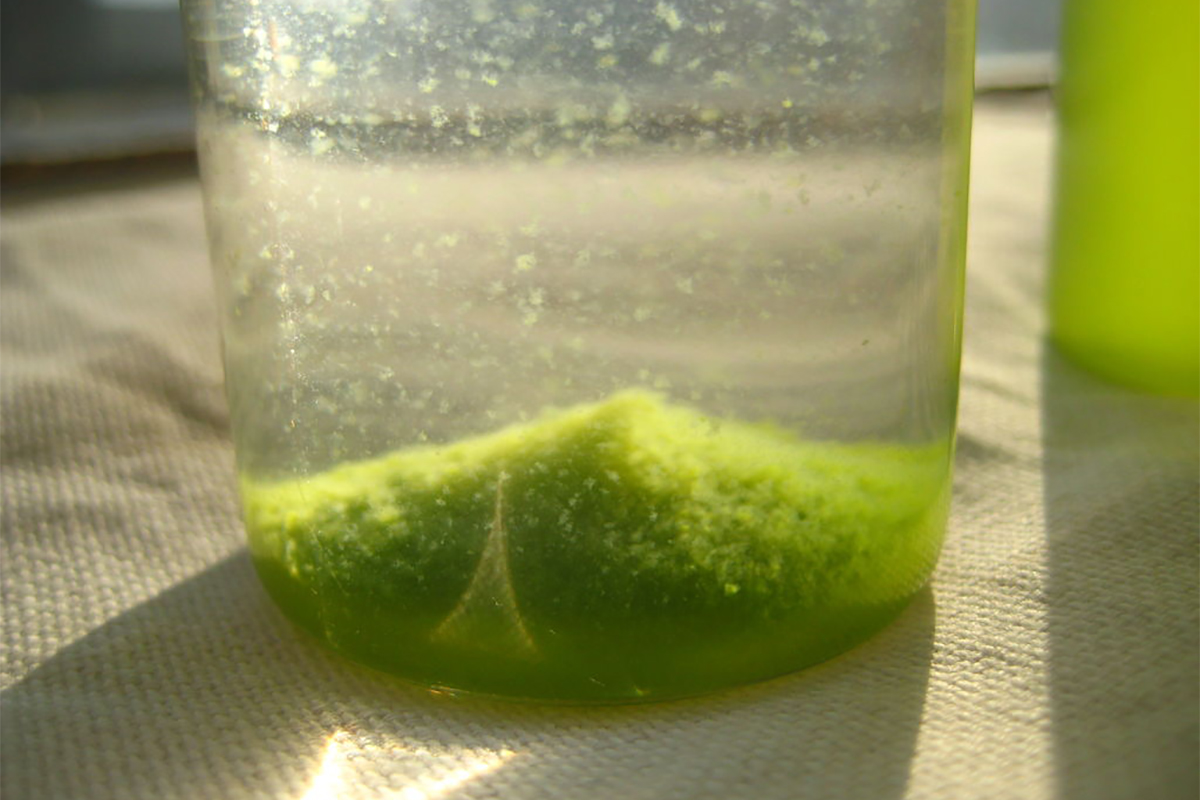
8. Growing the initial Algae culture
The first algae culture was grown from a solution received from the Algae Depot of 50ml. After exposing it to the soon and continuously “feeding” them they multiplied to about 3 x 100ml after a few days. This process was continued until the required 5.5 litres to start the bioreactor were reached. This took approximately 2 weeks. The algae was growing exponentially quicker due to the limited bottle room that was provided along with excellent sun exposure and feeding rhythm.


9. Run the reactor
After reaching the necessary volume the algae culture was released into the reactor. The reactor was ran for 10 days and achieved excellent results. It grew at a steady pace and became greener every day.