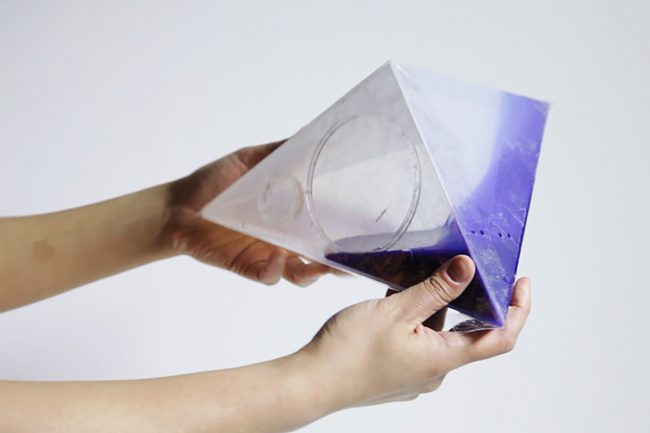
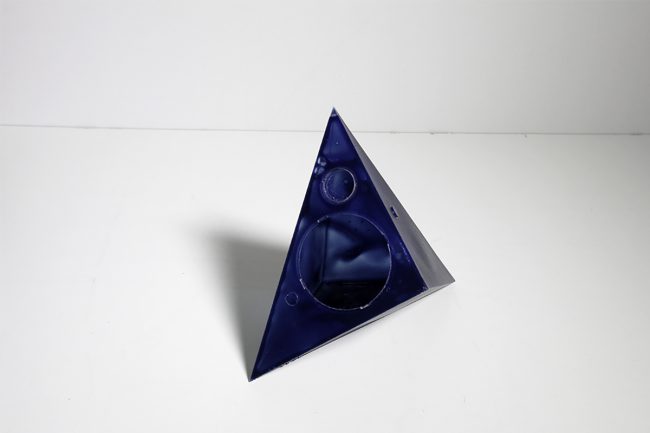
solid plastic containers that can change their color
Polyester resin is a thermosetting resin produced by a reaction between several organic acids and polyhydric alcohols. Industrially used for molding reinforced fiber and composite products, polyester resin was chosen primarily for its perfect binding of the thermochromic pigments. In addition, its property to take on almost any form and surface texture, its aesthetic qualities of translucency, surface quality and relative ease of post-cast processing made it an ideal choice of material for the project.
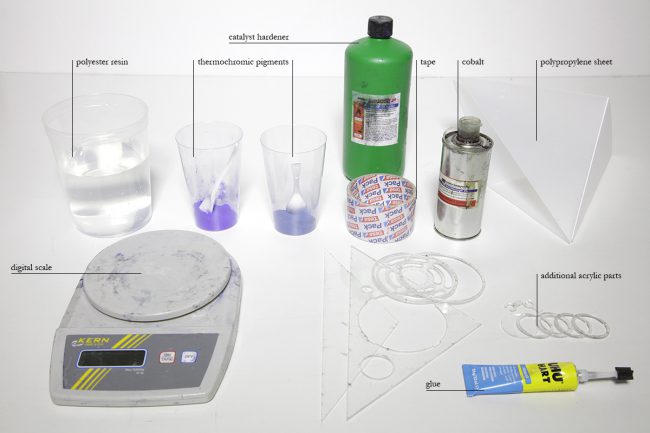
Materials and Tools
|
|
1. Shape Design
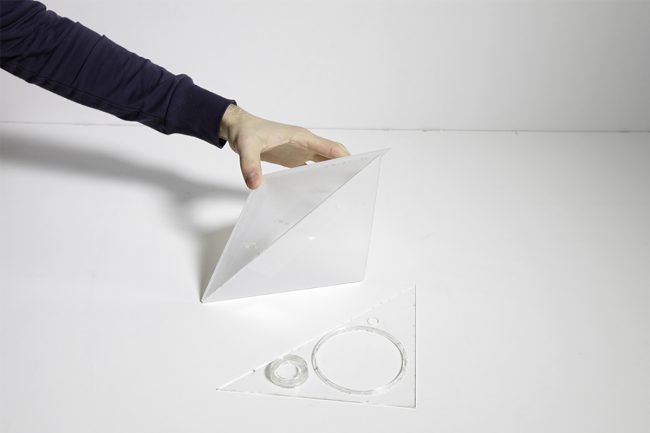
The shape can be designed on a computer using a graphical program. It needs to be developable so it can be cut from flat sheets. The shapes should be cut from two millimeter flexible polypropylene sheets using a laser cutter.
2. Gluing acrylic parts
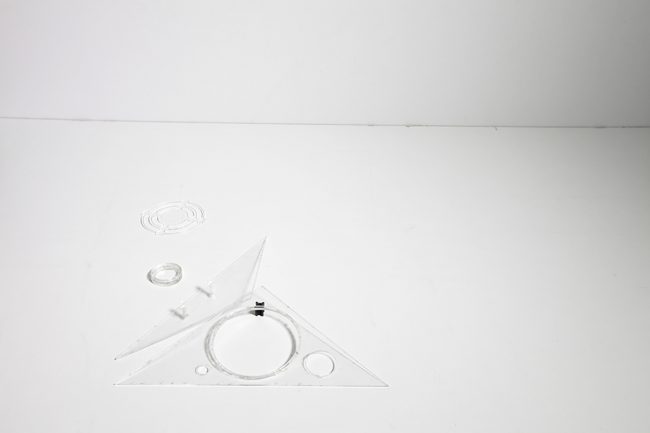
In the particular shape of this project two out of six sides were made from acrylic plates that would later house and support the supplementary electronic components. The clear acrylic pieces need to be glued together according to the design.
3. Mold assembly
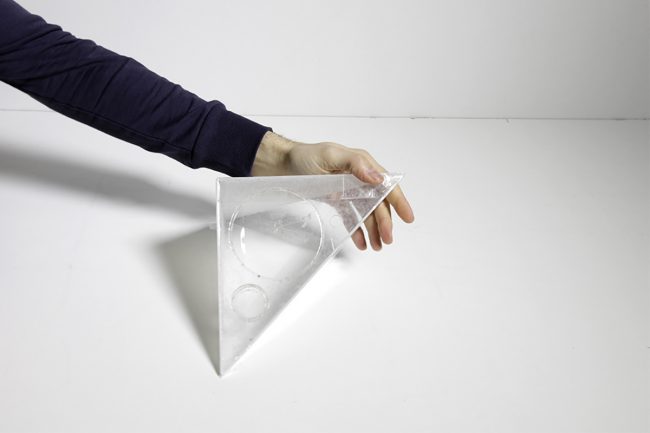
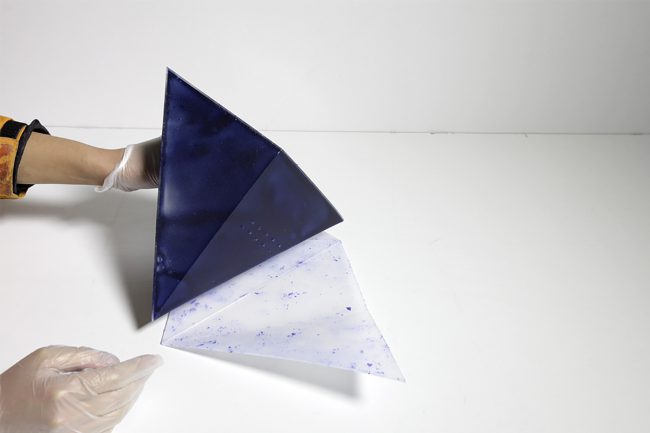
The polypropylene and acrylic parts need to be joined into a three-dimensional object using scotch tape. It is important to avoid wrinkles in the tape since these might lead to leakage later. If the mold is curved, small pieces of tape will help to interpolate the curve and prevent wrinkles. All holes of the mold have to be carefully closed with tape, except for one opening that is needed to pour in the resin.
4. Thermochromic resin mixture
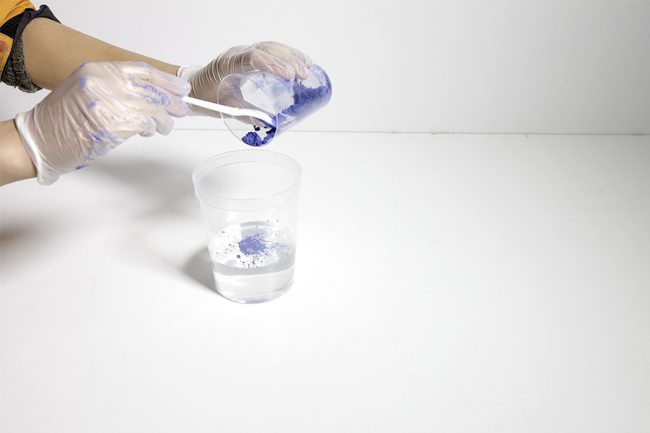
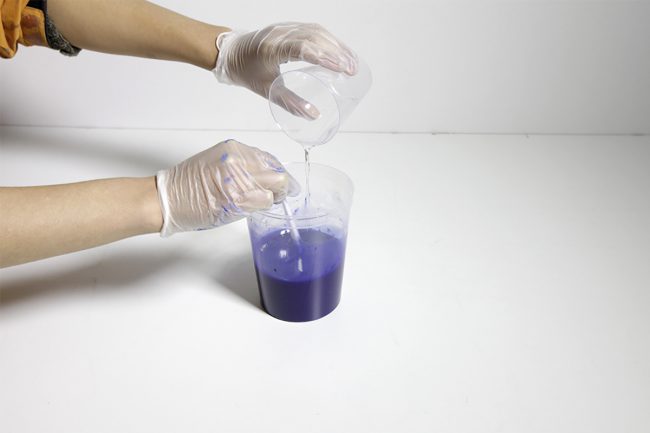
A rotational mounding process is used to cast the resin components. This technique allows the creation of hollow components with an economic use of material. Additionally it creates a visually interesting effect of layer variation within each component. The mixing ratios are: 100 ml (110 gr) of resin with 4 g of leuco dye pigment, 2.5 ml of hardener and one drop of cobalt. A larger amount of pigment will lead to a faster color reaction. Since various types of polyester resin and hardener exist the specified mixing ratios should be used. If unclear the material supplier has to be contacted. The components in this tutorial have an area of almost 100 cm2 and need a wall thickness of 3 mm, hence 300 ml (350 g) of resin are used per piece. Two different colors are used for each component, a blue as base color (6 g) which turns translucent at 33 °C and a purple color (6 g) which dissolves at 44 °C. Both, the resin and the two pigments are mixed and stirred until no clumps remain. Once they’ve completely dissolved 7.5 ml of hardener are added as well as a drop of cobalt. The cobalt, which increases the speed of the curing process, needs to be handled with extreme care, since excess could raise the temperature to dangerous degrees. The liquid is then stirred until all parts are evenly dissolved.
5. Shape fabrication
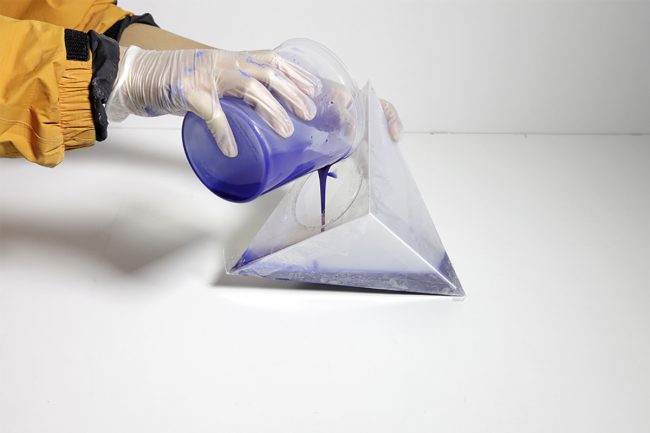
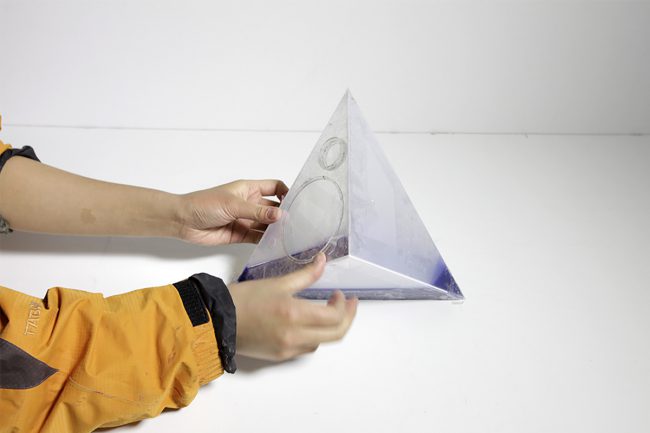
Now the thermochromic resin mixture is poured into the mold. Once everything is inside the mold the opening needs to be closed with scotch tape. The mold is then continuously rotated around all axes. The process should be at consistent speed and motions be repeated to ensure an even spread of material. After ten minutes the resin begins producing heat and turns extremely liquid, almost watery as well as slightly change its color. Despite this effect, it is important to keep rotating exactly as before. After another ten minutes it becomes more viscous again. This marks the most important state, and rotation should be continued with extra care, before the mixture solidifies one to two minutes later. The component then has to rest for about five minutes before proceeding to the next step.
6. The openings
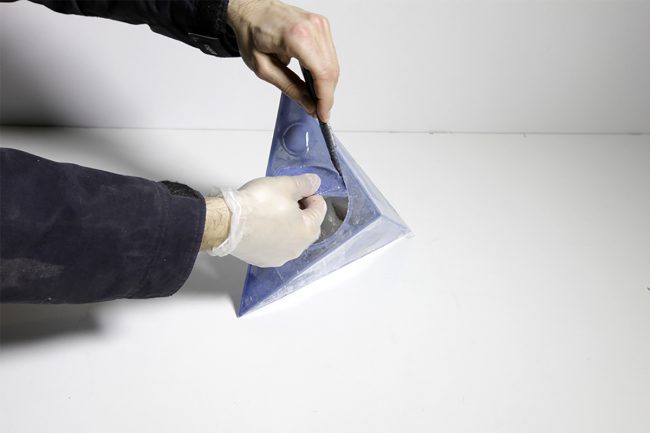
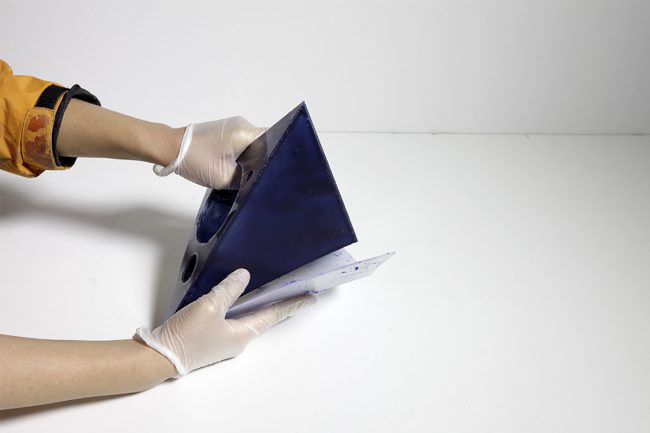
Since at this stage the resin is already solid but not completely hard, the necessary openings can be cut with a utility knife. The openings need to be cleaned thoroughly. The components then have to cure for at least twelve to twenty-four hours, depending on the shape and thickness of the material.
7. Pay attention
The whole procedure must be done in a well ventilated space that has a temperature of about 20°C. The colder it is you need more hardener and the hotter it is, less. But don’t work below 13°C, the cure might not even start and if it starts, the result will be very lumpy. The more pigment you put the faster it reacts to temperature change. There are different types of polyester resin and various catalyst hardeners that go with them. Follow the ratio specified in the hardener. Since the rotation was done by hand we had to speed up the procedure by using a big ratio of resin/hardener, it still needed about 20 minutes of rotating. Pay attention to the amount of cobalt. Typically you mustn’t mix cobalt and catalyst hardener, but we use 1 drop/100 ml to increase the heat of the resin which results in faster transition time, from liquid to solid. Have some emergency strips of tape in case of leaks.
When you mix the resin and especially when you are cutting the openings wear a mask and protective glasses, the fumes of the resin are toxic and burn the eyes. All this can also be applied in flat surfaces without rotational molding.


