cooking bioplastics from gelatine
This tutorial is based on instructions that can be found at Green Plastics as well as the book Green Plastics: An Introduction to the New Science of Biodegradable Plastics by E. S. Stevens, which provides in depth information on the use and production of bioplastics. Furthermore we were lucky to work together with swiss designer Beat Karrer who has experimented with biopolymers in an applied context for several years.
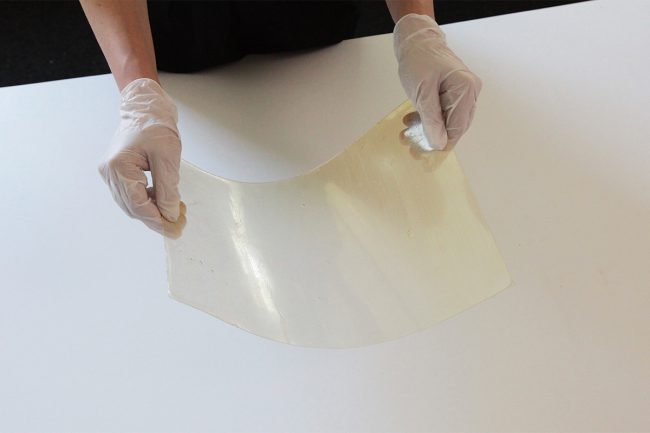
There are a variety of different types of bioplastics. In the following recipe we will produce a thin sheet (roughly A3) of Bioplastic based on Gelatine which can be post-processed using a laser-cutter. Further instructions on other kinds of Bioplastic can be found at the end of this article.
Materials and Tools
|
|
1. Create Mold
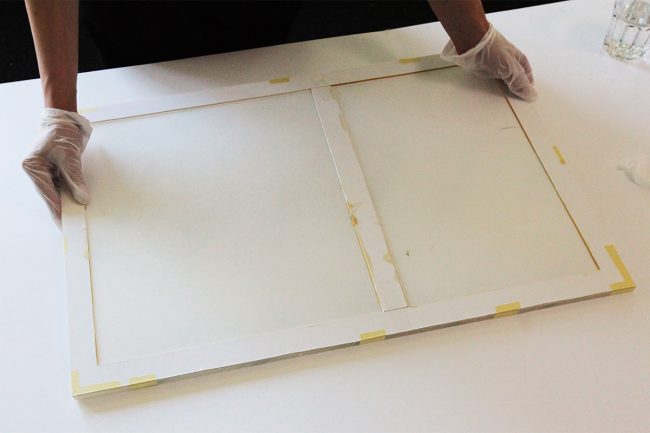
Prepare mold from cardboard or other material. Make sure the form has no holes or weak parts to prevent leaking of the liquid bioplastic. You can also create more complex shapes, depending on the thickness of your final form though, the material can take very long to dry fully.
2. Prepare Work Area
Clean your surface and turn on hot plate.
3. Water
Pour 240ml of cold water into your pot.
4. Gelatine
Measure 48g of Gelatine Powder using a food scale and add it to the water.
5. Glycerol
Measure 12g of Glycerol using a food scale and add it to the mixture. The amounts can be adjusted as long as the ratio remains roughly the same. Less Glycerol will result in a more brittle but harder material, more Glycerol will create a more flexible and soft sheet.
6. Stir and Heat
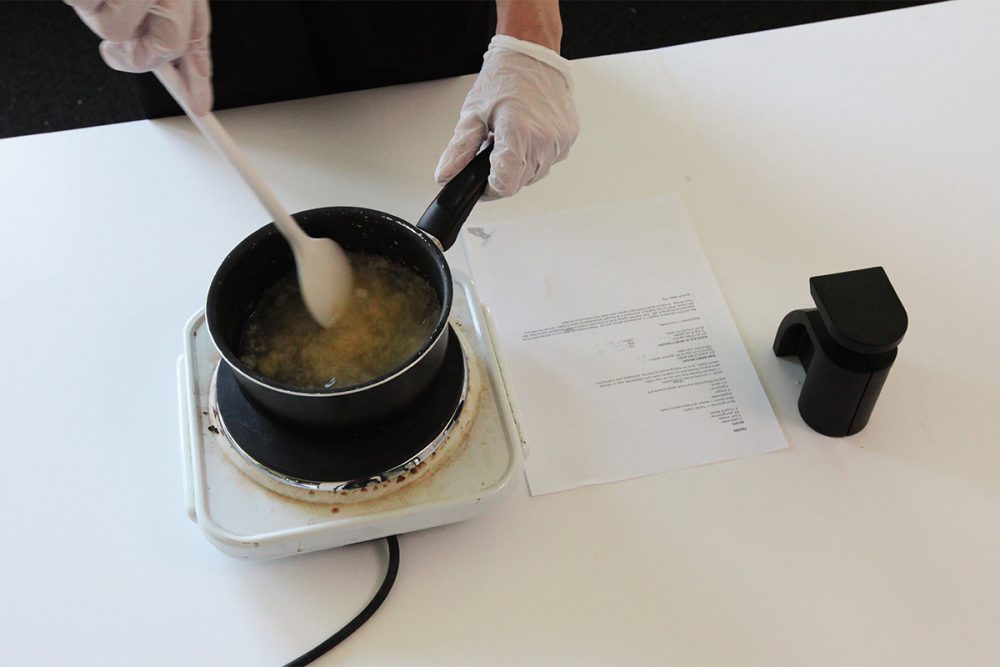
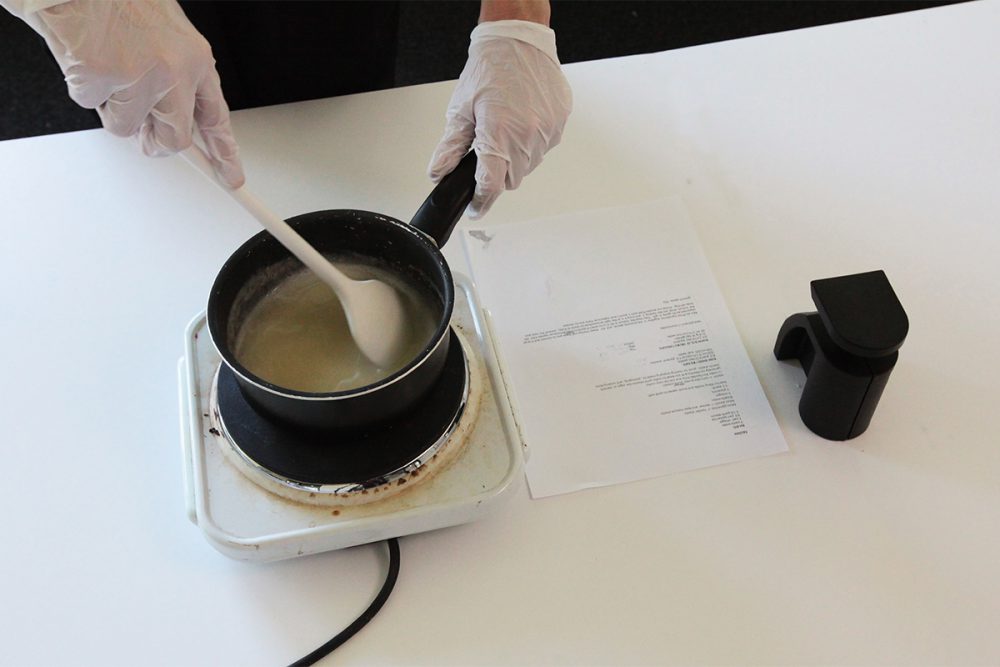
Stir mixed ingredients until there are no clumps and it is as dispersed as it’s going to get. Heat mixture to 95° C or to when it starts to froth. Continue stirring mixture while heating. Keep measuring the temperature and remove the heat once it’s at the right temperature or when it starts to froth. Keep stirring for another few minutes. Remove excess froth with spoon and make make sure there are no clumps in the mixture.
7. Pour liquid into mold
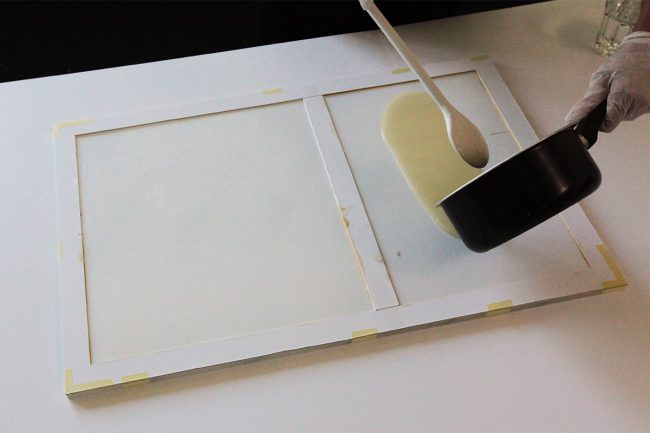
Once the mixture is ready and no clumps remain, pour it directly into the previously prepared mold. Place aluminum foil underneath mold and maybe grease mold first with vegetable oil (depending on your shape and material). Spread the liquid equally throughout the surface.
8. Wait and Dry
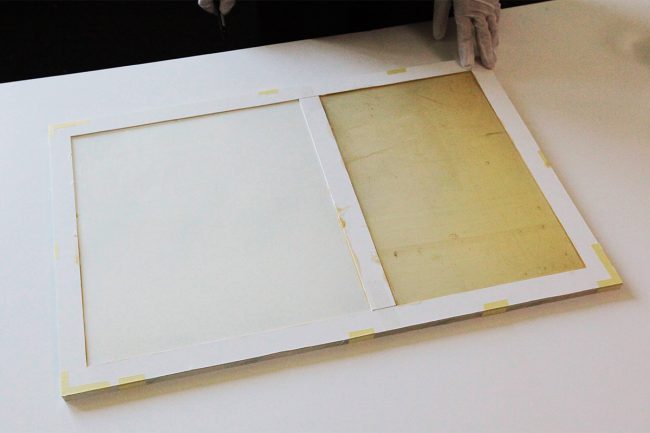
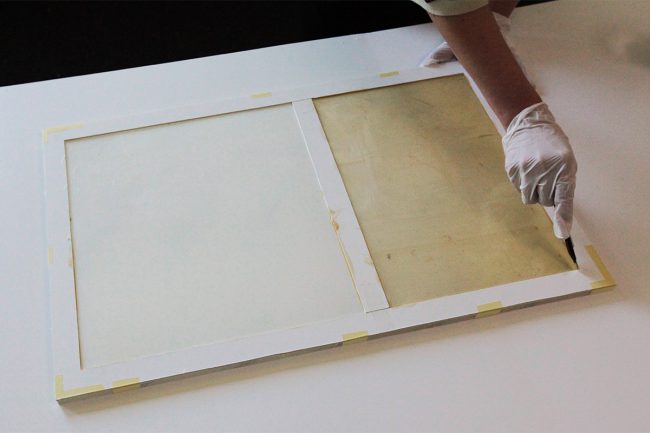
The drying period strongly depends on the thickness of the final product but also on room temperature and humidity. It may take up to several days until sheet is fully dry. Once the sheet is fully dry it can be removed from the mold carefully using a scalpel or thin knife.
9. Additional information
http://issuu.com/oi-ying/docs/bio-plastic_handbook2
http://green-plastics.net/


