fluidic actuators from soft silicone materials
This tutorial is loosely based on research into soft robotics at the Whitesides Research Group, Harvard University Department of Chemistry and Chemical Biology. It was made possible through an exploratory workshop initiated by Roman Kirschner and the Liquid Things research project and was developed by Ben Haworth.
The phosphorous powder is additional and does not influence the working principle of the robot, it merely makes them glow in the dark. These steps are marked in italic.
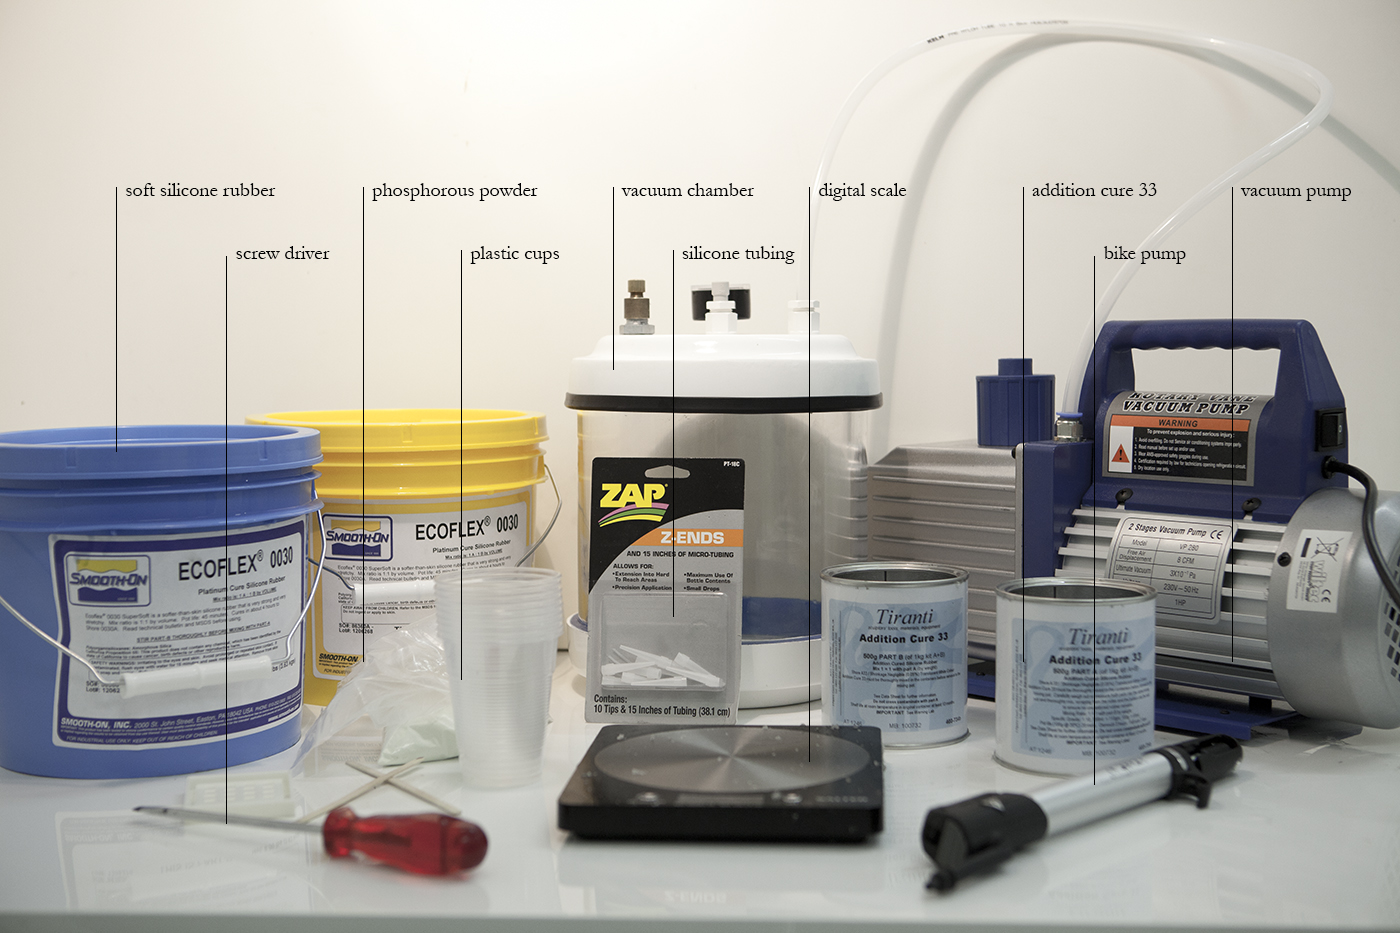
Materials and Tools
|
|
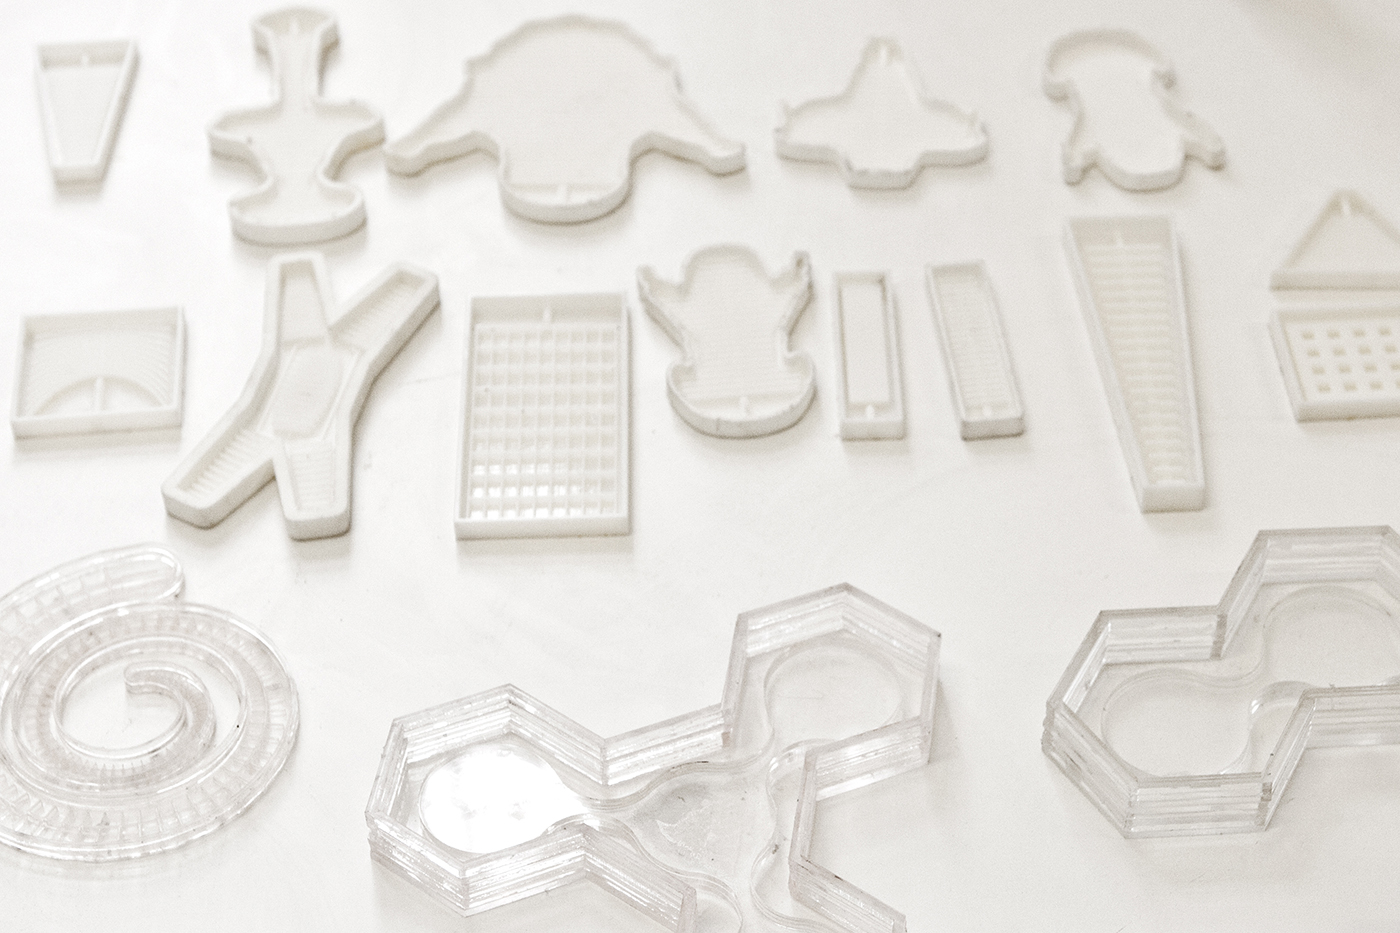
1. Mold making
The mold for the soft robot can be created using 3D CAD software. It needs to include the desired capillary system and can then be printed using an ABS or similar 3D printer.
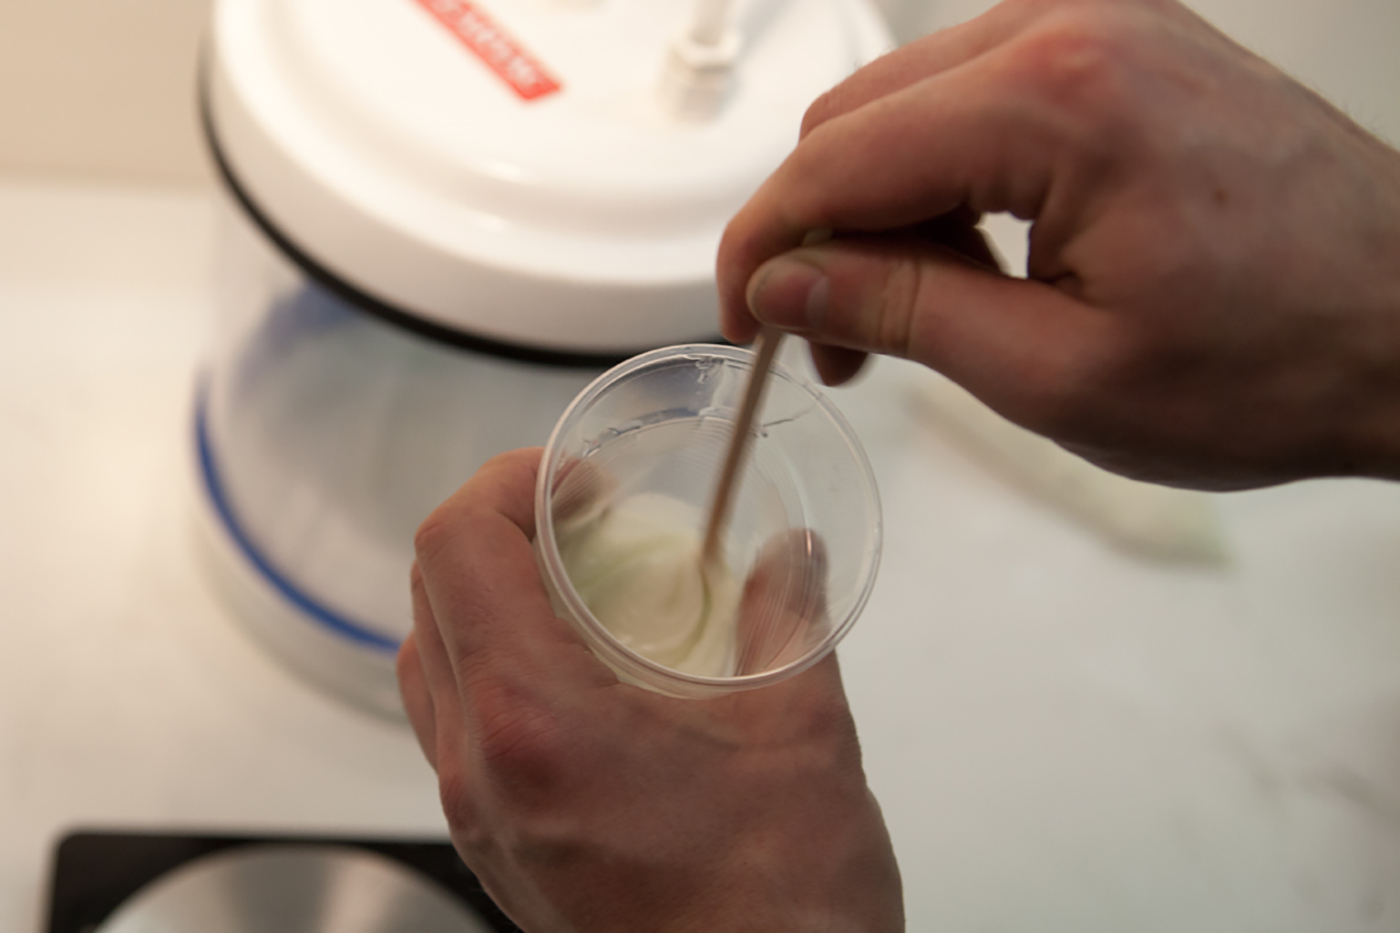
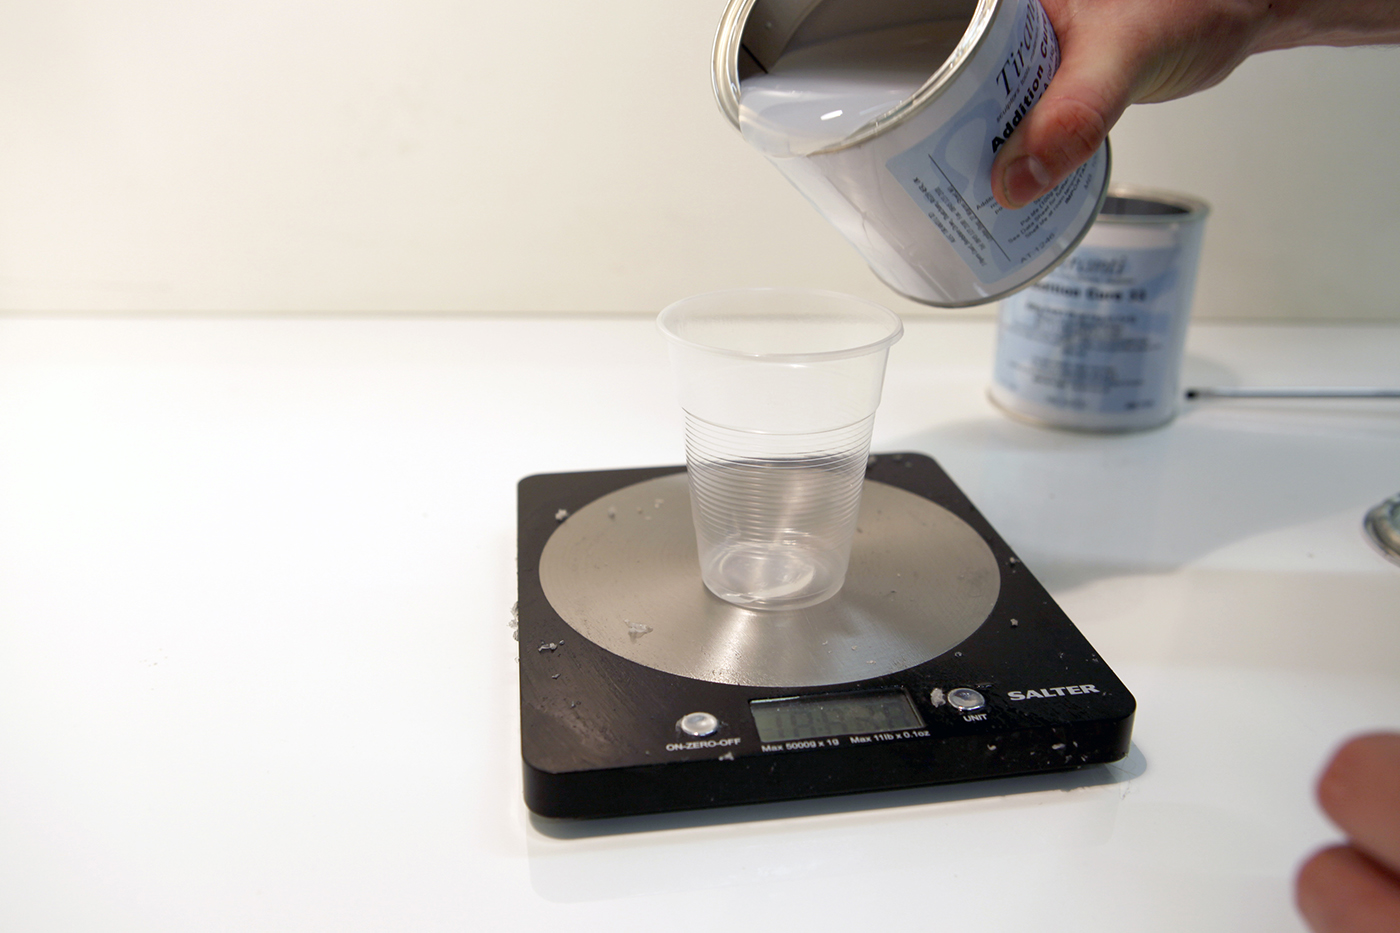
2. Soft silicone mixture
The Ecoflex Supersoft Silicone Rubber Part A and Part B have to be mixed in a 1:1 ratio according to the volume of the mold. Continuous stirring until both parts are mixed equally is important. Next the solution is degassed in the vacuum chamber until no more bubbles appear. The phosphorous powder can then be added in a ratio of 1 (powder) to 5 (silicone). The solution again needs to be stirred and degassed.


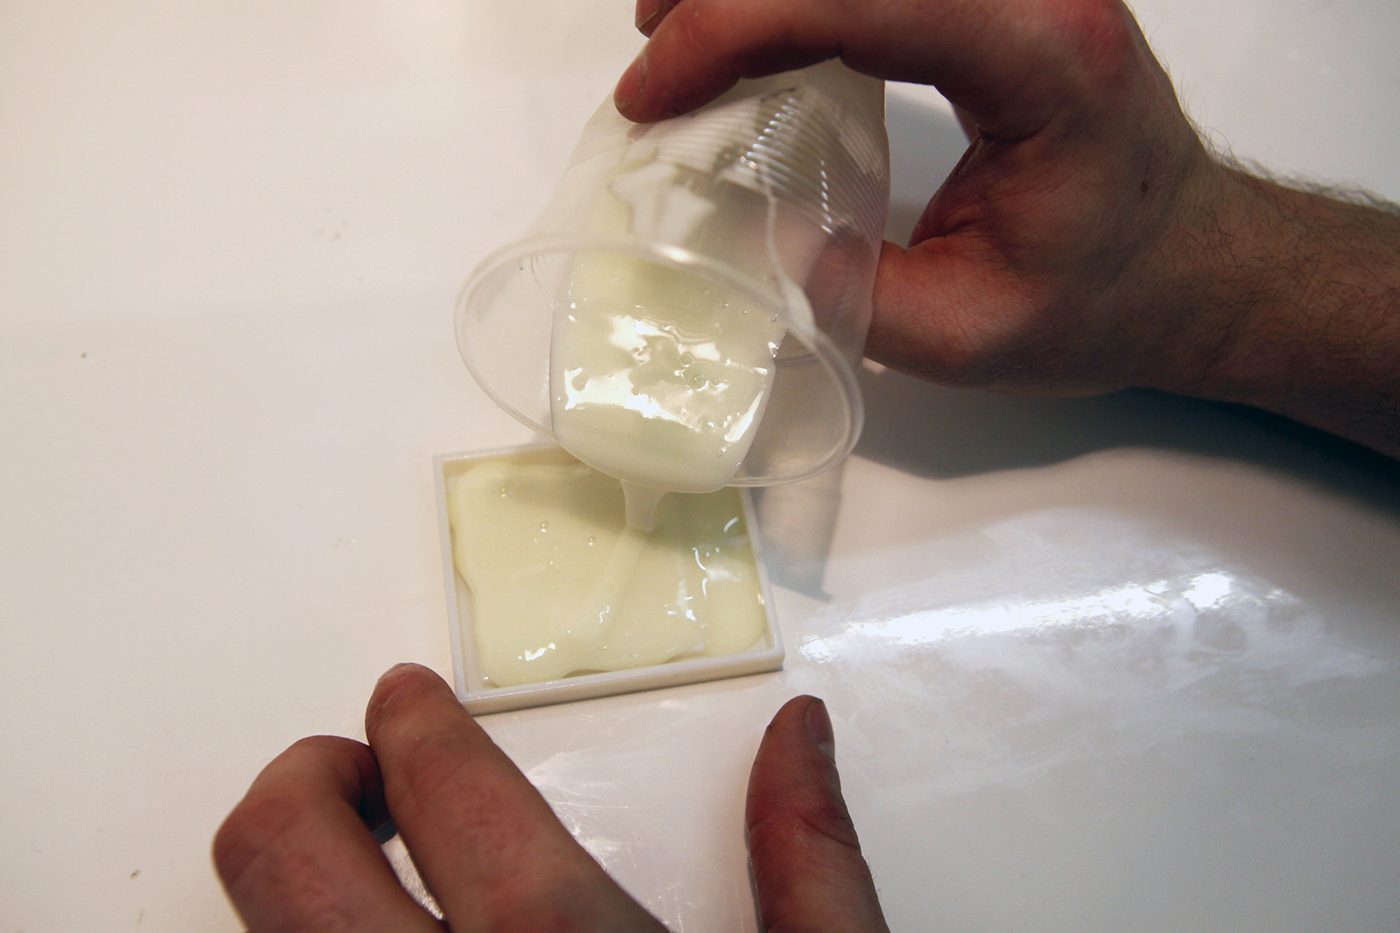
3. Soft part of robot
The mixture is poured into the clean and dust free mold. Once the silicone has evenly settled the mold is placed back into the vacuum chamber and degassed until no more bubbles emerge. The silicone needs to dry for two to three hours (depending on the size of the mold) until it has reached a coherent state.

4. Hard silicone mixture
The Addition Cure 33 Silicone Rubber Part A is mixed with Part B in a 1:1 ratio. After stirring the mixture has to be degassed until no more bubbles appear. The liquid is then poured into a flat mold that has roughly the same size as the 3D print in order to create a one to two millimeter thick sheet, which will form the backside of the actuator. The silicone again has to dry until it reaches its hardened state.
5. Joining the parts
Both, the soft and hard silicone can now be removed form their casts. Again a small solution of Addition Cure 33 Silicone needs to be mixed and degassed. The finished solution is then spread evenly across the clean surface of the hard silicone part. Using the same mixture a piece of rubber tube is glued into the soft silicone part. Finally the soft and the hard part are joined together while pressing them firmly. It is essential that the bonding is completely airtight. The component needs to dry for several hours.
6. Inflation
The dry device can now be inflated with a bicycle pump and the correct tube adapter. In order to see the ‘glow in the dark’ effect the lights have to be turned off.


8. Additional Tutorial
There’s a great, very detailed, tutorial by Ben Finio on an “Air-Powered Soft Robotic Gripper” on Instructables
Right image by: Ben Finio

