Overview
In this tutorial, you will learn how to triangulate and unfold your 3D model so that it can be producible. You will generate the folding plan for laser cutting.
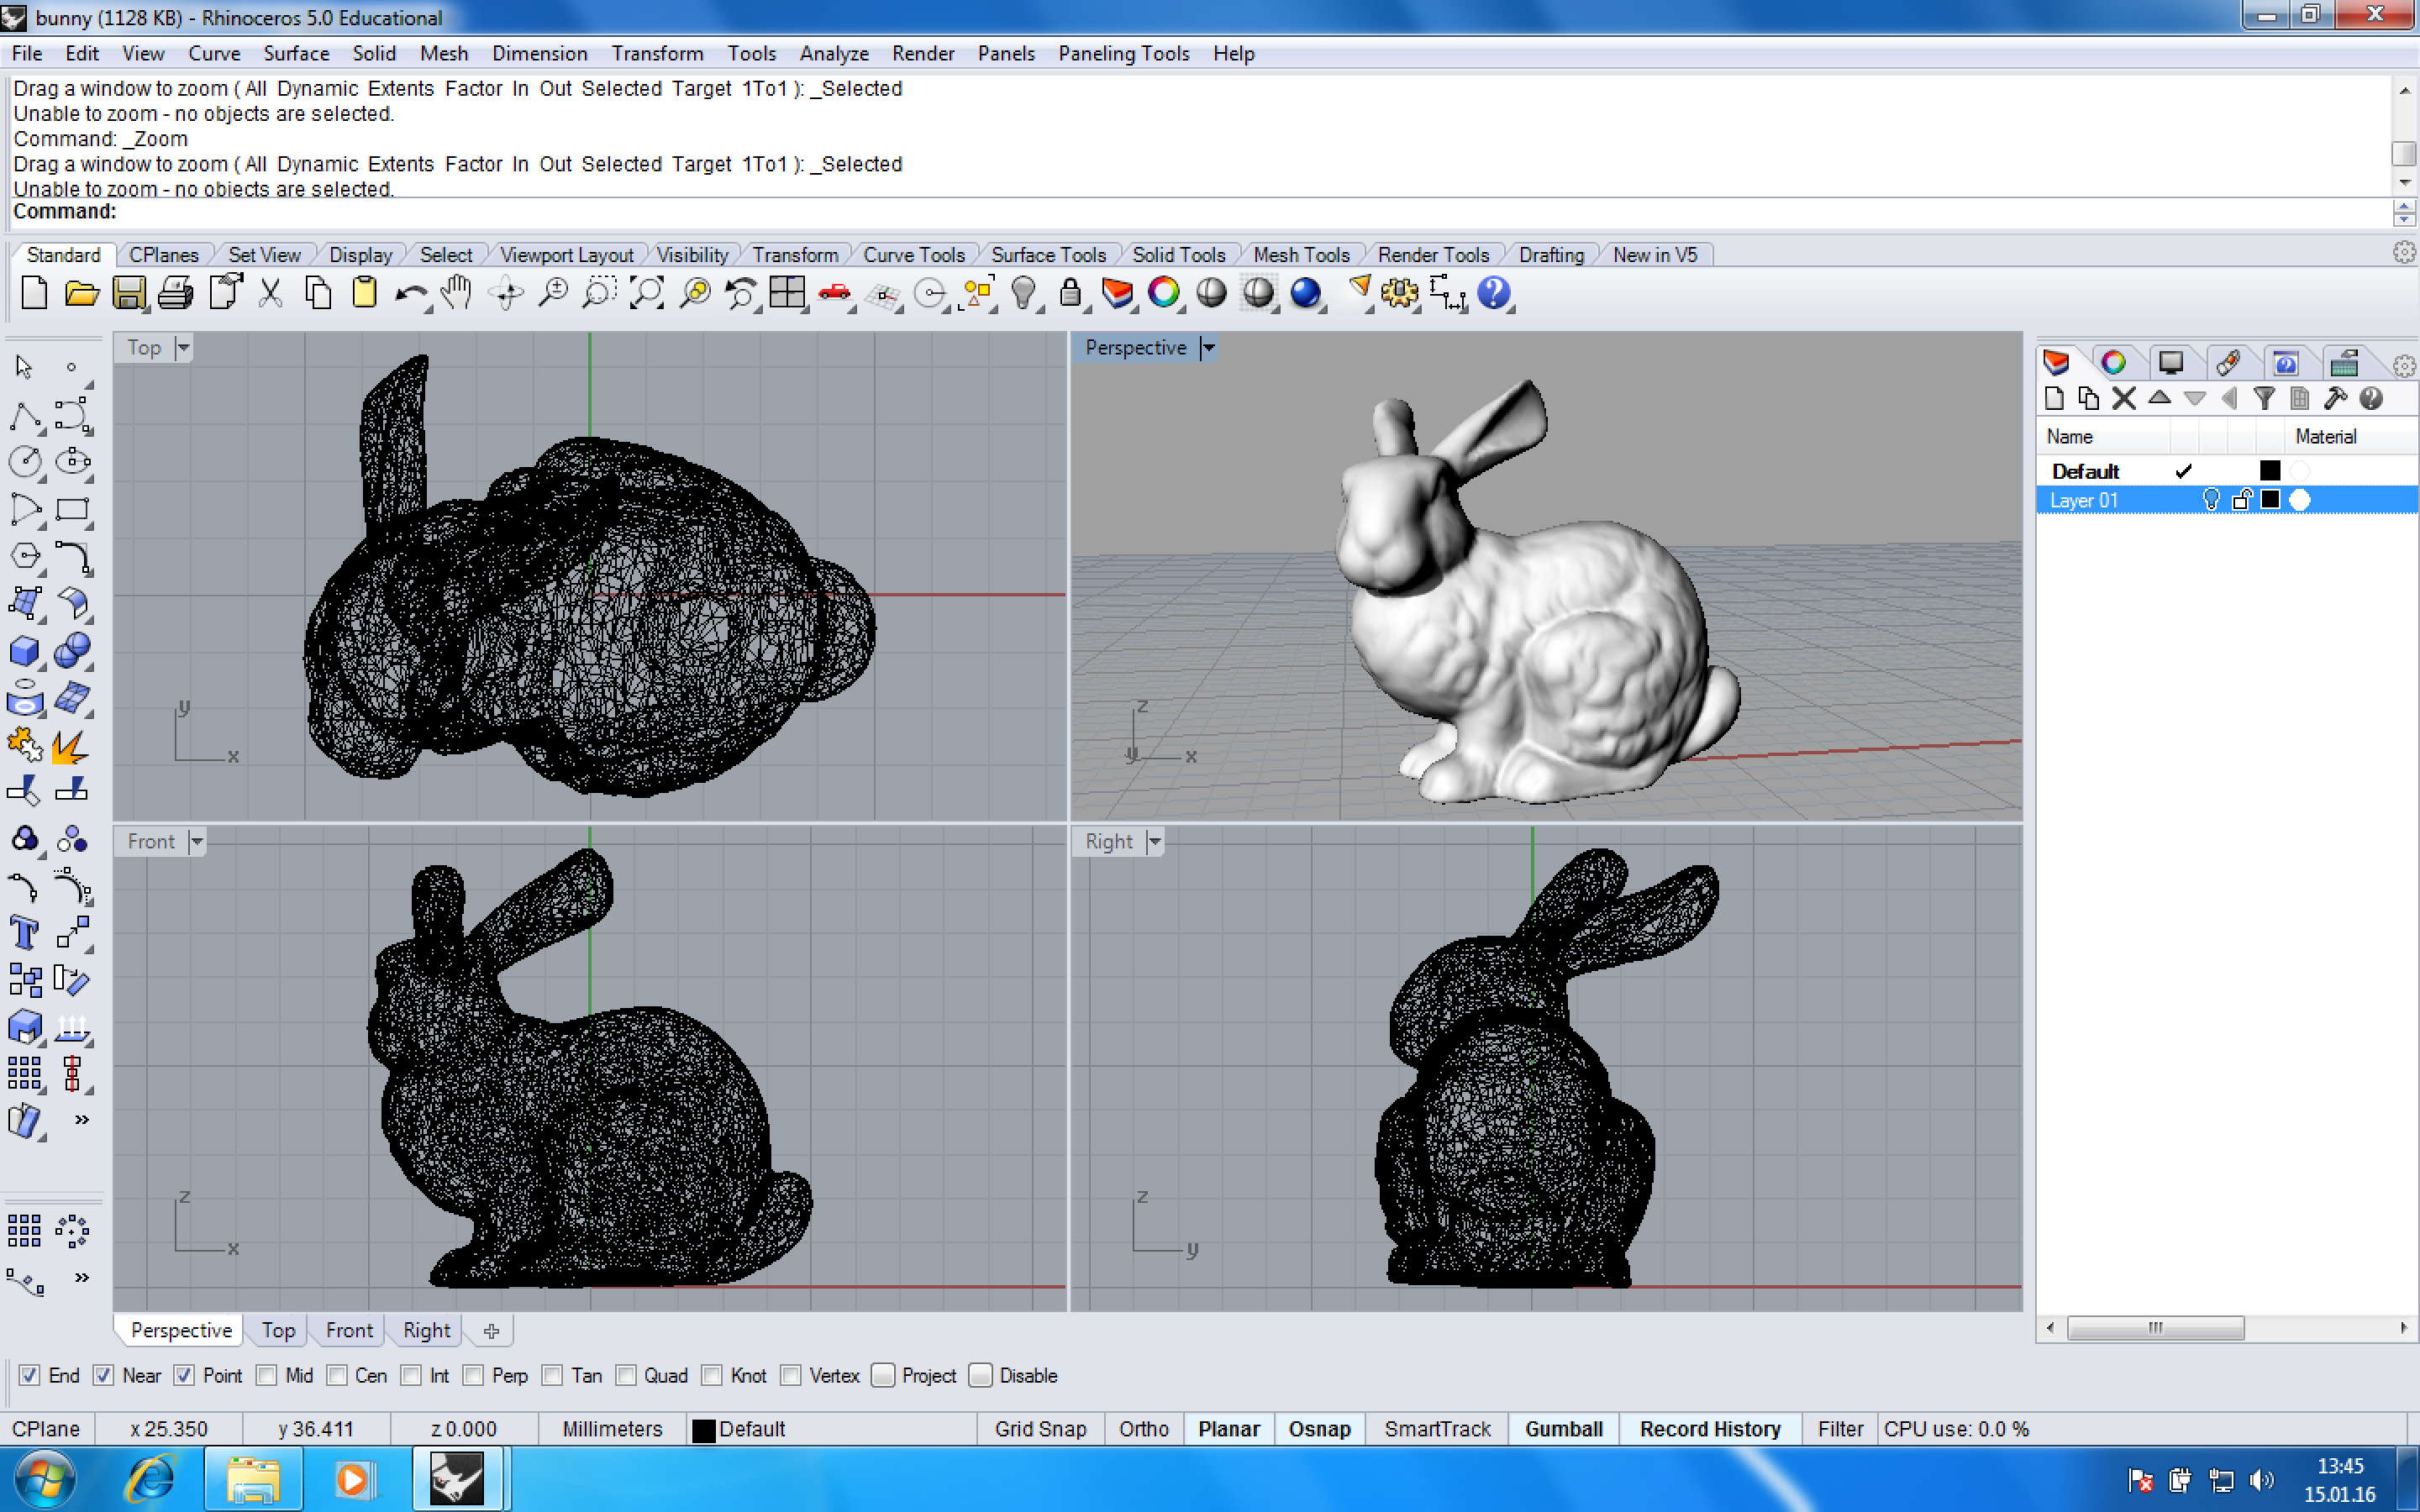
Import Geometry
Draw or import your geometry into the Rhino workspace. Switch to Front View.
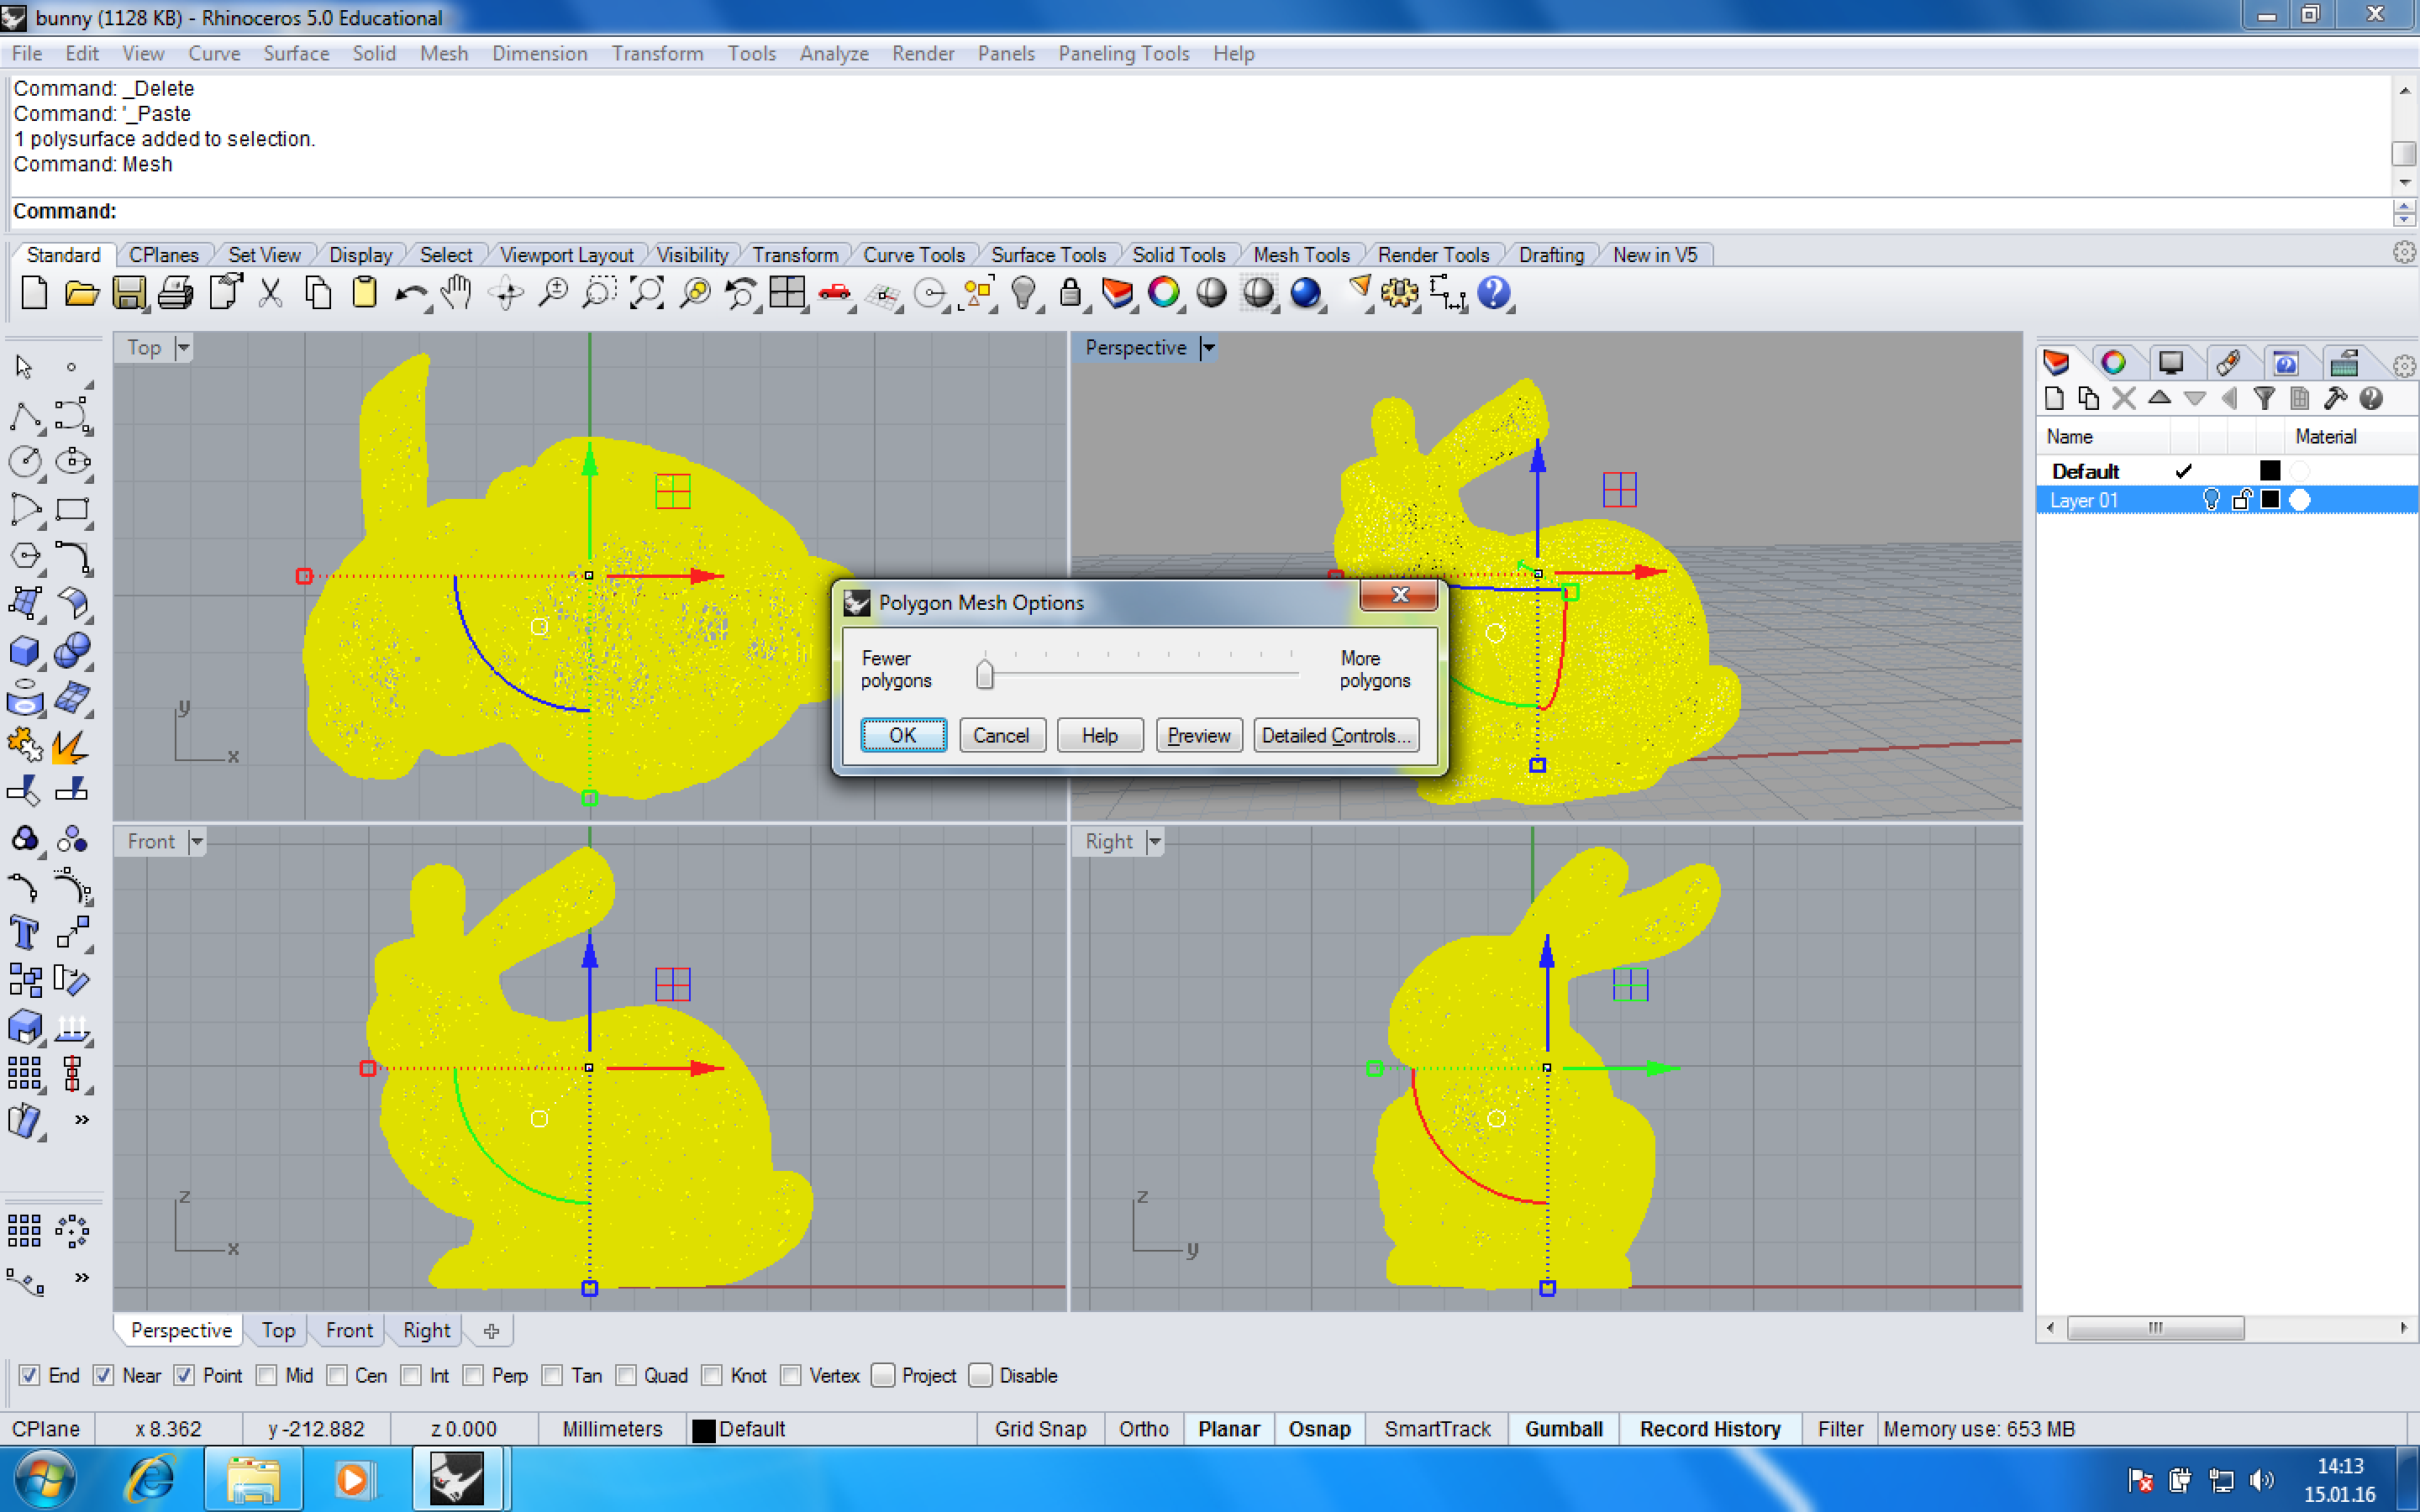
Mesh
Use Mesh to transform NURBS geometry into MESH geometry. Fewer polygons will result in a coarser mesh, more polygons in a more detailed representation. More info on meshes can be found here: http://wiki.mcneel.com/rhino/meshfaqdetails
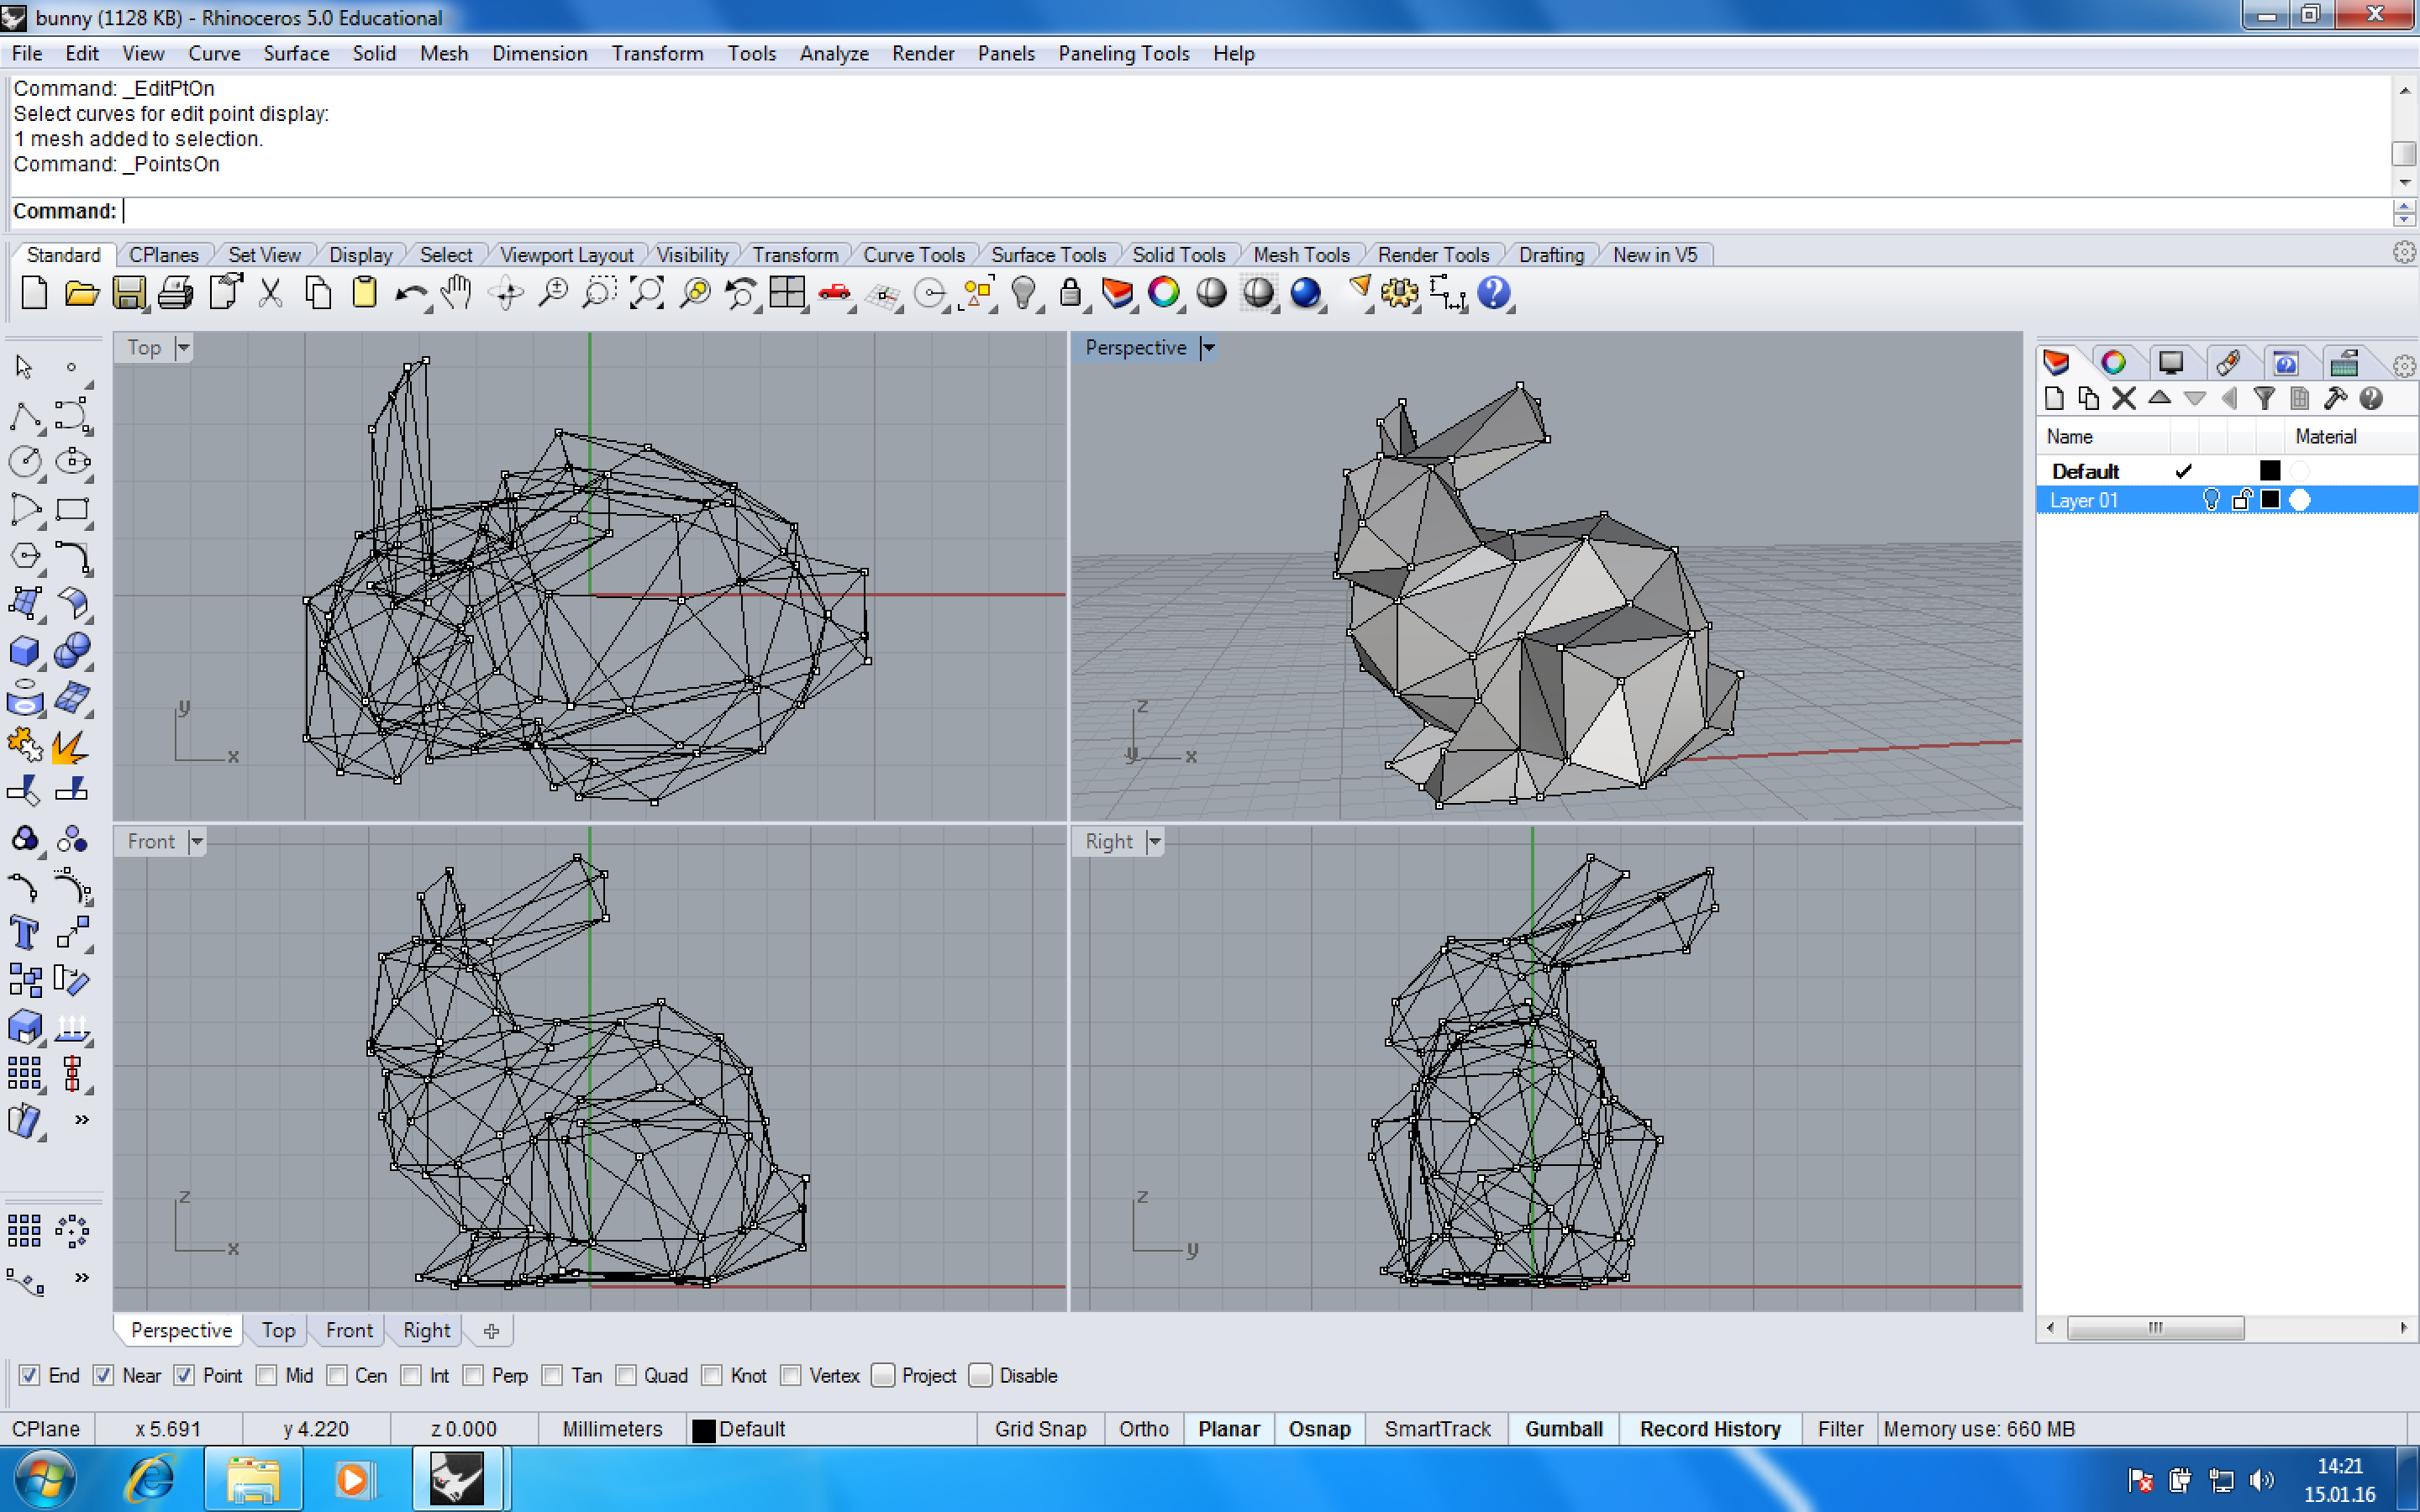
Use ReduceMesh to adjust the amount of polygons. Meshes of about 120 – 150 polygons can be easily manufactured. A higher number will result in a higher ‘resolution’ but also more complex fabrication and assembly. Check the appearance of the geometry. Turn on control points (PointsOn) to adjust mesh polygons manually and – if desired – transform the geometry.

Nurbs
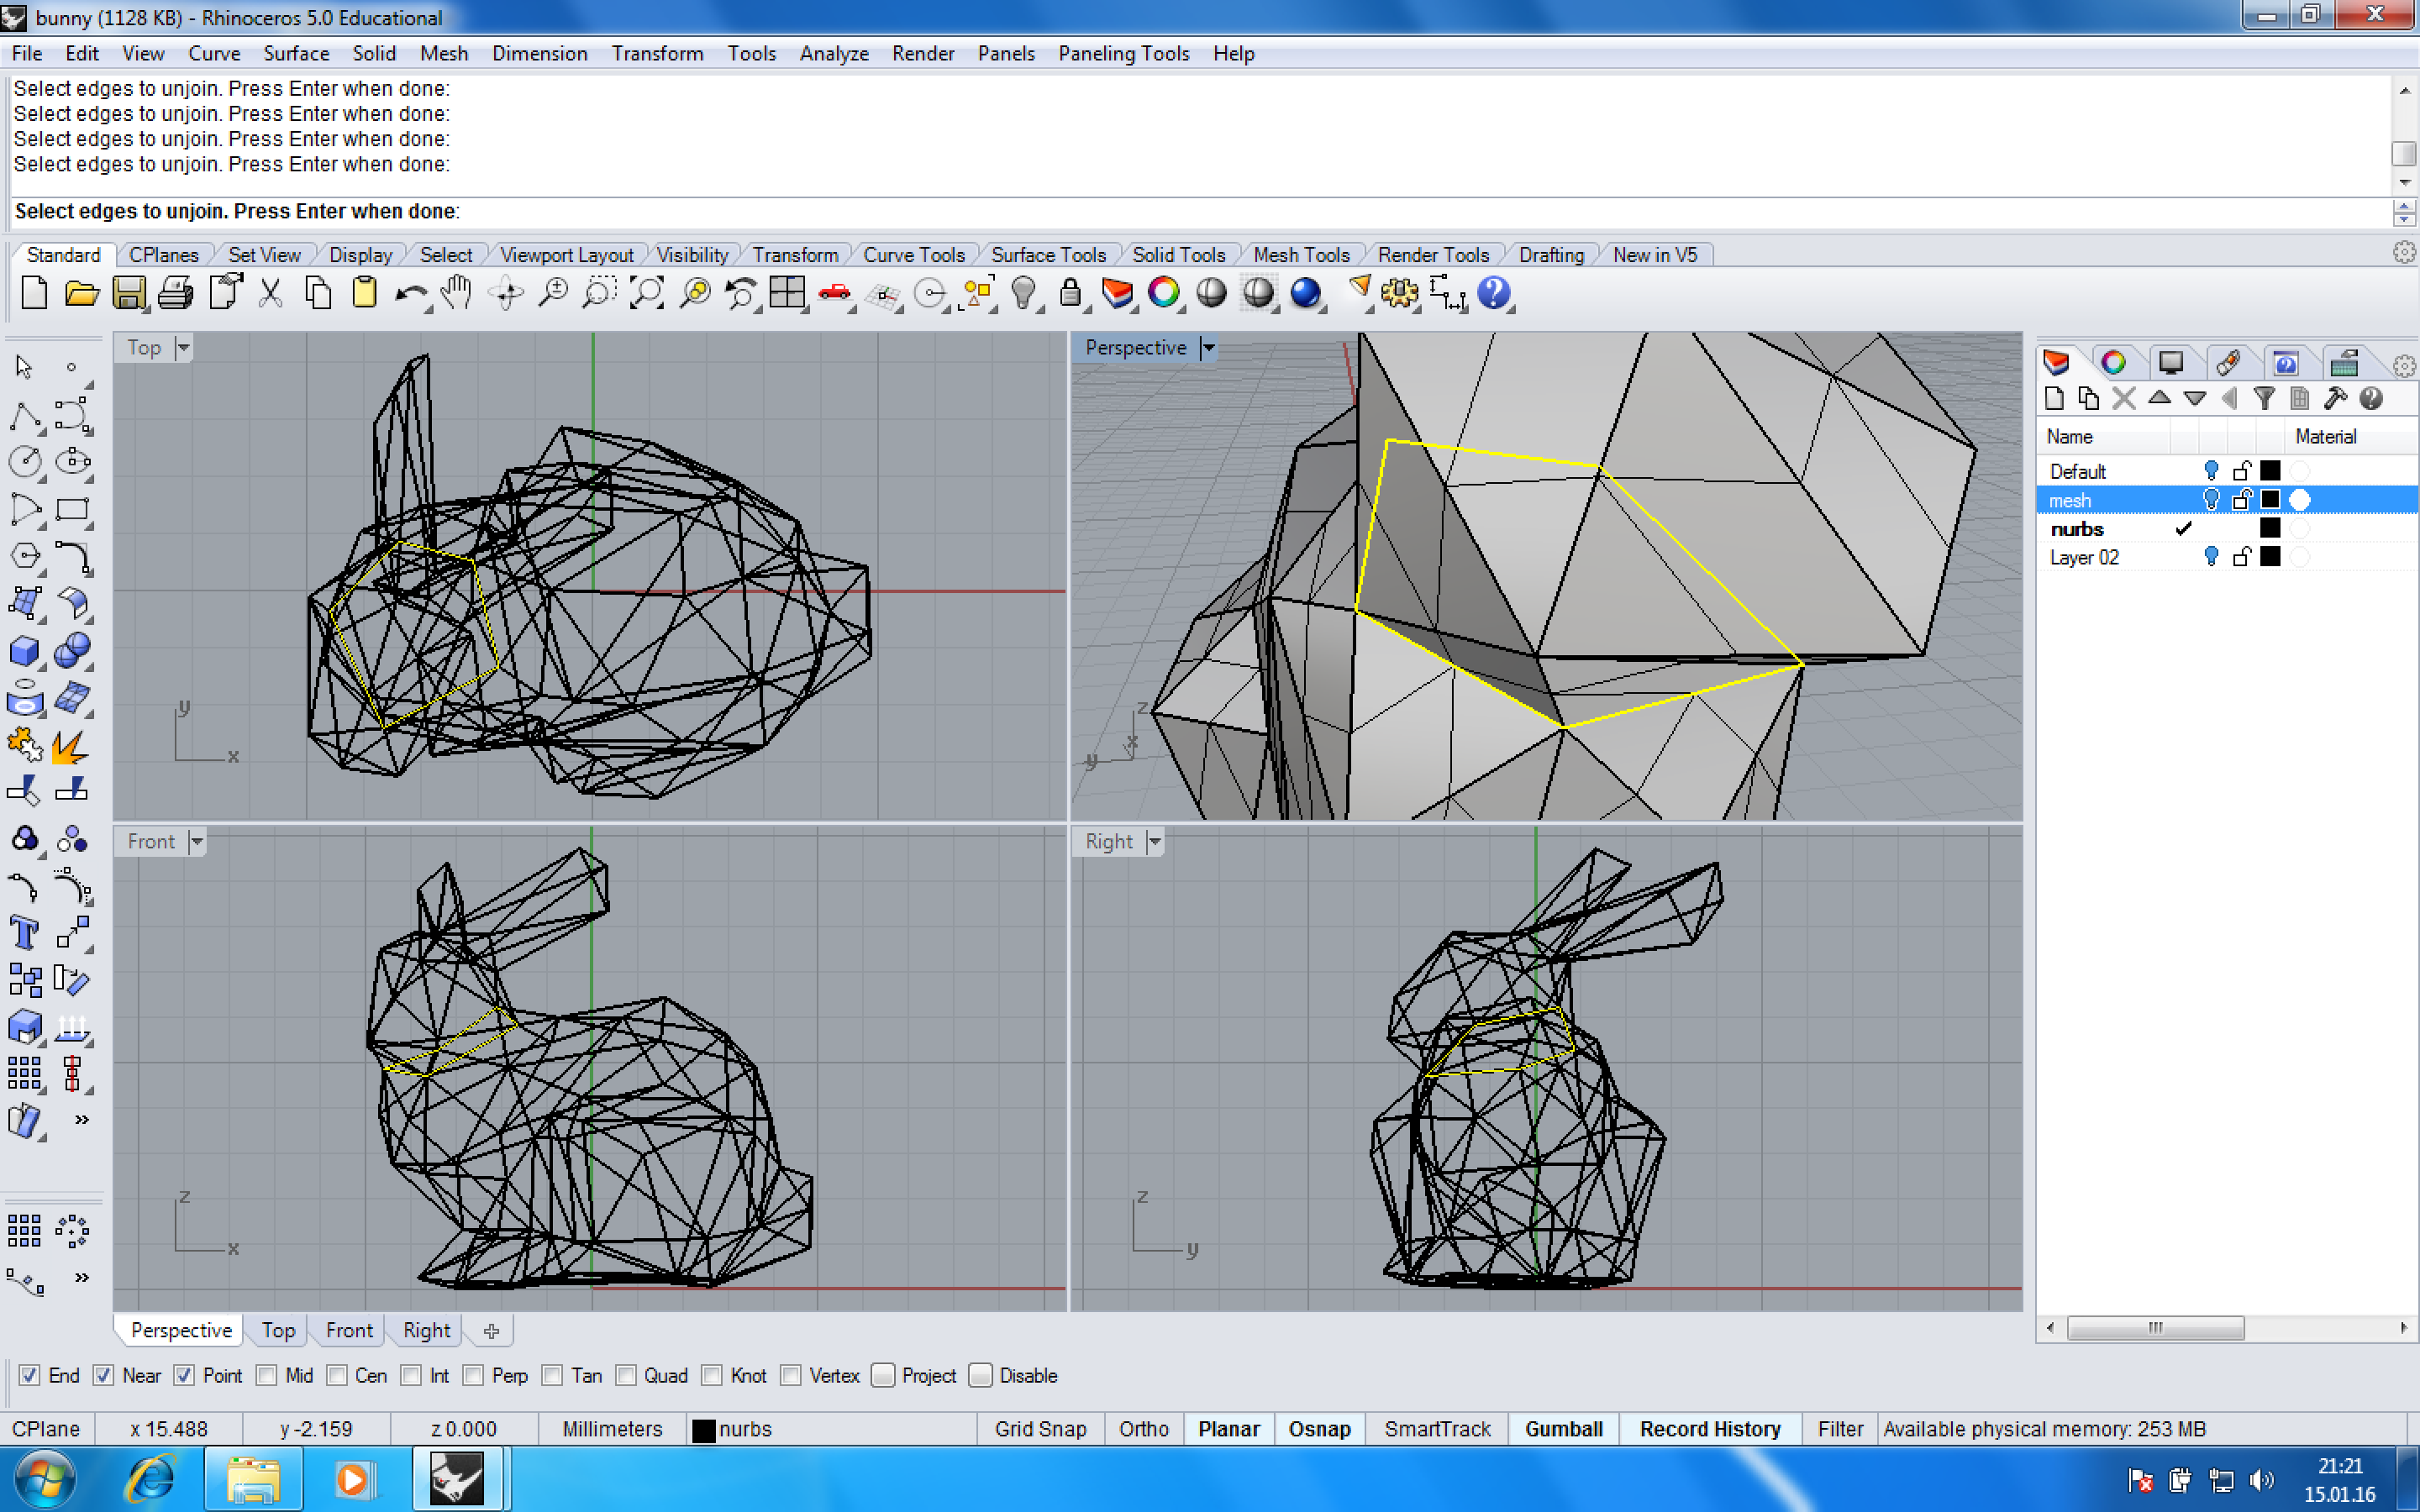
Use MeshToNURB to change the MESH back into a NURBS geometry. More info on the command can be found here: http://wiki.mcneel.com/rhino/meshtonurb Use TriangulateMesh or TriangulateNonPlanarQuads to ensure all mesh polygons are flat and developable.

Unroll
The Command UnrollSrf will then flatten the developable surfaces onto the X-Plane. Select ‘Explode=No’ to keep the parts connected. The unrolled surface needs to be checked for overlaps. If overlaps occur the geometry might need to be split more or differently (see step 6). Sometimes also the flattened surfaces can be separated (Explode) and resolved by turning and moving the individual parts to other positions. This has to be done with care. The command Length can help to find common edges. Lastly the previously exploded parts should be joined back together (Join). Turning off Isocurves (DisplayProperties -> Isocurves) can help to identify edges and borders. The previous steps need to be repeated until all parts are unrolled. Organizing the different parts into separate layers helps to identify them again later. Using the command TextObject they can also be labeled to simplify assembly.


Adding glue joints
Use DupBorder to duplicate the borders of each unrolled pattern. Use Offset and choose as ‘Distance’ a number large enough for the gluing joints. Depending on the model size 3 – 8 mm should be sufficient. Use the shifted border as a guide to manually draw the gluing joints. When finished erase the previously created border.


Use DupEdge to duplicate all edges that are to be fold. Do not duplicate borders which will be cut. Repeat these steps until all elements are finished. Use SelDup or SelDupAll to check for duplicate lines. Draw a rectangle the size of your laser-cutter-bed and place all pieces so they fit. Some glue joints will be double since it is tedious to identify them prior to fabrication. This can only be done by comparing their length manually using the command Length. Therefore unnecessary glue joints might have to be removed during assembly using scissors or a knife. The pieces can then be put together.

