making conductive dough
Squishy Circuits begin with two types of pliable dough: a conductive dough allows for current flow, and a non-conductive dough that helps isolate different areas of a circuit. Most purchased play doughs will work as conductive dough and most modeling clays will work as insulating dough. Each of these doughs can also be made at home! Our recipes and how-to videos for each appear below.
Alternatively, print the directions here:
Making Conductive Dough
Making Insulating Dough
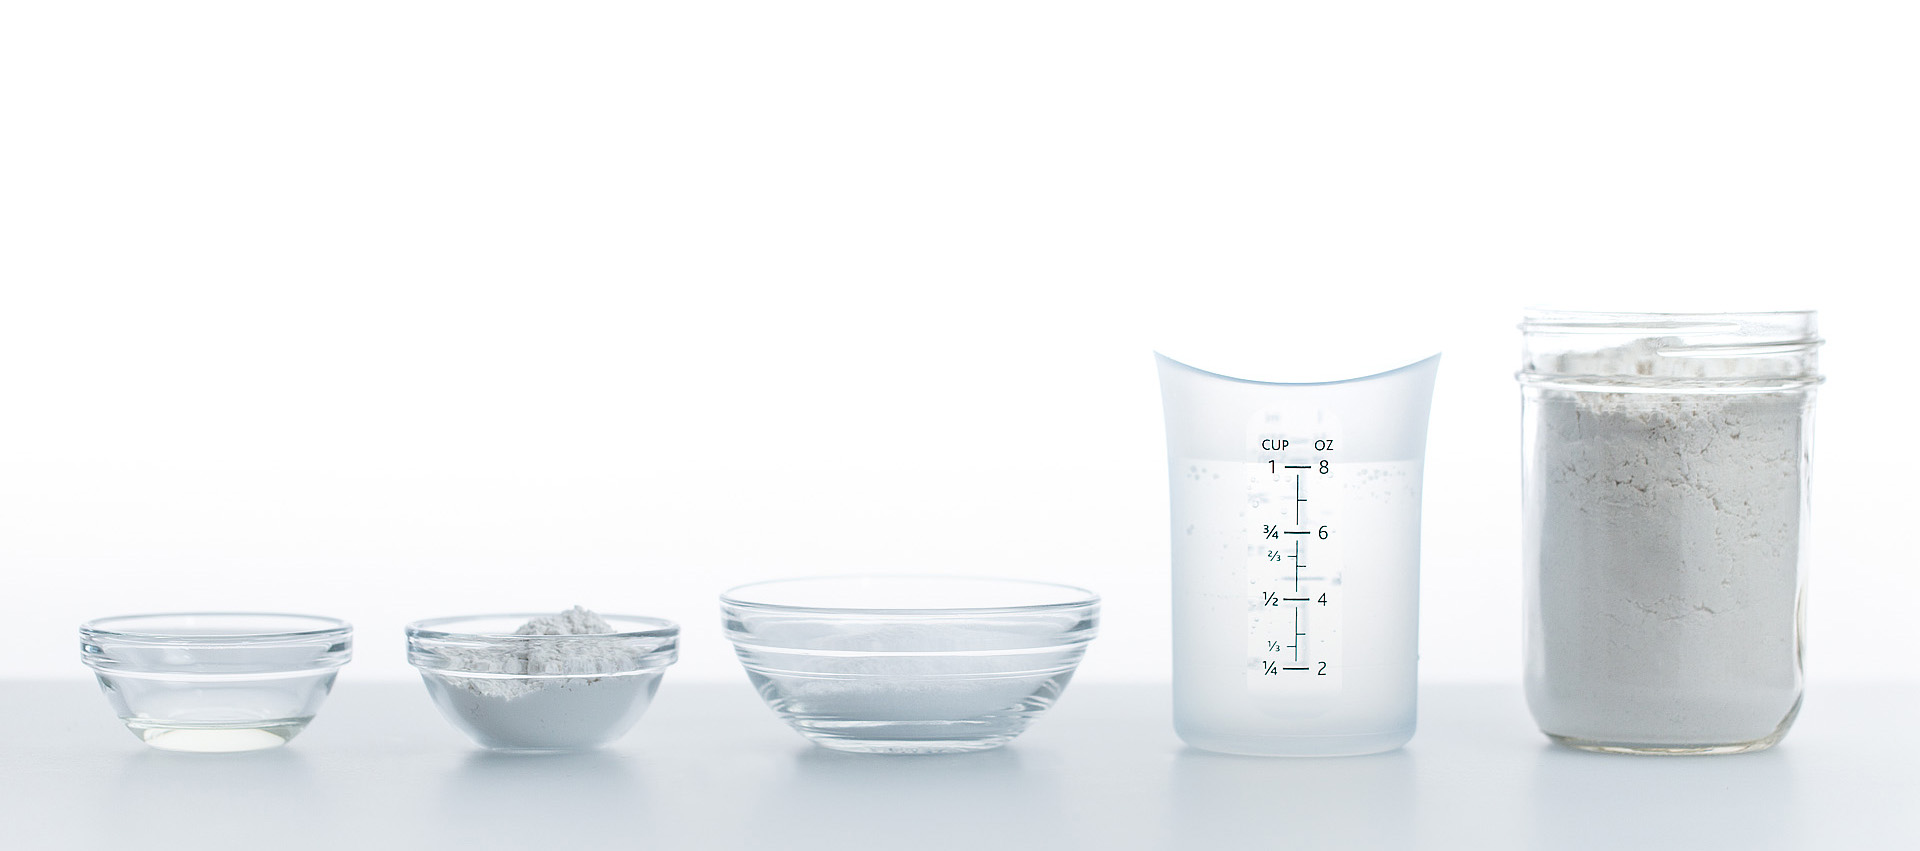
Conductive Dough Recipe
|
* 9 Tbsp. (133 mL) of Lemon Juice may be substituted |
Insulating Dough Recipe
|
* Regular tap water can be used, but the resistance of the dough will be lower) |
1. Mix Ingredients and Cook
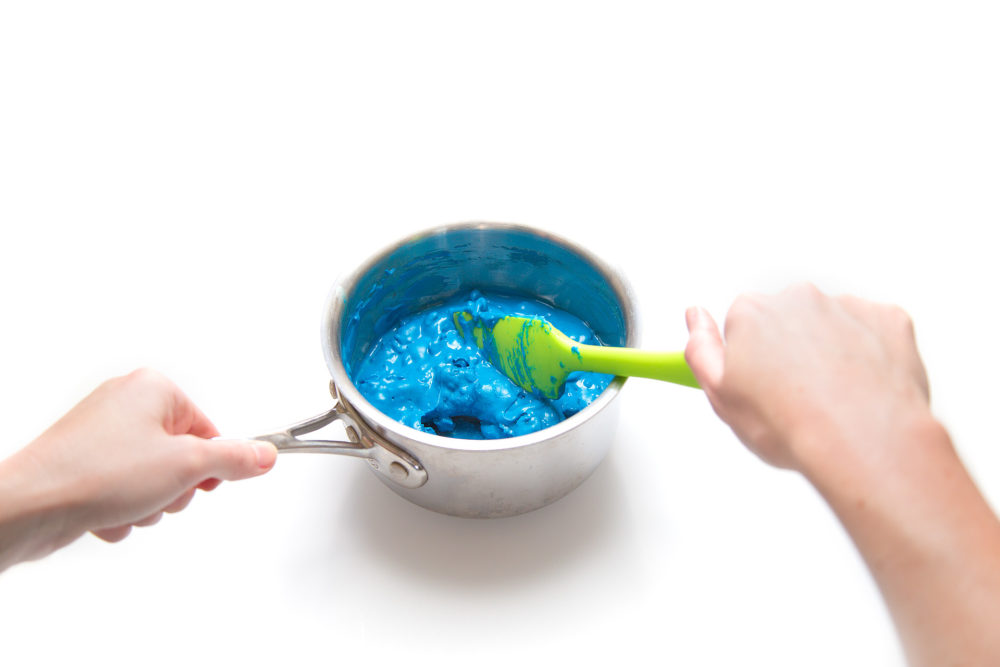
Mix water, 1 cup of flour, salt, cream of tartar, vegetable oil and food coloring (if using) in a medium-sized saucepan. Cook over medium heat, stirring continuously. The mixture will thicken, and lumps will begin to form.
1. Mix Ingredients
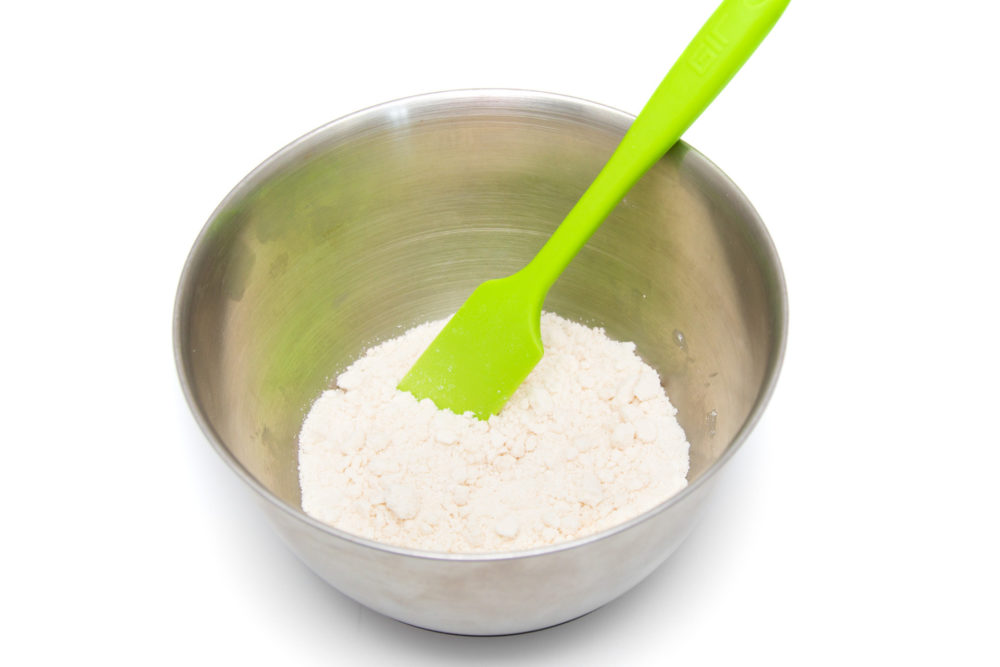
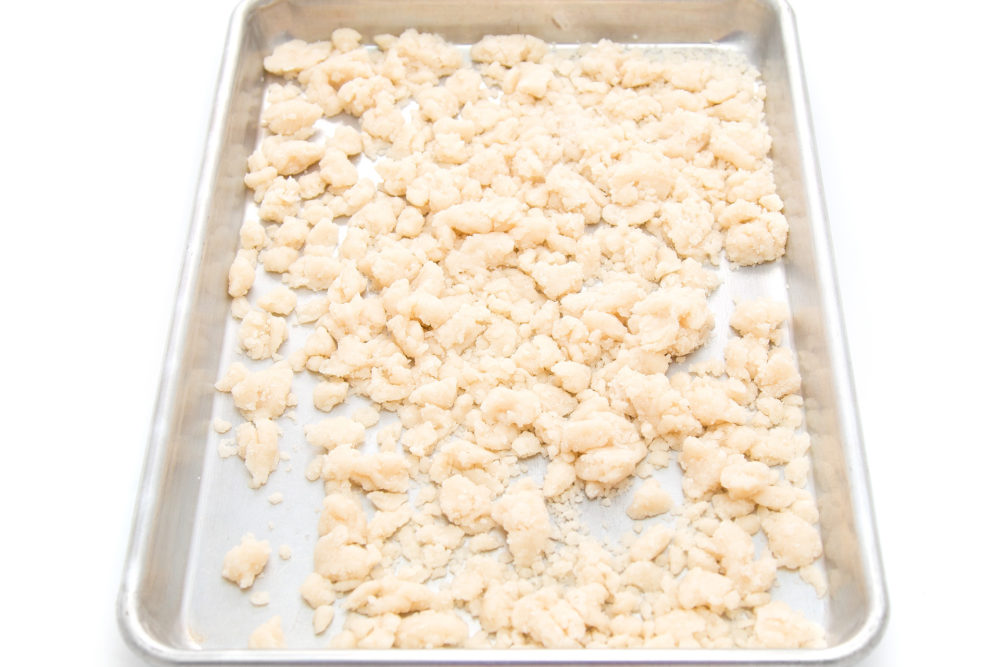
Set aside ½ cup flour to be used later. Mix remaining flour, sugar, food coloring (if using) and oil in a pot or large bowl. Mix in a small amount (about 1 Tbsp.) of deionized water, stirring until the water is absorbed. Repeat this step until large, sandy lumps begin to form.
2. Forming a Ball
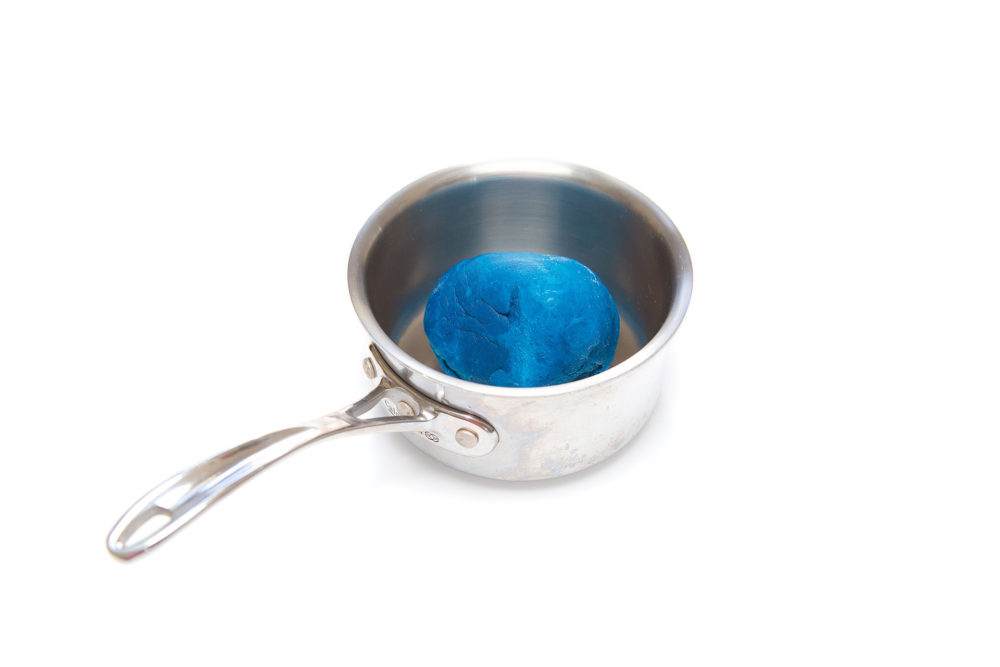
Continue heating and stirring until the mixture forms a ball and pulls away cleanly from the sides of the saucepan. Turn the dough out onto a floured surface. Use caution, as it is very hot at this point.
2. Gathering
Turn the dough out onto a sheet tray or a floured countertop, gathering it into a single lump.
3. Cooling Down
Allow the dough to cool for a few minutes before kneading the remaining flour into it until the desired consistency is reached.
3. Finishing the Dough
Add small increments of flour or water to yield a doughlike, pliable consistency.
The dough can be stored in an airtight container or plastic bag for several weeks. While in storage, water from the dough may create condensation inside the container; this is normal. Knead the dough after removing it from the storage container to refresh its pliability.
Food coloring can be added to either dough; doing so will not affect the behavior of the dough, though it does make identifying the conductive vs. the insulating dough a little trickier. If you’re ever unsure, both doughs are safe to taste; conductive dough will taste very salty, whereas the insulating dough will taste sweet.
For illustrative purposes in our examples on this site, we keep our insulating dough white, to make it easier for you to follow along with our projects at home.
The original instructions can be found here.


