diy organic soap recipe
Organic soap has a number of advantages including the relief of irritated skin, many times improving psoriasis and eczema. Commercially produced soap contains numerous chemical additives and harmful detergents that not only leave the skin overly cleansed and dry but also have a bad impact on the environment including carbon footprint, ecotoxicity, ozone depletion potential, and eutrophication potential.
Materials and Tools
|
|

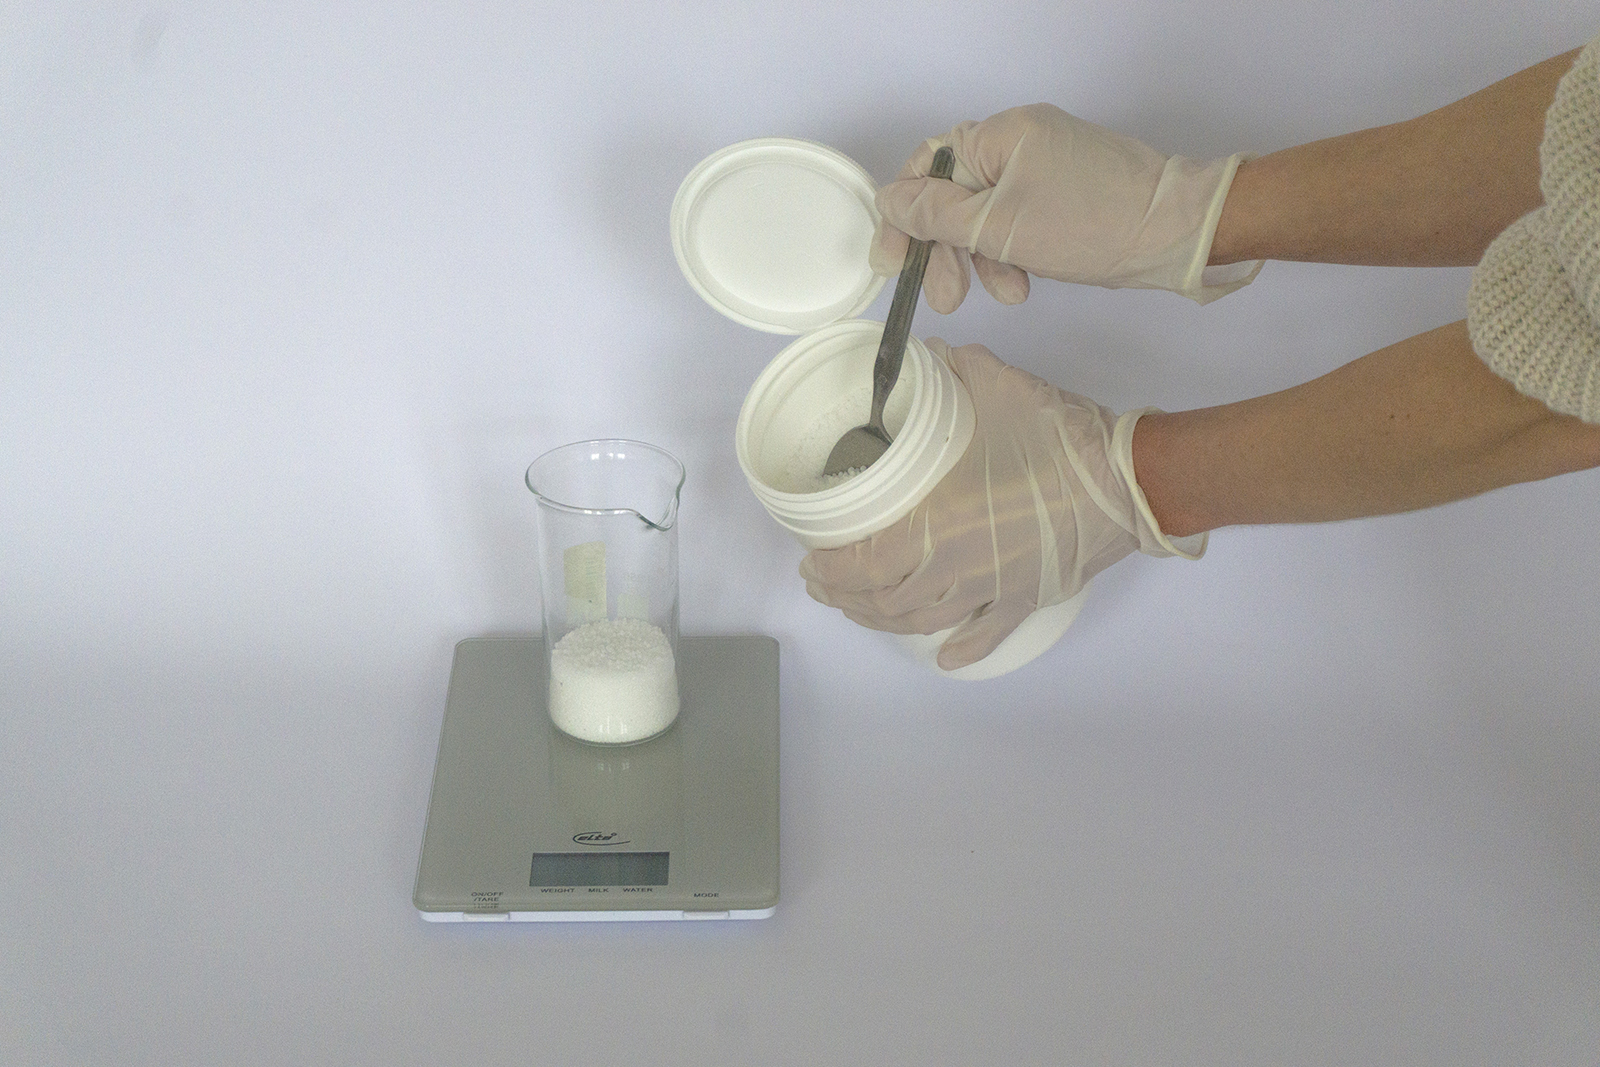
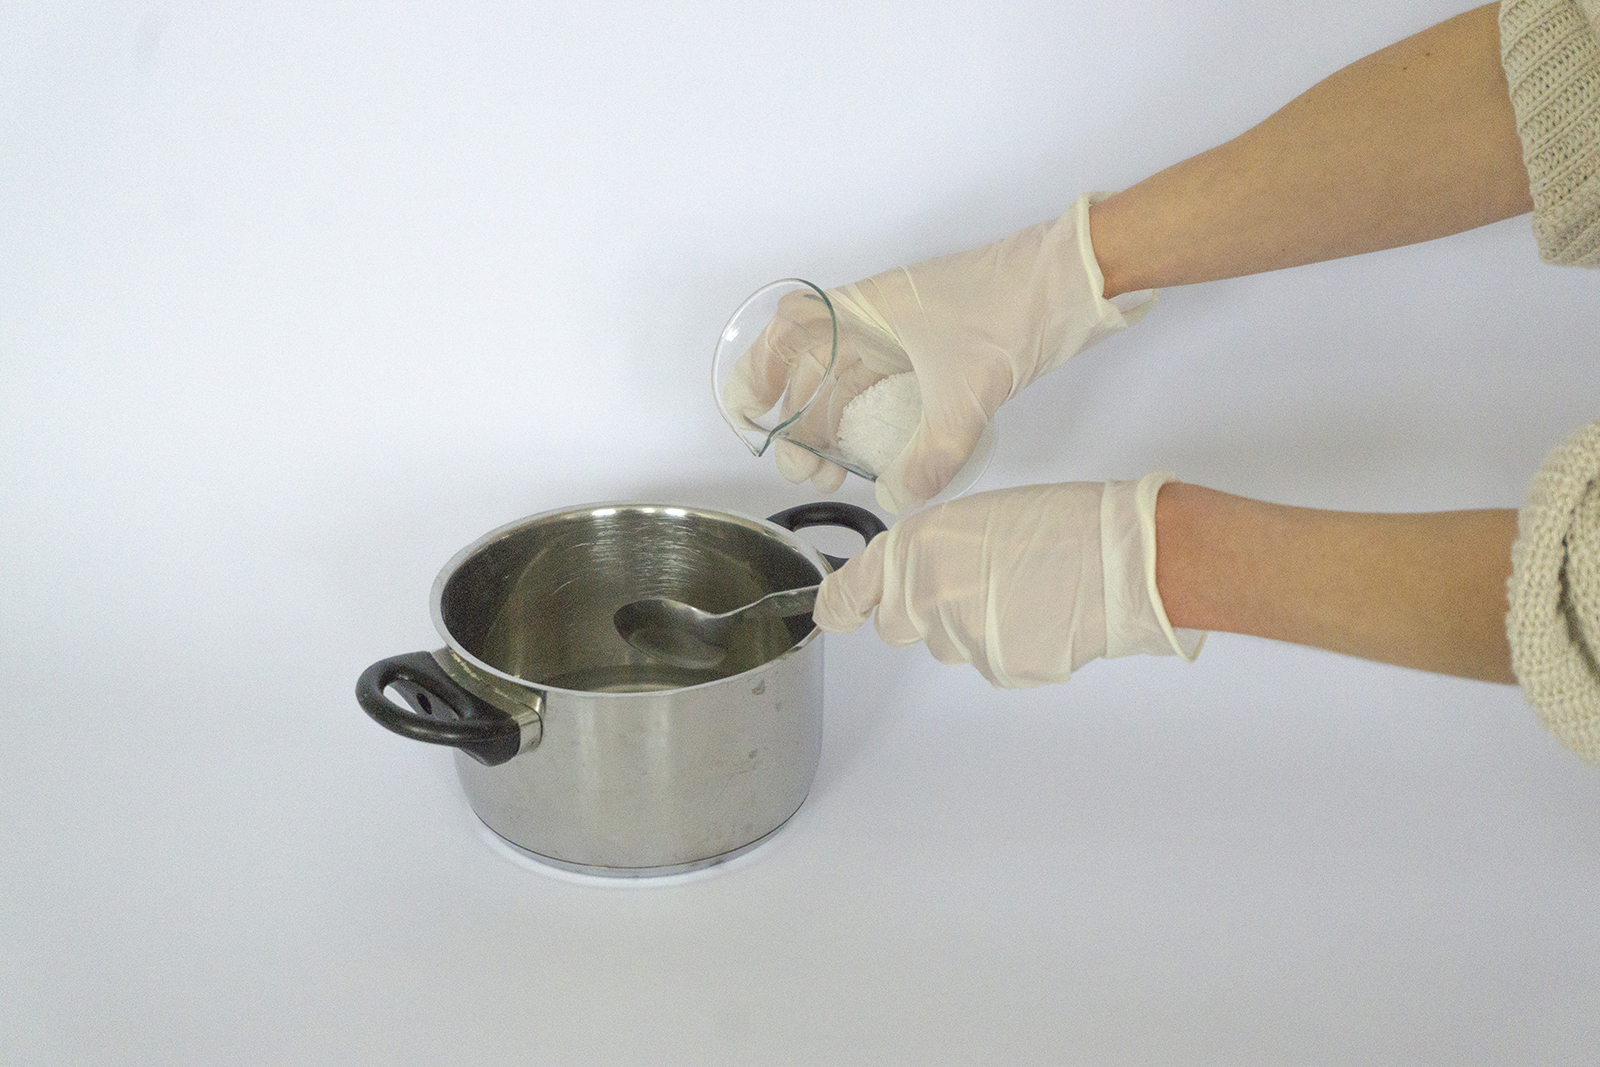
1. Lye
Put on gloves, mask and – if available – eye protection. Always be very careful when using lye. Measure the required amount of lye in a cup or glass. Add the necessary amount of water into a stainless steel pot. Then slowly add the lye into the water while continuously stirring. When mixing lye with water it will heat up and fume for about 30 – 60 seconds. It may cause a choking sensation in your throat, which however will go away after a few minutes. Always add lye to water (not water to lye), and start stirring right away. Lean back while you stir to avoid the fumes. When the solution begins to clear, you can allow it to sit while you continue with the next step.

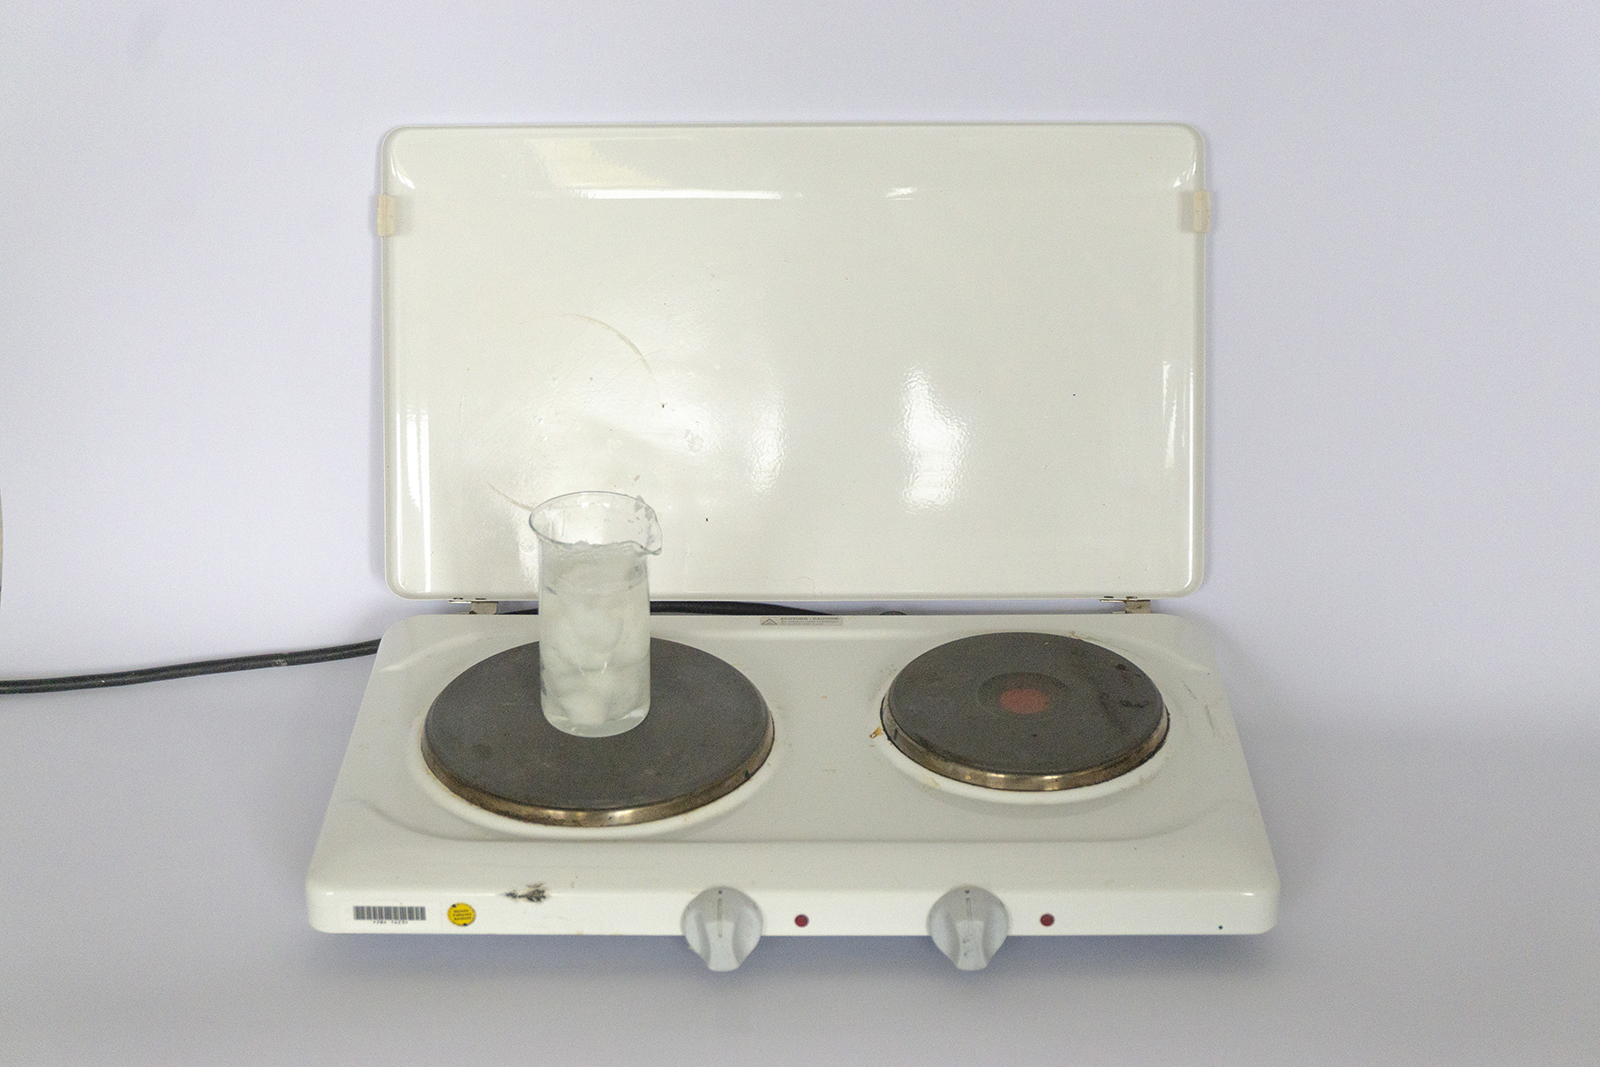
2. Hard Oils
Add the required amount of coconut oil into a glass beaker or similar and heat on a stove until it becomes liquid. Then pour it into another stainless steel pot. Repeat the same procedure for your shea butter and add it to the molten coconut oil.


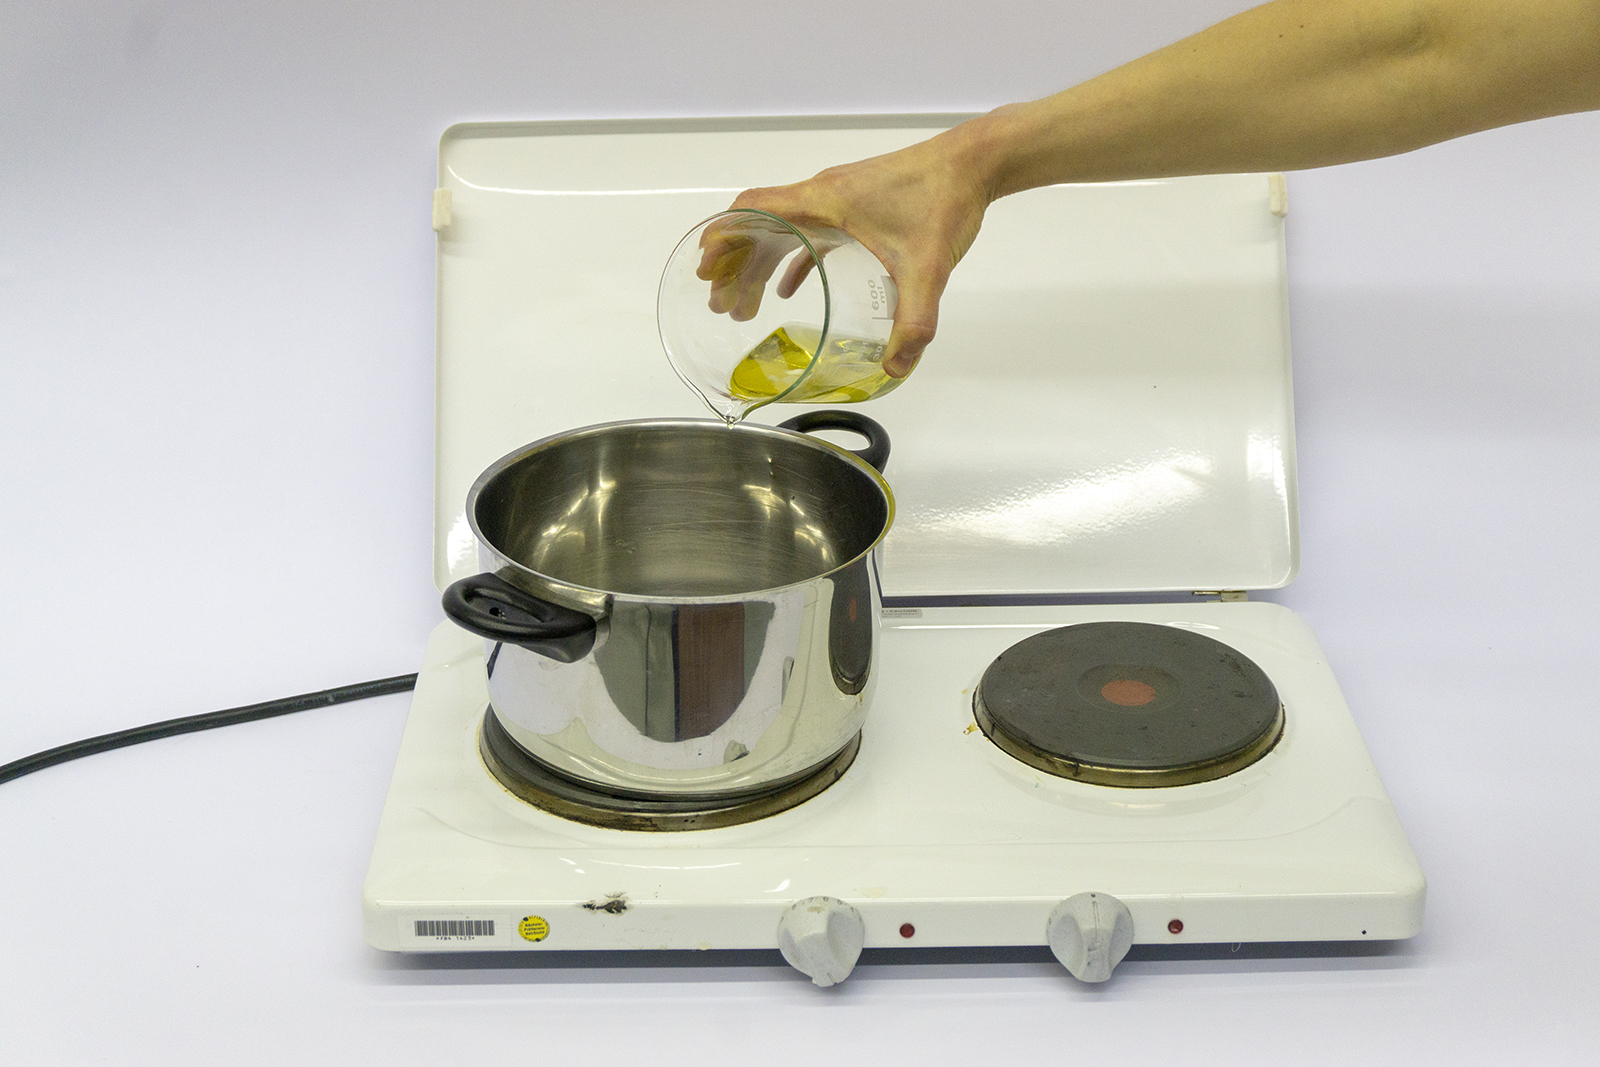
3. Soft Oils
Measure the correct amounts of the remaining oils and also add them to the mixture.


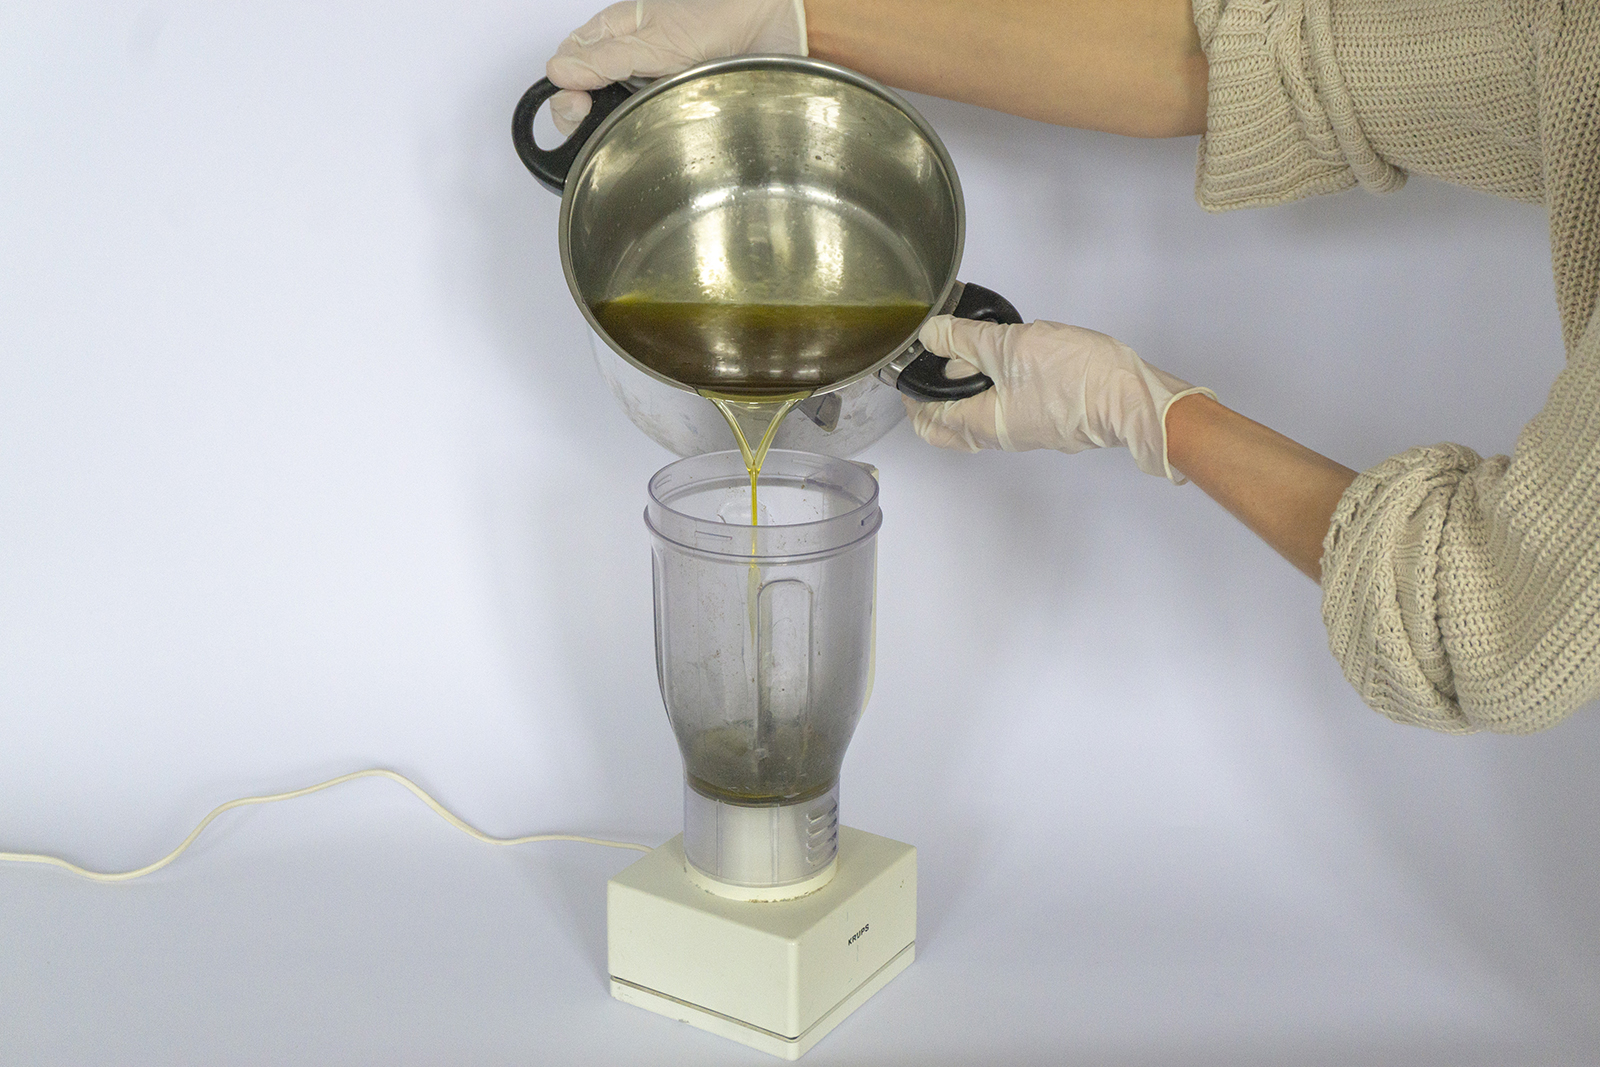
4. Blending
Finally add the liquid lye. To be more precise you might want to use a thermometer to check for the right temperatures, which should be about 120° C. Wait for both the lye and the oil mixture to cool somewhere between 95° and 105° C, then slowly add the lye to the oils, stirring until it’s all mixed. Stir either by hand for a full 5 minutes or use a blender. The soap mixture will lighten in color and become thick. When it looks like vanilla pudding it’s at “trace” and you’re ready to go. This is the part where you might want to add certain colours or flavours to your soap.


5. Curing
After about 24 hours, check if your soap is ready. If it’s still warm or soft, allow it to sit another 12-24 hours. When it’s cold and firm, remove it form the mould and let it dry in the open.
Allow your soap to cure for about 4 weeks. Be sure to turn it over once a week to expose all the sides to air. Once your soap is fully cured, wrap it in wax paper or keep it in an airtight container.

