Overview
This tutorial introduces the construction of a simple slot-based connector element in Rhino 3D. Starting from a 50 × 50 mm square, the workflow explains how to create a rounded slot based on material thickness, mirror and close the geometry, and finally duplicate the slot around the center to form a functional interlocking system. The tutorial is intended as an entry point for understanding slot logic, fabrication-aware drawing, and the development of laser-cuttable construction elements.
Open a New Rhino File
1. Open Rhino and start a new file.
2. Choose the template Large Objects – Millimeters.
Expand the Top View
1. Click into the Top view.
2. Expand it so you can work in one large drawing area.


Draw the Base Square
1. Activate the Polyline command from the left toolbar or type Polyline.
2. In the command line, enter 0 as the start point.
3. Continue with 50,0.
4. Then enter 50,50.
5. Then enter 0,50.
6. Finally type 0 again to close the square.
You should now have a closed 50 × 50 mm square.


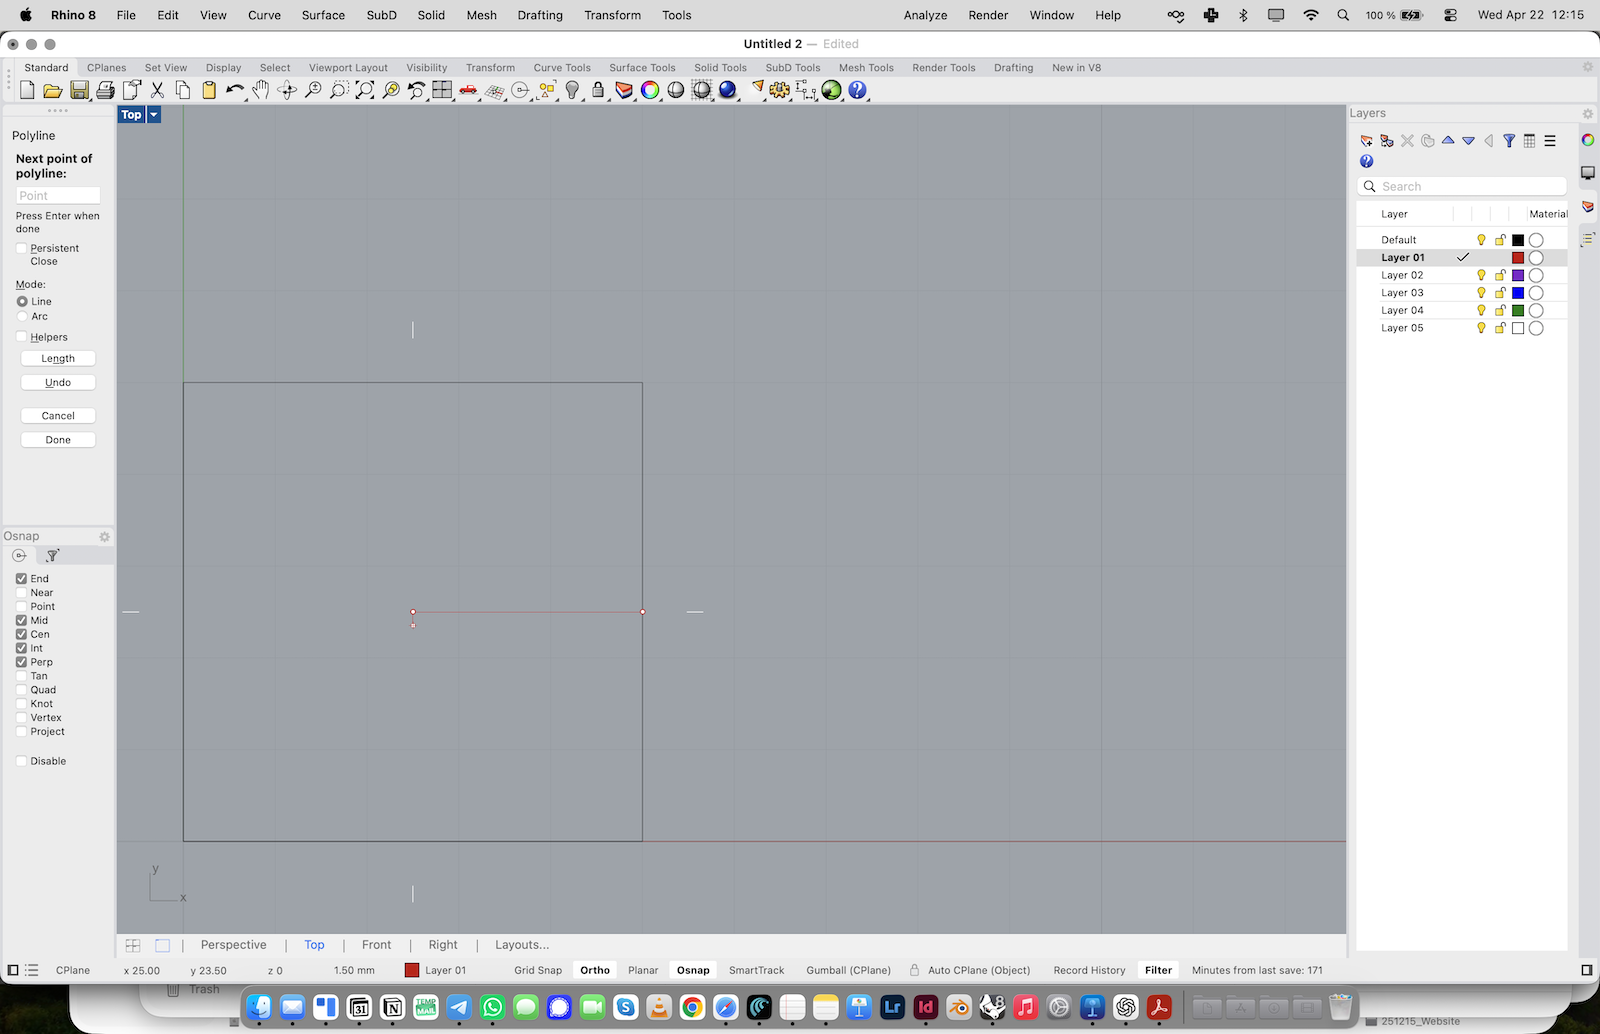
Draw the Center Line
1. Change to the next layer.
2. Activate the Line command.
3. Snap to the midpoint of the right side of the square.
4. Draw a horizontal line toward the center of the square.
This line will define the center axis of the slot.
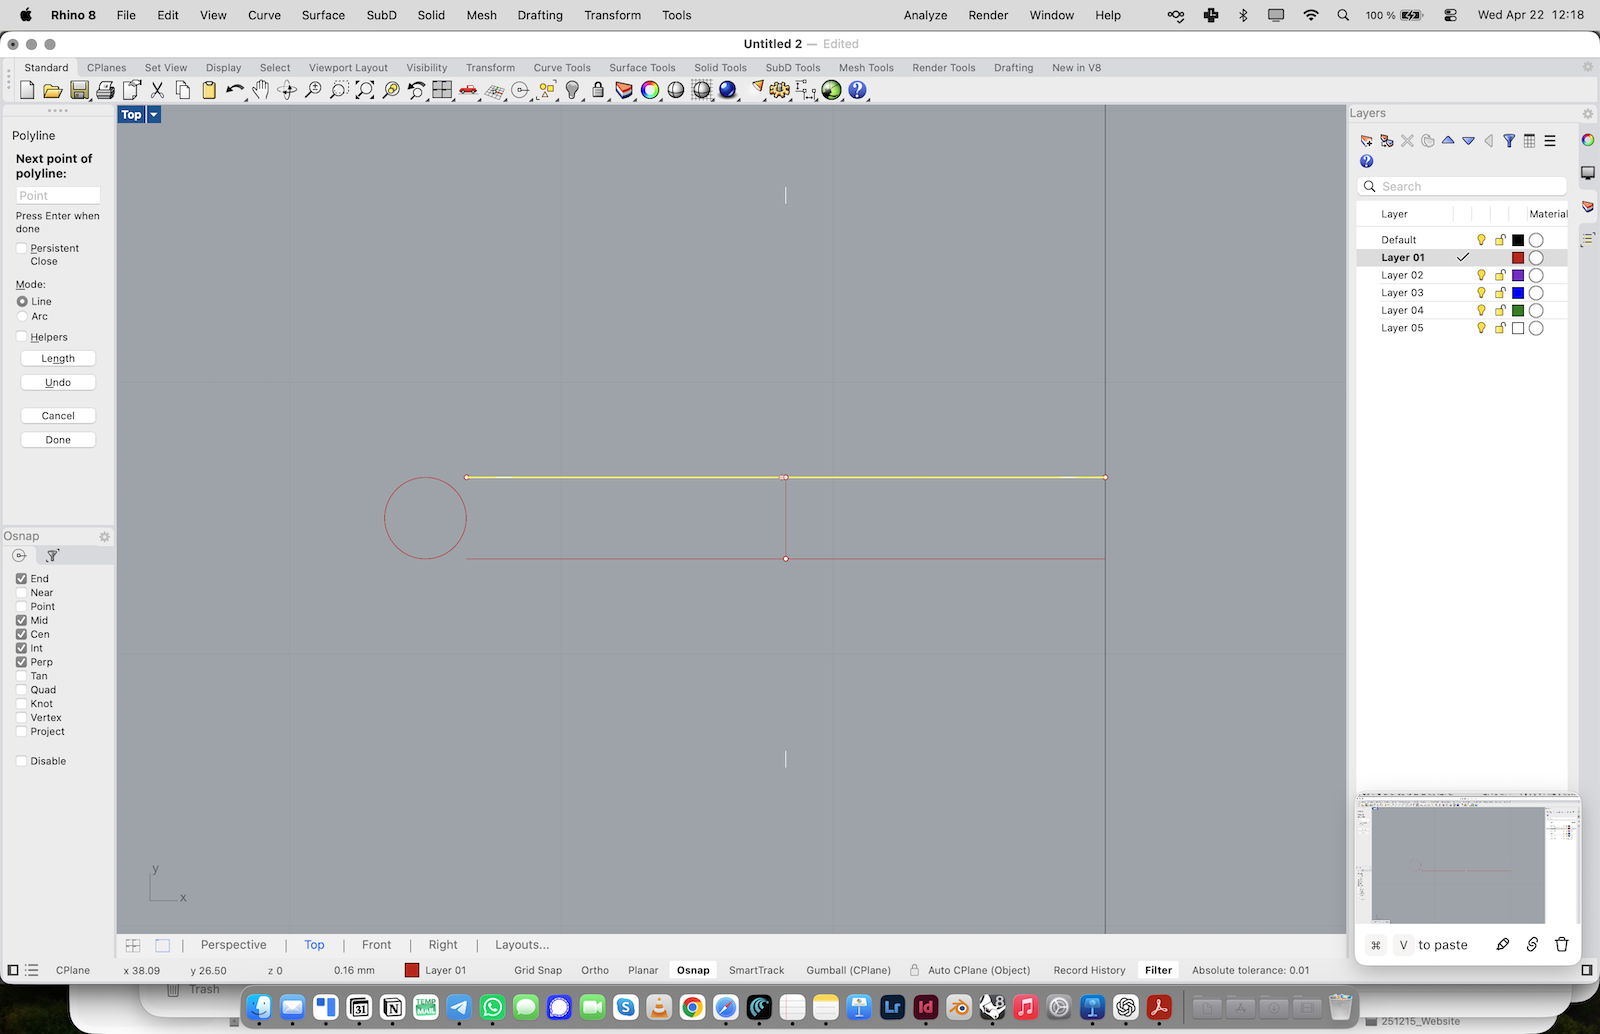
Add the Circle for the Slot End
1. Type Circle or select the Circle tool.
2. Choose Center, Diameter.
3. Snap to the inner end of the line as the center point.
4. Enter 3 (or whatever your material thickness is) as the diameter. The circle represents the inner void that has to remain open for all slots to work and matches the material thickness.

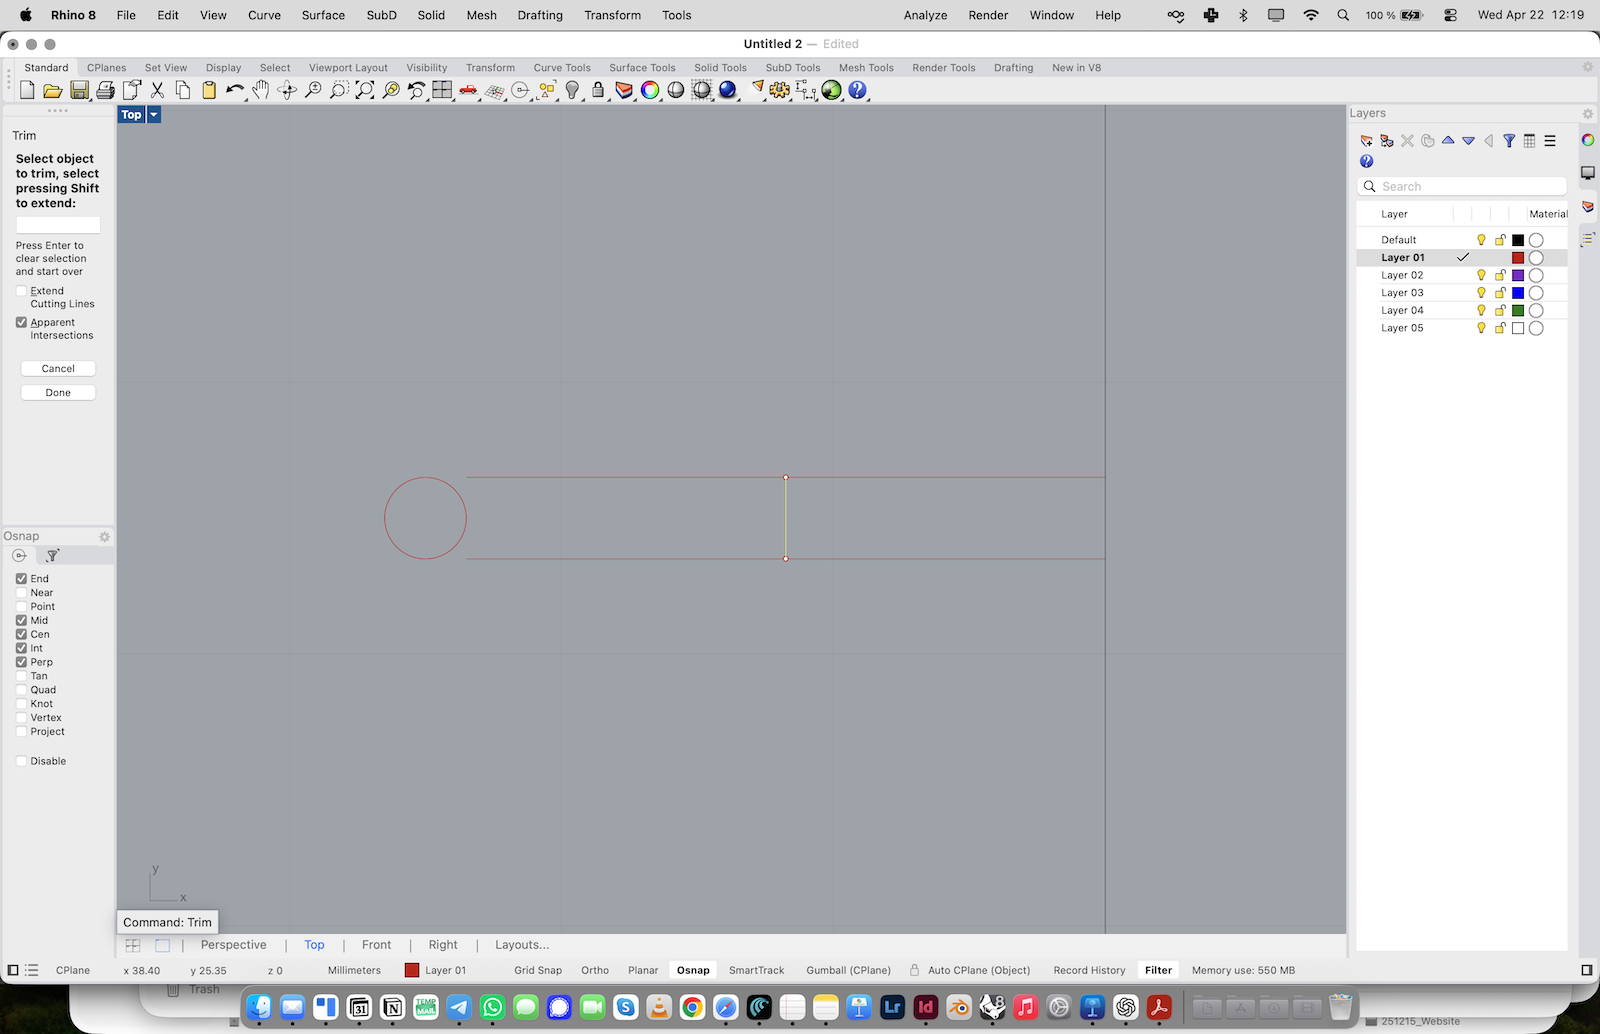
Trim the Line with the Circle
1. Type Trim or activate the Trim tool.
2. Use the circle to cut the overlapping part of the line.
3. Remove the line segment inside the circle. You should now have a line ending cleanly at the circle.

Move the Trimmed Line
1. Select the trimmed line.
2. Type Move or use the Move tool.
3. Move the line vertically by 1.5 mm.
4. Hold Shift to keep the movement orthogonal. This creates one side of the slot opening.

Mirror the Line
1. Select the moved line.
2. Type Mirror or activate the Mirror tool.
3. Turn Copy on.
4. Use the midpoint / center as the mirror axis.
5. Create the mirrored line on the opposite side. You should now have two parallel slot edges.

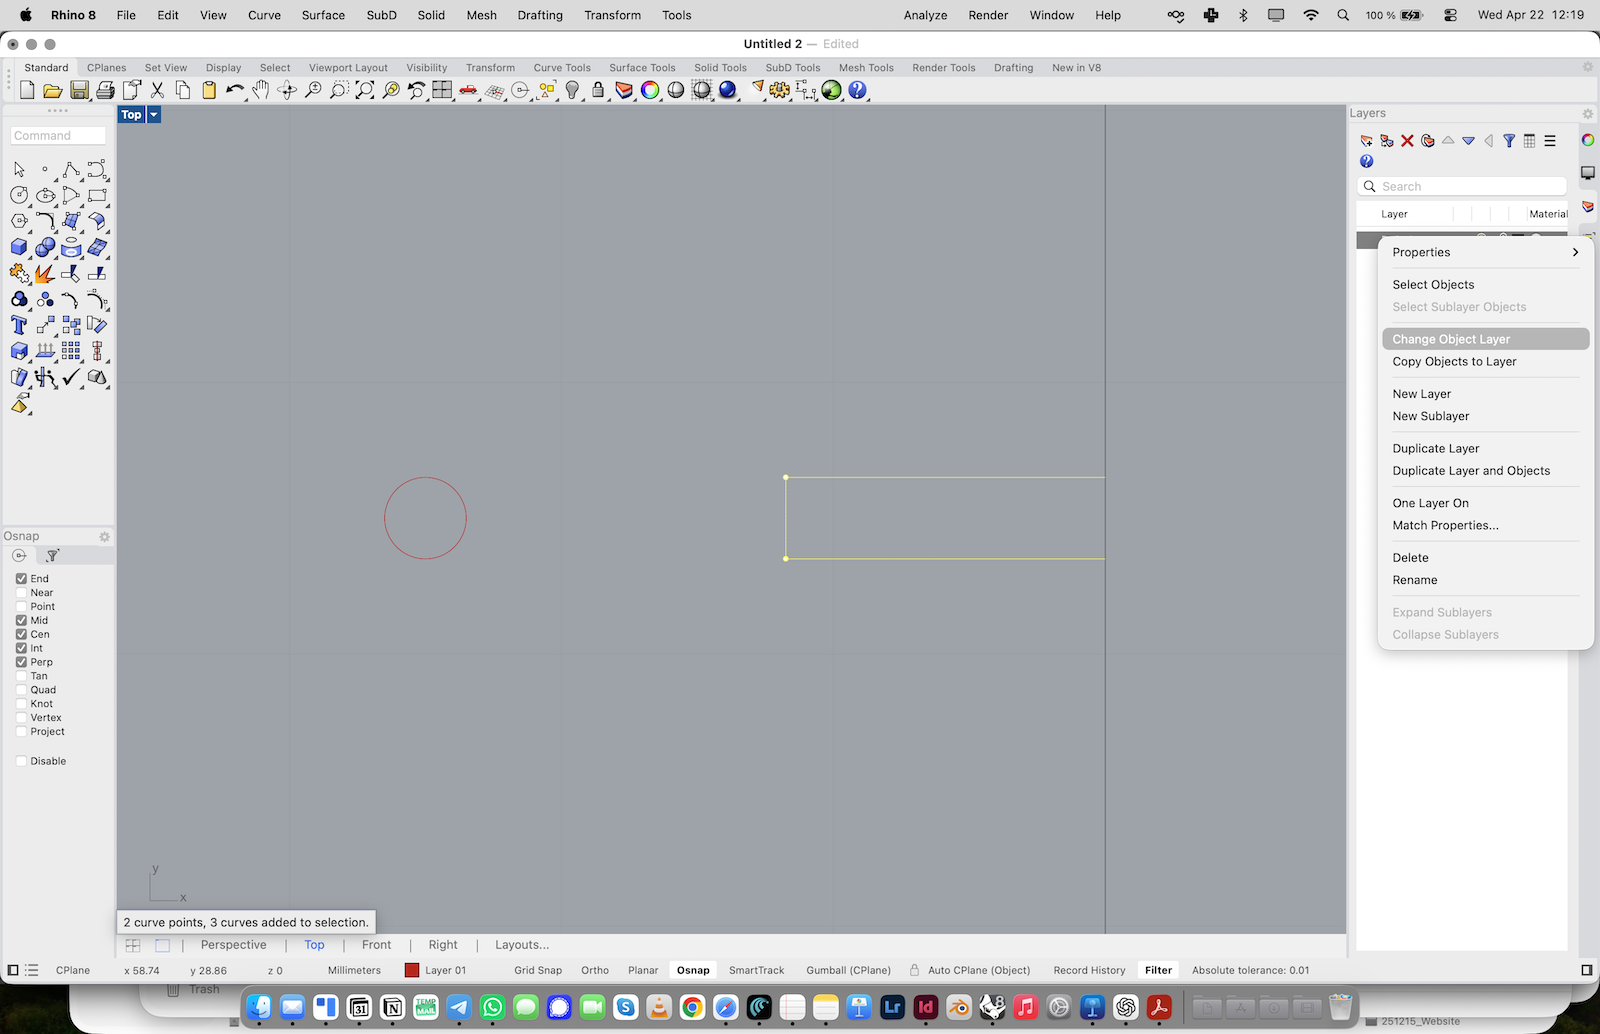
Close the Slot Shape
1. Activate Polyline again.
2. Use the two mirrored lines as the upper and lower edges of the slot.
3. Draw a short vertical line between the midpoints of these lines.
4. Use Trim to remove the unnecessary inner construction lines.
The slot should now read as one clear construction.


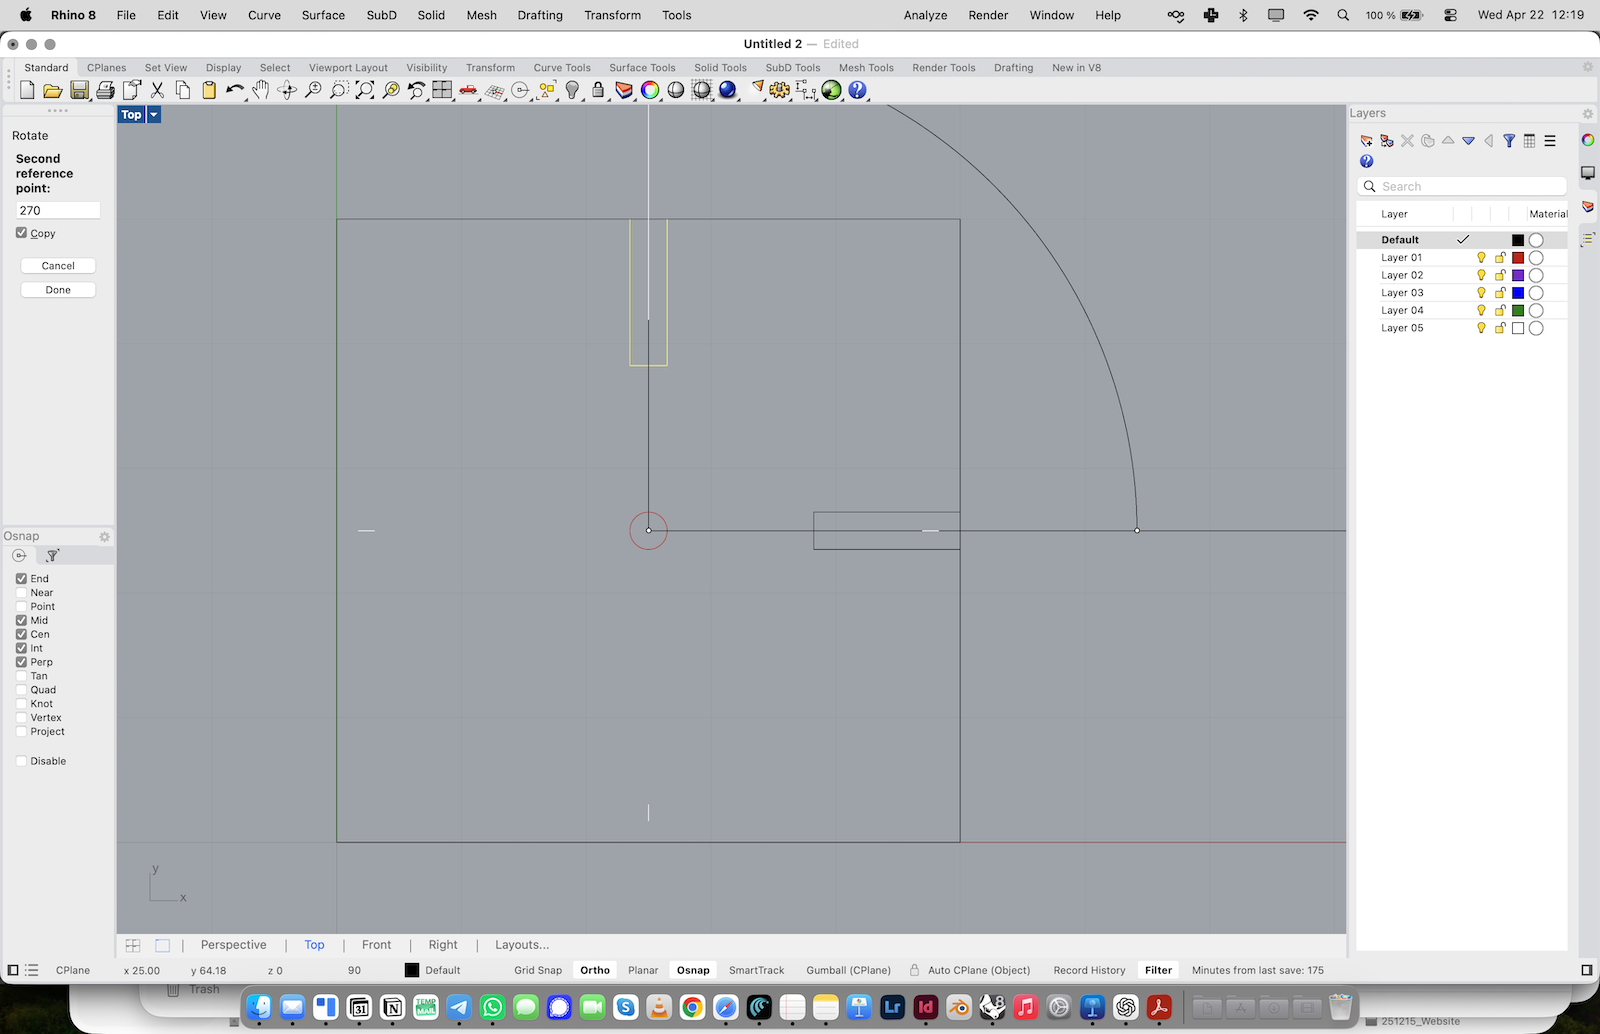
Rotate the Slot Around the Center
1. Select the slot geometry.
2. Type Rotate or activate the Rotate tool.
3. Turn Copy on.
4. Use the center of the square as the pivot point.
5. Create copies at 90, 180, and 270 degrees.
You should now have four identical slots arranged around the center.
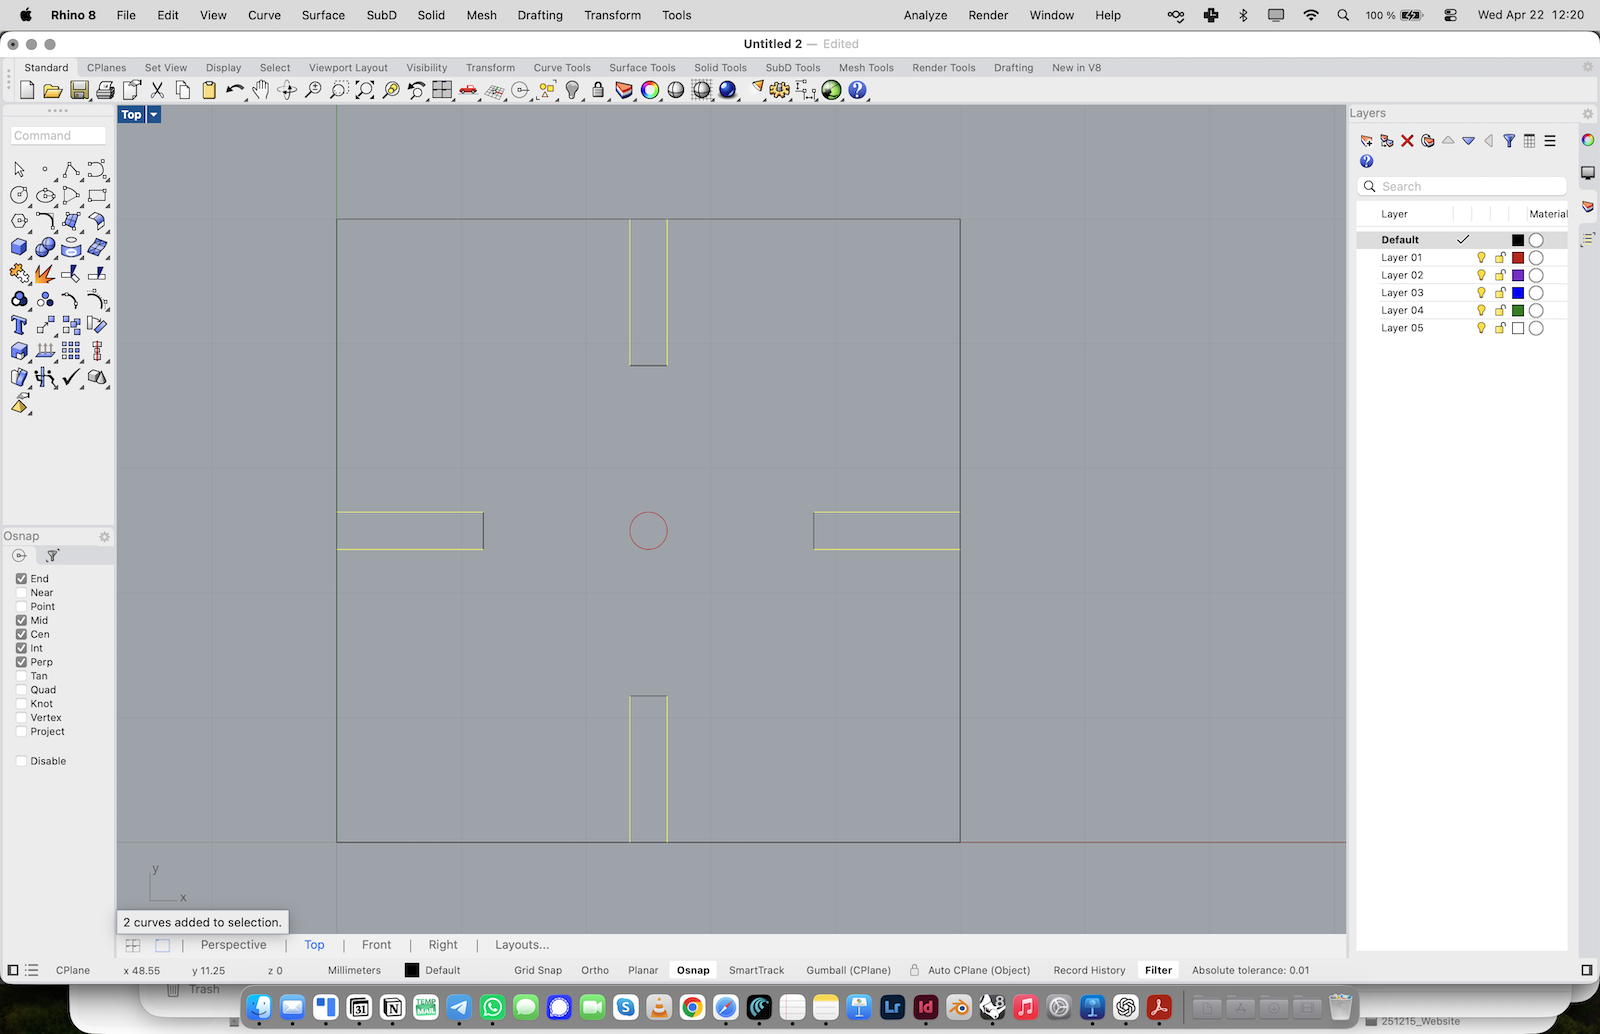
Trim the Square Openings
1. Use the slot lines to trim the outer square. 2. Remove the square segments where the slots intersect the outer contour. 3. Open all four sides of the square. The slot geometry should now connect to the outer contour.
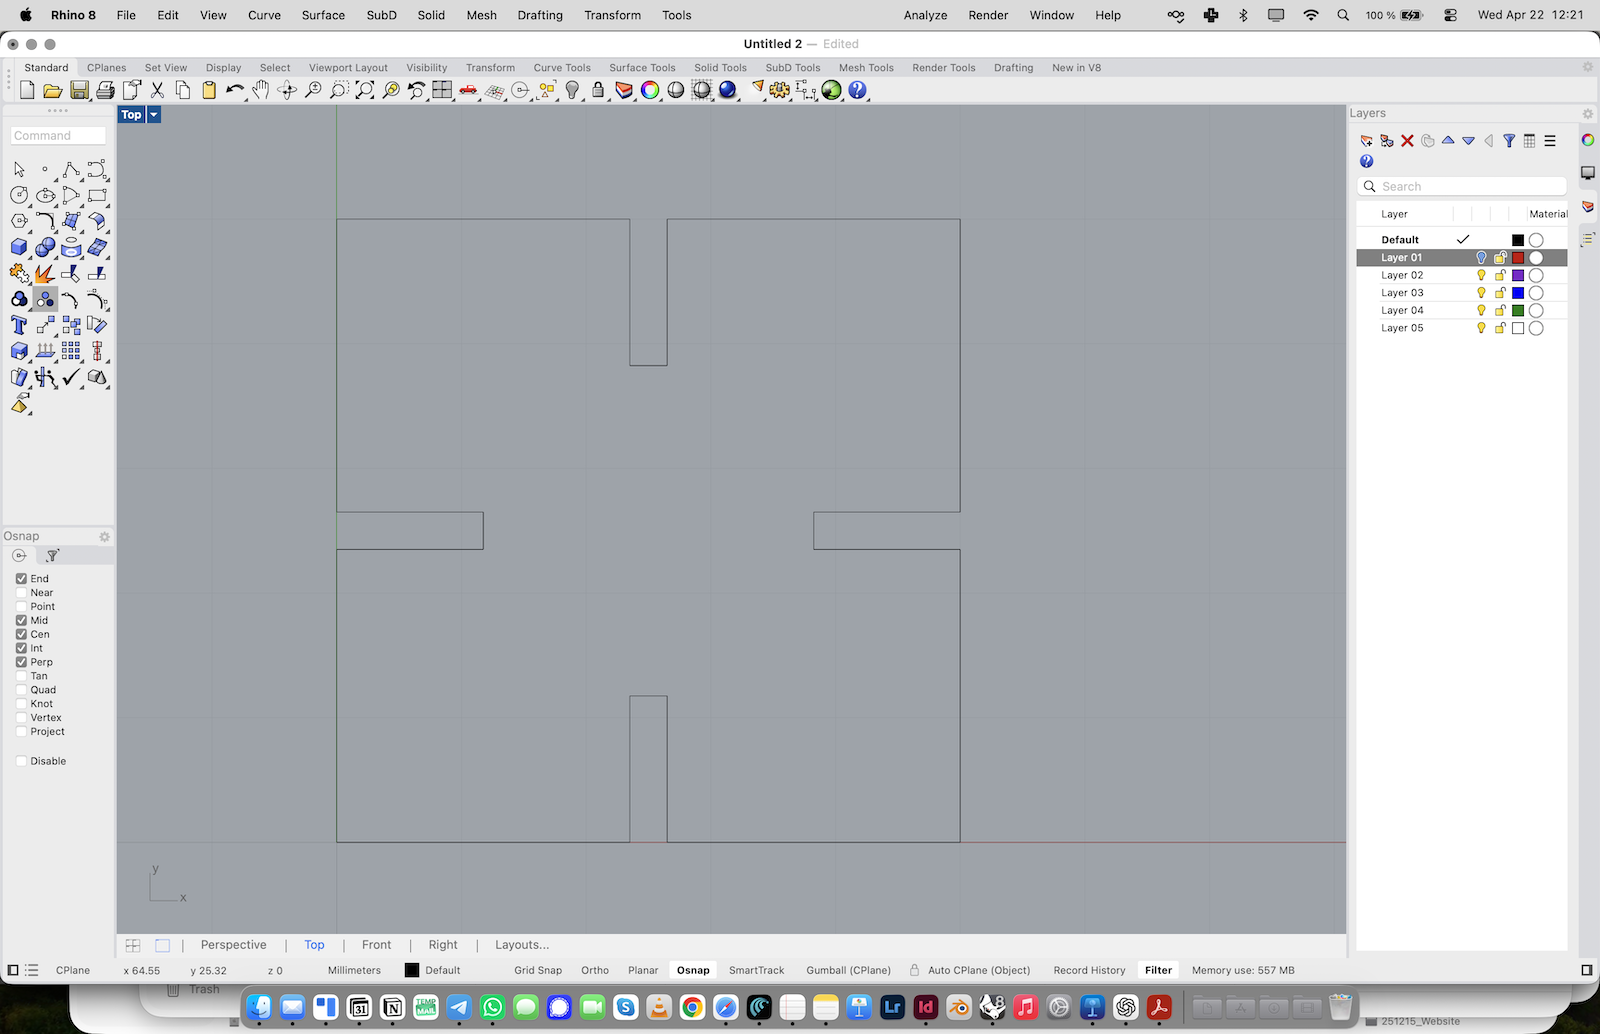
Join the Final Contour
1. Delete or hide the helper circle if it is no longer needed.
2. Select all remaining contour lines.
3. Type Join or use the Join command. You should now have one clean final curve that can be used as the basis for a laser-cuttable slot system element.

Important Note
The square is only a simple example to explain the principle. It is not meant as the final shape. Once you understand the logic of slot construction, you can experiment with other geometries and develop your own spatial systems.