artificial photosynthesis
These instructions were developed with great support from the Laboratory of Photonics and Interfaces at the École Polytechnique Fédérale de Lausanne (EPFL) who have improved and developed DSSC since the early 1990s.
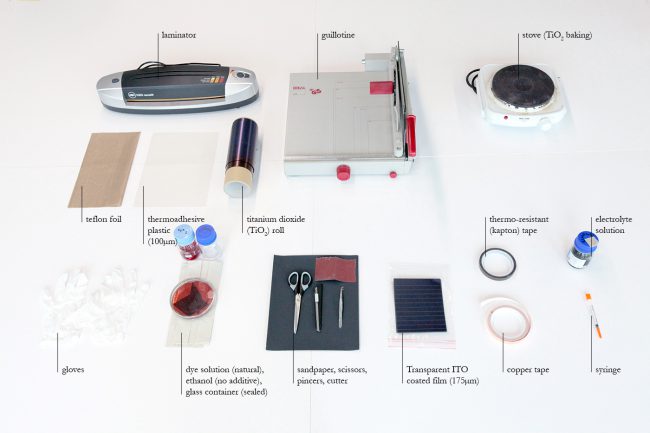
Materials and Tools
|
|
1. Plastic container
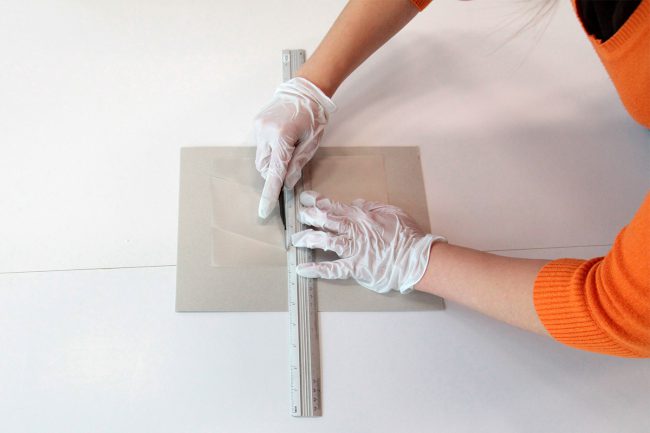
The plastic container will house the DSC. First the desired shape of the cell has to be cut out twice of the adhesive PET plastic foil. The second piece needs a small opening in the center for the electronic connection. The two layers are then laminated together using a Teflon sheet to avoid melting of the foils.
2. Transparent front electrode
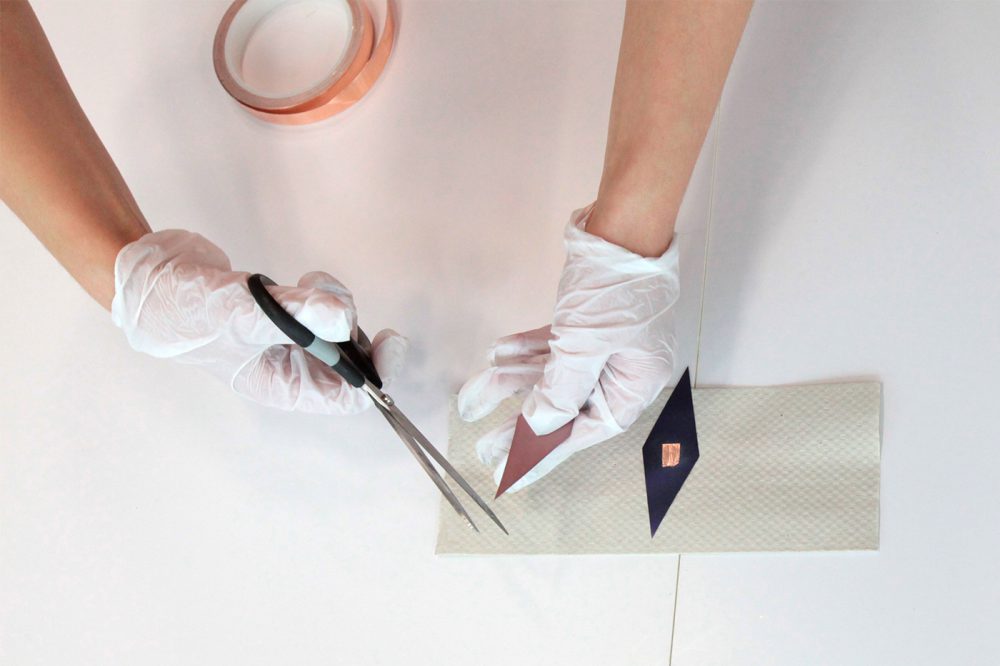
The front electrode is prepared from the conductive plastic foil and needs to be the exact same shape as the later DSC. To one edge of the foil conductive tape has to be added, which will become the positive connection and ease the transfer of electrons.
3. Flexible TiO2 foil
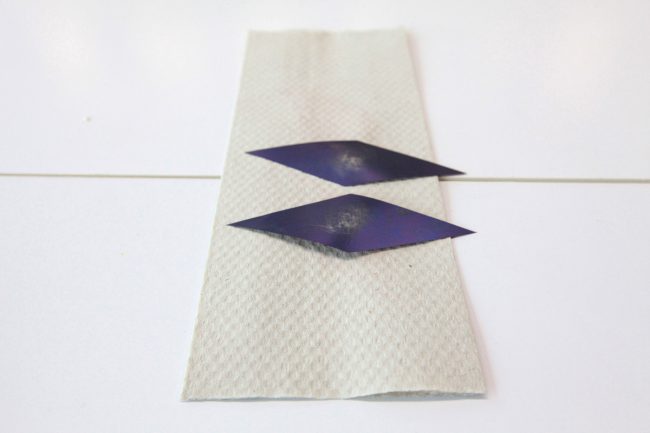
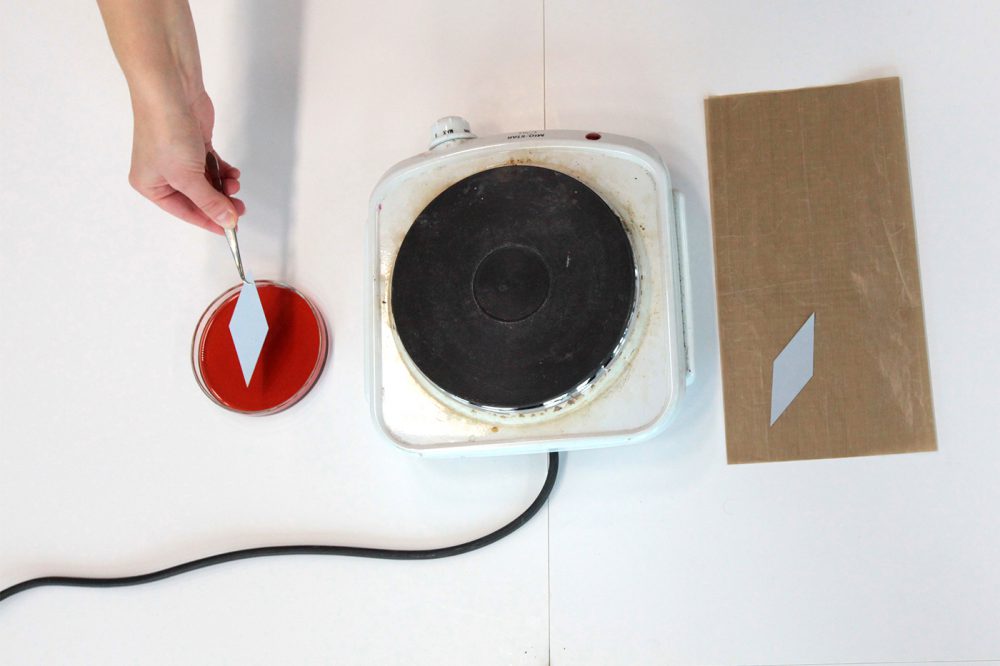
Using the guillotine and scissors the shape of the DSC now has to be cut out from the metallic TiO2 foil. The edges need to be sharp and clean to avoid short-circuits. In order to fit into the previously prepared plastic containers, the pieces should be slightly smaller. From the container one edge has to be removed, which will be used to inject the electrolyte. As TiO2 is highly porous, it easily absorbs humidity and dust from the air. Therefore the sheet has to be baked at 500 °C for at least one hour using the hot plate, until the sheet turns bright white.
4. Dyeing
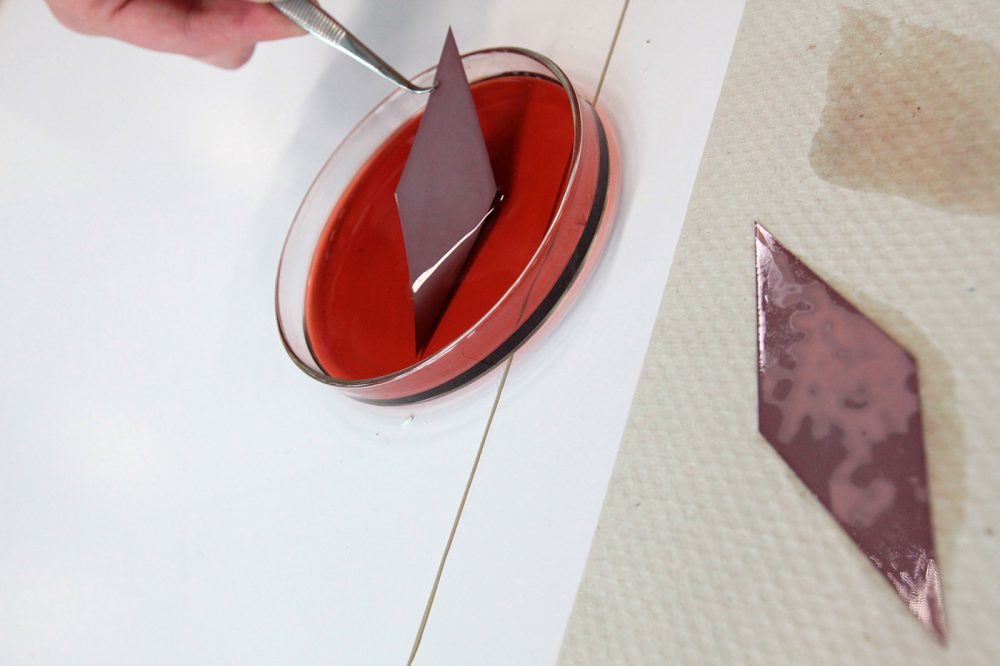
After baking the TiO2 sheet has to be soaked in the dye solution for a few hours, preferably over night. During this time the dye should be stored in a dark area and remain covered with a lid. After dyeing the piece needs to be dried thoroughly and the colored side then moistened with a bit of ethanol.
5. Lamination
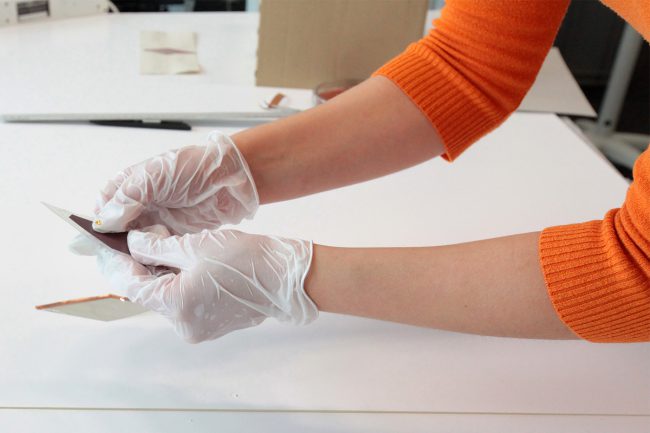
The previously prepared transparent front electrode is now fixed on top of the dyed TiO2 foil. Both pieces are then placed inside the plastic container and glued together using the laminator. One edge needs to be left open for electrolyte injection.
6. Electrolyte
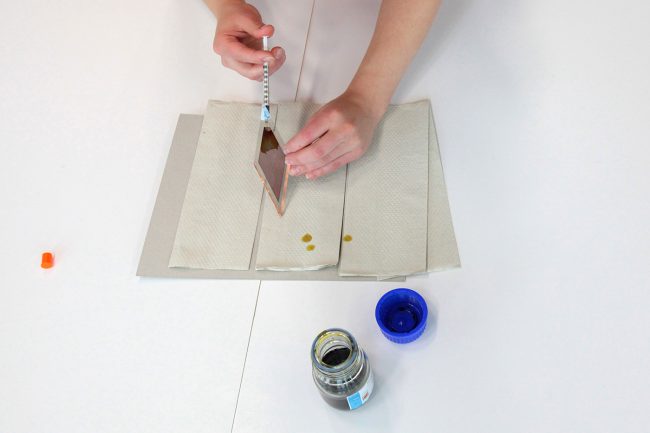
Now the electrolyte can be filled into the container using a syringe and needle. Finally the small injection hole can be closed with a piece of thermo-resistant tape.
7. Current
Using a multi-meter the dye-sensitized solar cell can be tested for functionality. The output voltage depends on the size of the component and the current on the amount of incoming sunlight.
8. Additional Tutorial
Solaronix provides Kits and guides on preparing DSC on glass. http://www.solaronix.com/documents/dye_solar_cells_for_real.pdf
Other suppliers are: Mansolar, Institute for Chemical Education, Solideas


