Drawing
Overview

In this tutorial you will learn how to draw and export a technical drawing in Rhino3D. You will learn how to add dimensions, how to properly set these up and now to export your drawing in pdf format for printing.

Adding Dimensions

Linear Dimensions can be added via the Dim command or with the respective symbol in the upper toolbar. Linear Dimensions align either horizontally or vertically depending on where the final dimensions lines are placed.

Dimensions for a diamter or a radius have their own commands (DimDiameter and DimRadius).

Objects and curves that are not colinear to any of the viewport axes (X, Y or Z) need an aligned dimensions. The command for this is called DimAligned.

Instructions
Karsten Schuhl

Duration
10 min

Level
Basic

→ DOWNLOAD PDF


Adding specific Dimensions

A radius will be described by a capital R followed by a number.

A fully defined drawing will display all necessary dimensions to explain its features. From this drawing we know the following info about our object:

• Outer diameter: 30mm
• Inner diameter: 14mm
• Cutout: width x depth – 3 x 4mm
• Eight cutouts in steps of 45.0º
• Radius of rounded corner: 0.5mm
• Distance from radius to radius: 29.72mm

Dimension Settings

To change the size and look of each dimension access the “File > Settings…” menu. Dimensions are a part of the “Annotation Style” in Rhino. Which is the first rider in the “Settings…” menu.

The preview window shows sizes and styles for dimensions and annotations. Further options are grouped in sub-tabs for i.e. font styling, size and look of dimensions or different arrow-heads for dimensions.

Exporting a PDF

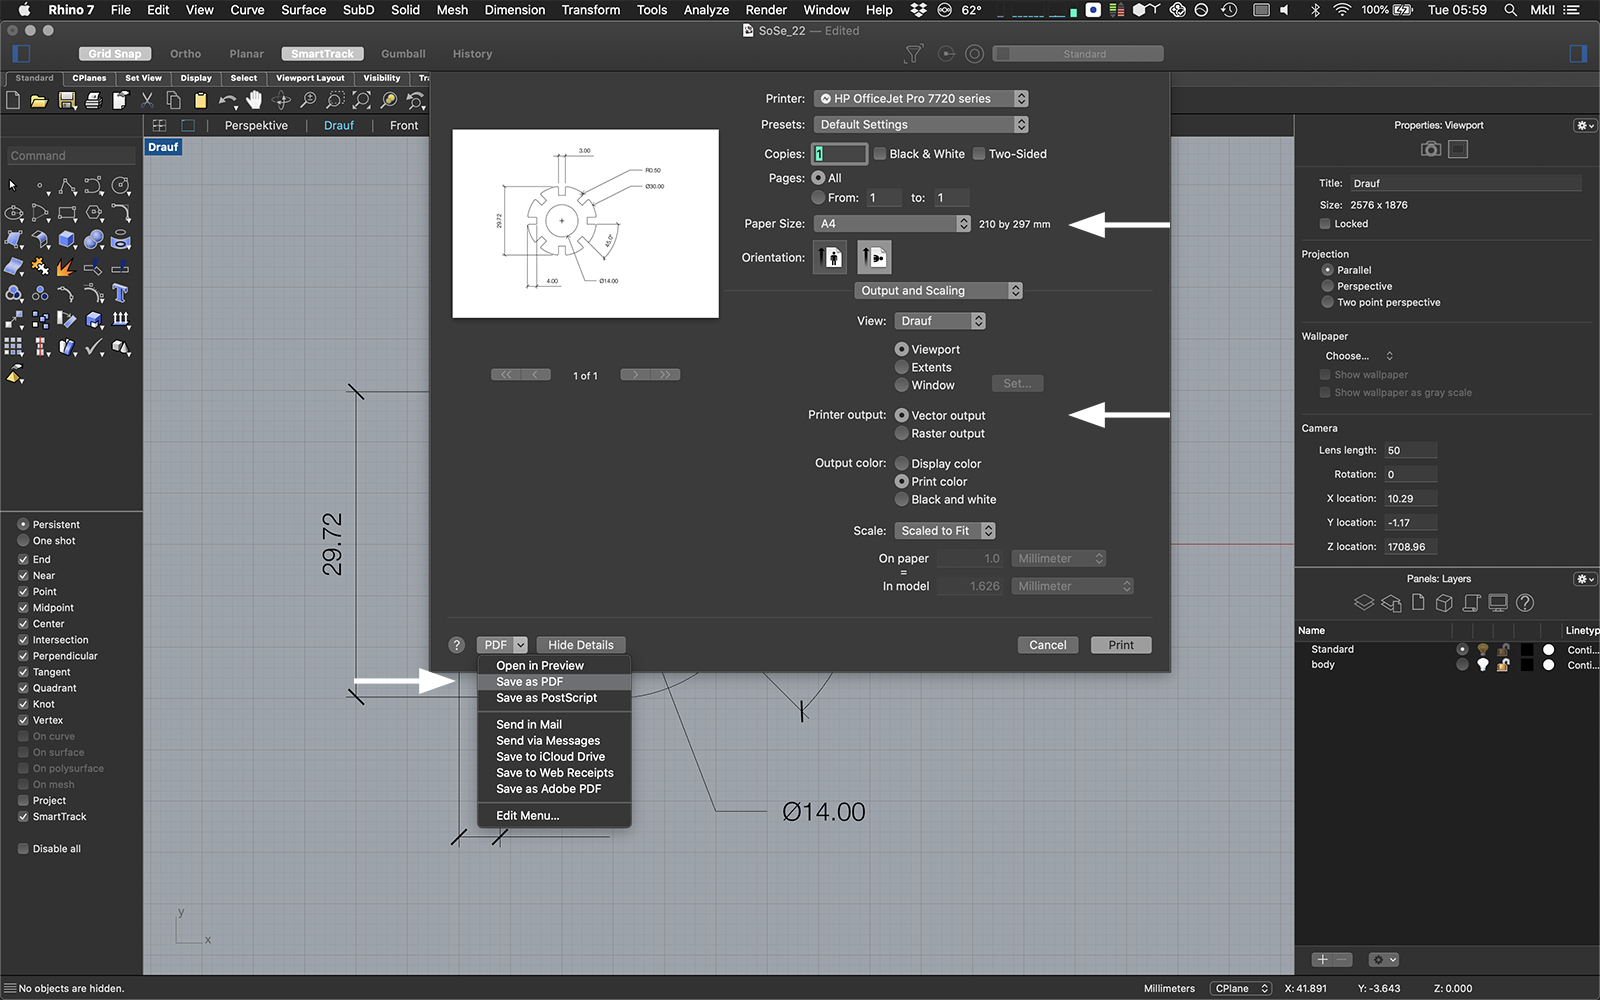
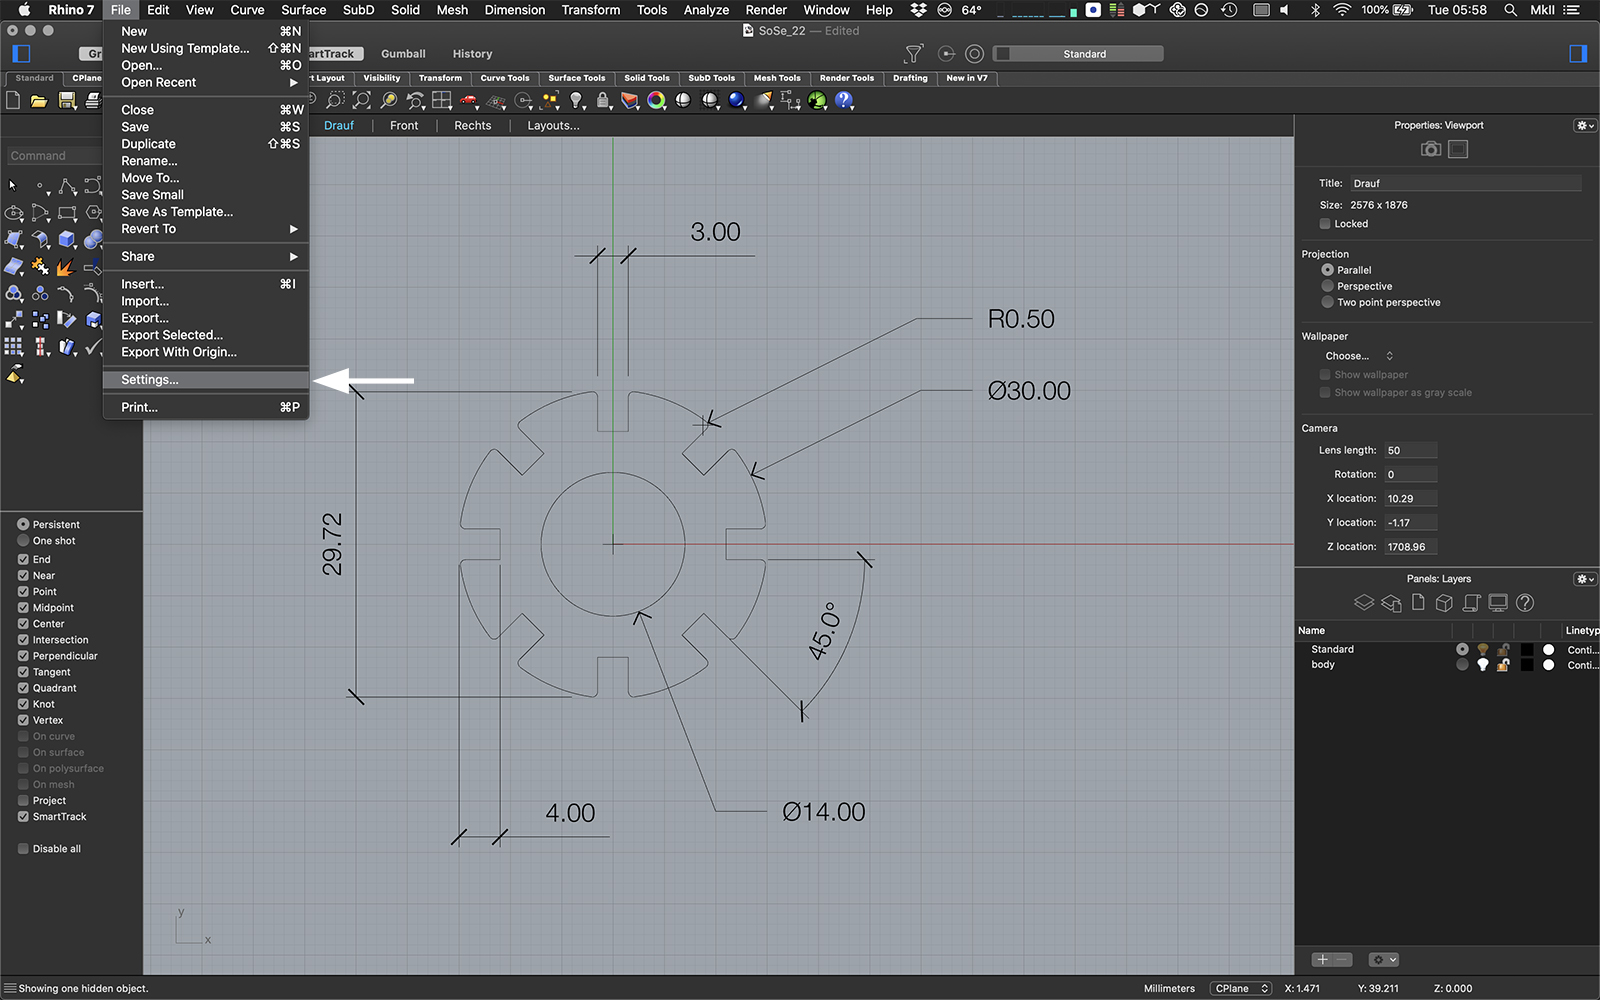
The drawing can be exported via the “File > Print” dialog. In MacOSX: to access the detailed options for a file export click the “Show Details” button. Set the paper size to the desired output size. For Example Din A4. “Printer Output”: “vector” is recommended. Because “raster” images are made from pixels, which will easily result in bad resolution prints and can not be used as an exchange format for other softwares such as Adobe Illustrator. In MacOSX a print can directly be saved as a PDF. For windows follow the steps of this tutorial.

Instructions
Karsten Schuhl

Duration
10 min

Level
Basic


Privacy Settings
We use cookies to enhance your experience while using our website. If you are using our Services via a browser you can restrict, block or remove cookies through your web browser settings. We also use content and scripts from third parties that may use tracking technologies. You can selectively provide your consent below to allow such third party embeds. For complete information about the cookies we use, data we collect and how we process them, please check our Privacy Policy
Youtube
Consent to display content from - Youtube
Vimeo
Consent to display content from - Vimeo
Google Maps
Consent to display content from - Google

info(at)materiability.com